It’s been a couple of months since I first wrote about restoring the old 1940 vintage Lee Enfield no. 1 MKIII rifle. (See the earlier post) I managed to source all of the missing parts, including a new forearm and hand guard set. I found an unused set of unknown date, but I figured I’d be better off fitting a new stock than buying an old one and hoping it would fit properly. Enfields, especially the no. 1, are notoriously finicky when it comes to proper stock fit.

The Enfield with original furniture in place, just before disassembly
In the photo above, you can see the rifle in its original, butchered forearm. The lower forearm was cut off and the hand guard discarded, along with the entire nose cap assembly. The new replacement stock, forearm, and hardware are shown above the rifle. The new wood appears darker in the photo, but once I work on the buttstock a little and the oil finish is applied, I think it will look okay.
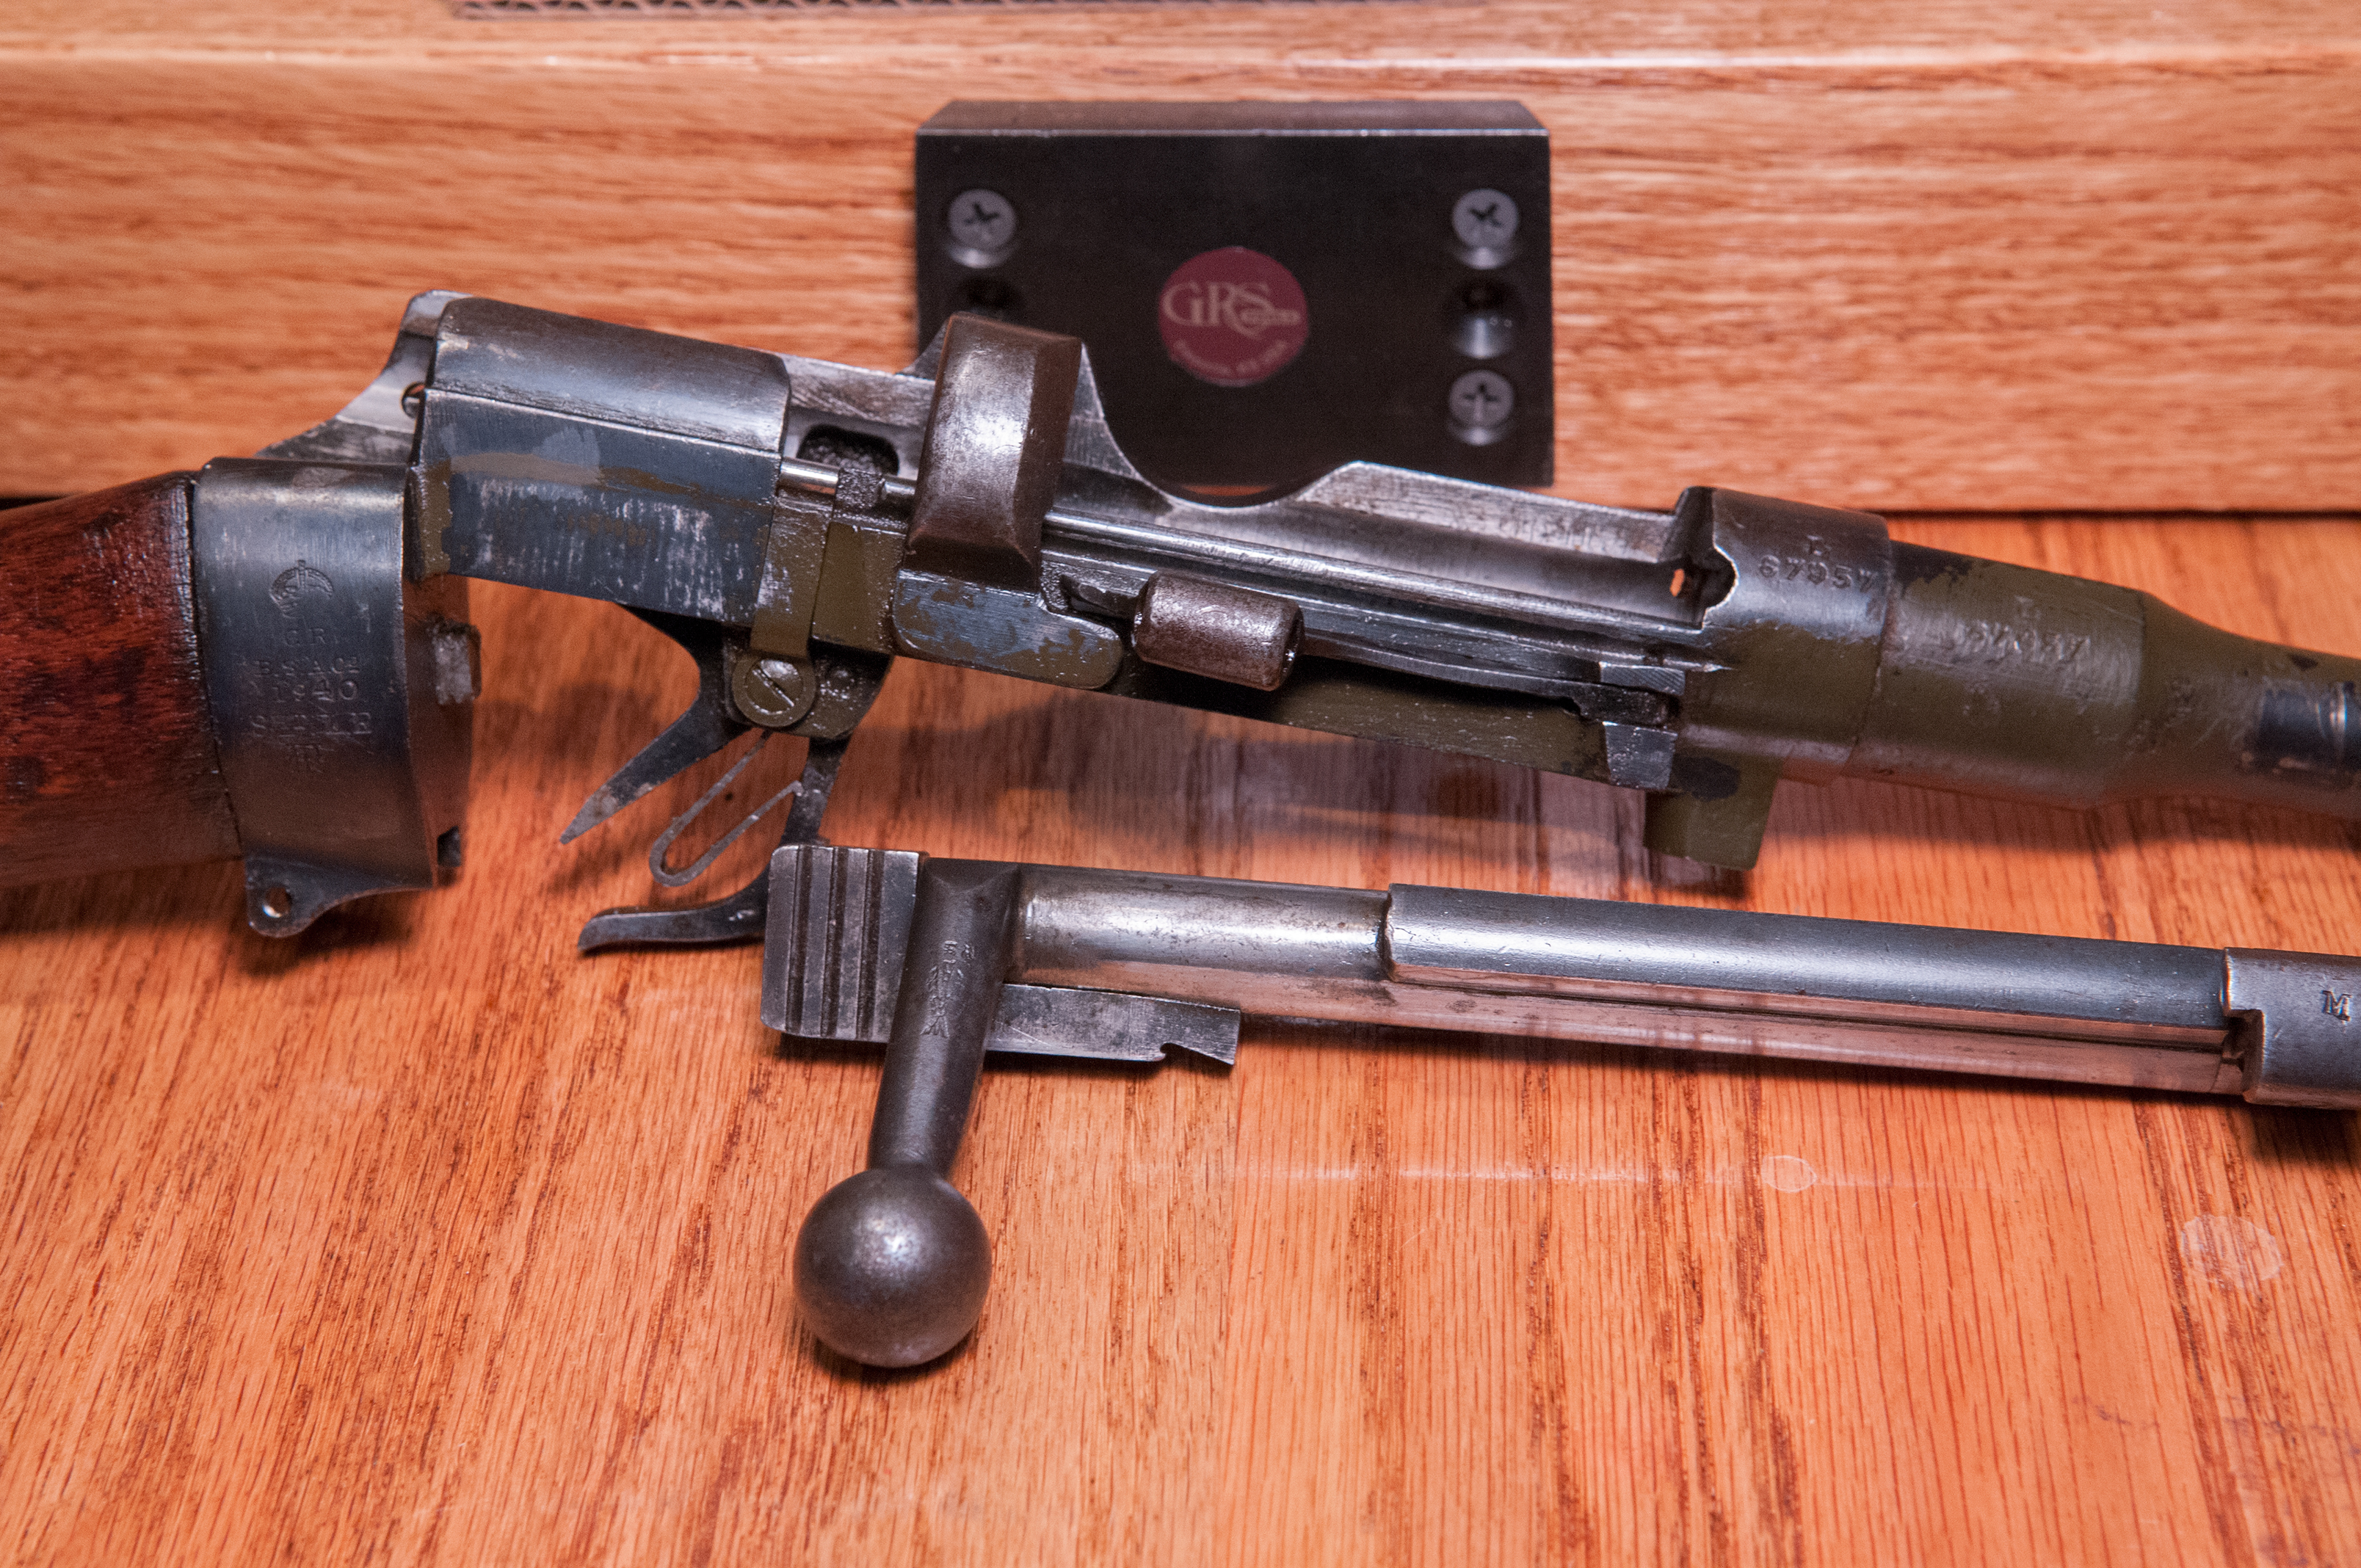
After removing the entire lower forearm, I found that the action in excellent condition. There was a couple of traces of light rust, but nothing of any consequence and no corrosion damage. I tried to remove the buttstock, but the screw that attaches it is deep inside the stock itself, and requires a very long screwdriver. Unfortunately, the screw is locked up pretty tight, and rather than risk buggering up the slot, I decided to just leave it on and refinish the stock in place.
The first order of business was fitting the new stock. It wouldn’t seat at all on the first try and required some fine tuning to get it to slide over the receiver. Going slow, I had it properly adjusted and fitting like a glove in short order. Moving on to the upper hand guard, I had to take a little off the inside of the ears to get it to slide easily into place around the rear sight. This is not supposed to be a tight fit, and I may have to take a little more off after it’s finished.

The new stock slides right into place after fitting
With everything looking good, I put both forearm and hand guard in place and slipped on the nose cap for a dry fit assessment. As you can see in the photo below, the upper hand guard sits too high for the nose cap to slide on properly. Using some folded paper, I was able to determine that I had about 0.5mm of surplus height within the hand guard to work with. By sanding the bottom edge of the hand guard on my trusty flat granite sharpening surface, I reduced the height enough to let that nose cap slide into place. Everything looks good at this point, so onto cleaning the action and applying the finish.

The hand guard sits too high for the nose cap to slide on all the way
All of the wood on this rifle was stripped at some point in its past and scrubbed with a heavy wire brush, leaving a lot of marks in the wood. I lightly sanded the worst of these marks, but didn’t want to lose all the character of the wood, so I really did just enough to open the grain a little for the new finish. At this point, I went ahead and cleaned the action and barrel thoroughly. There was some crud, but not as much as one might expect from a gun this old. Thankfully, I think the gun was cleaned after it was last shot, so it didn’t take a whole lot of effort to get it looking good.

Action cleaned up. I’ll lightly clean and oil it again before final assembly to remove any grit that accumulated during finishing
I decided a while back to use the original type of oil finish that was applied when this gun was made (or as close as I could reasonable come). In WWII and earlier, most military gun stocks were finished with linseed oil, or something close to that. Although not very effective against the elements, it is very easy to maintain. Rather than use Boiled Linseed Oil common today, which is modified with petroleum distillates to speed drying, I’m using artist grade linseed oil, which I assume is basically raw oil. I happened to have an unopened can that is about 35 years old and it doesn’t specify.
Starting with a 50/50 ratio of oil to turpentine (to help it dry), I began applying coats with 4-0 steel wool. I really hate steel wool. It just makes a mess with steel wool fibers everywhere. I abandoned the wool after the first application and just rubbed it on by hand after that. Using the old adage, once a day for a week, once a week for a month, and once a month for a year, I’m on day three and the wood looks fantastic. I don’t think I’m going to go for the full seven applications. This morning I upped the ratio of oil to turpentine to about 70/30. If it doesn’t dry within 24 hours or so, I might add a little japan dryer to the next batch.

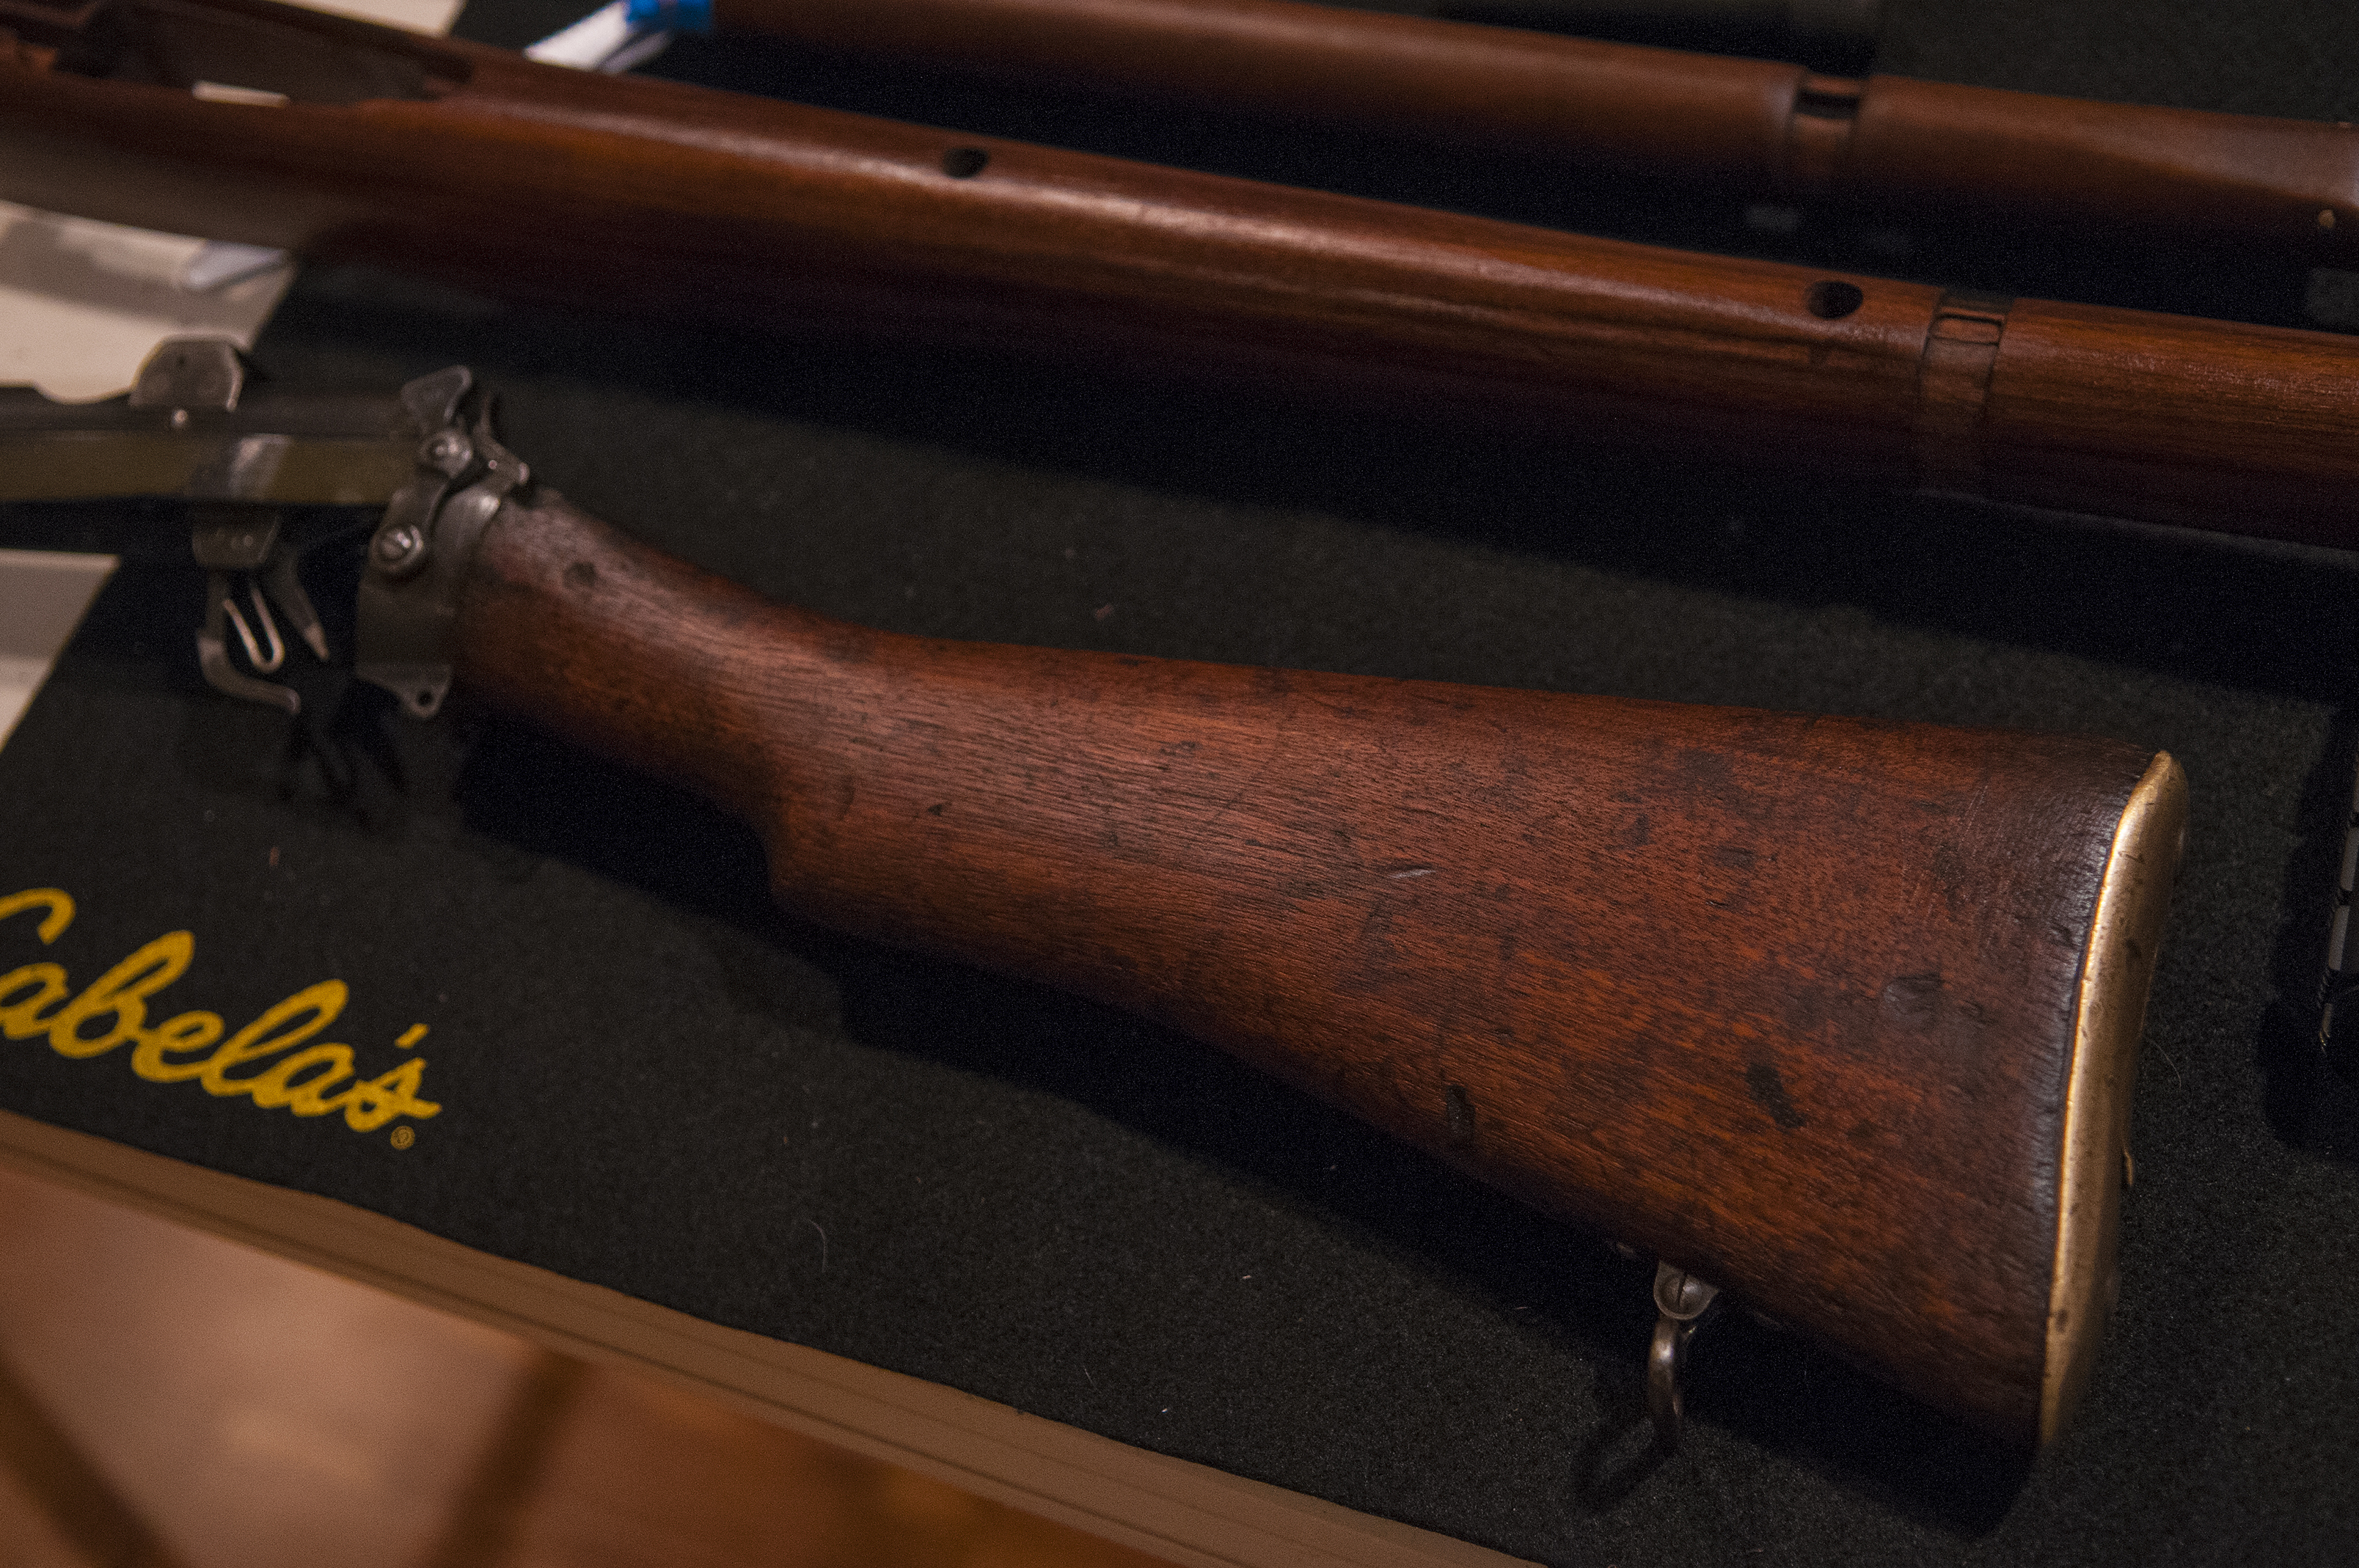
The stock and hand guard with 3 coats of oil applied
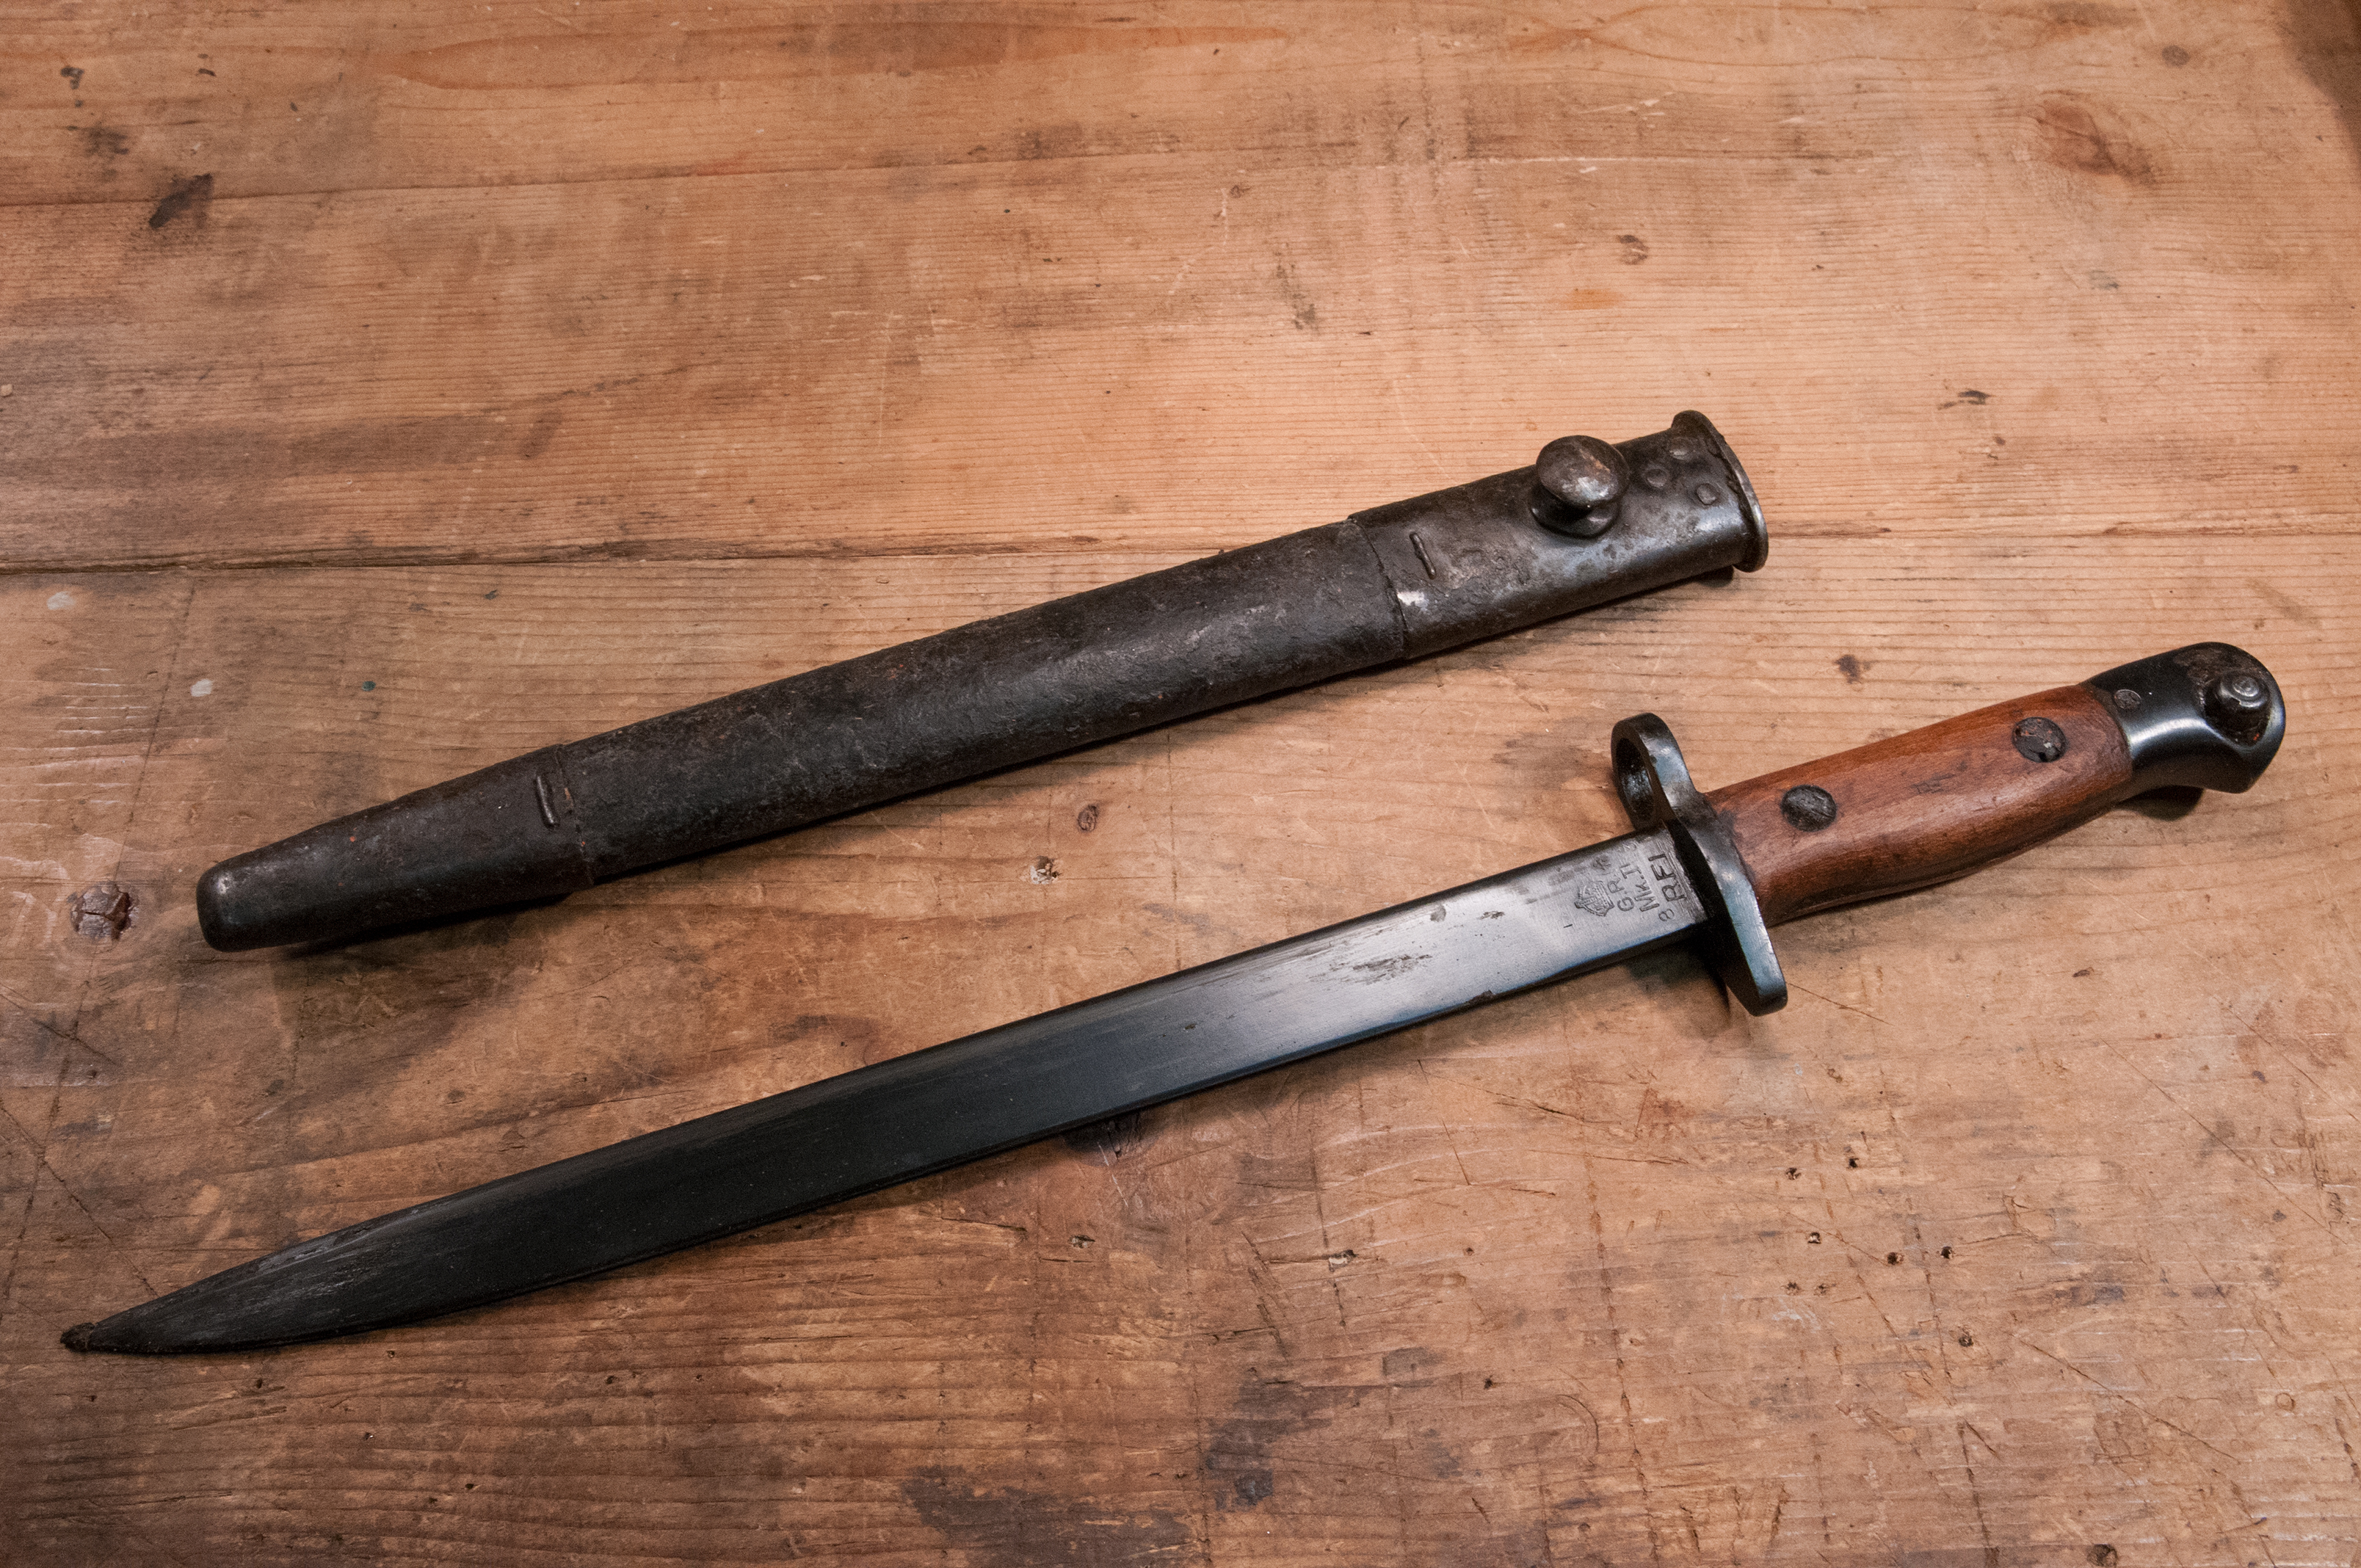
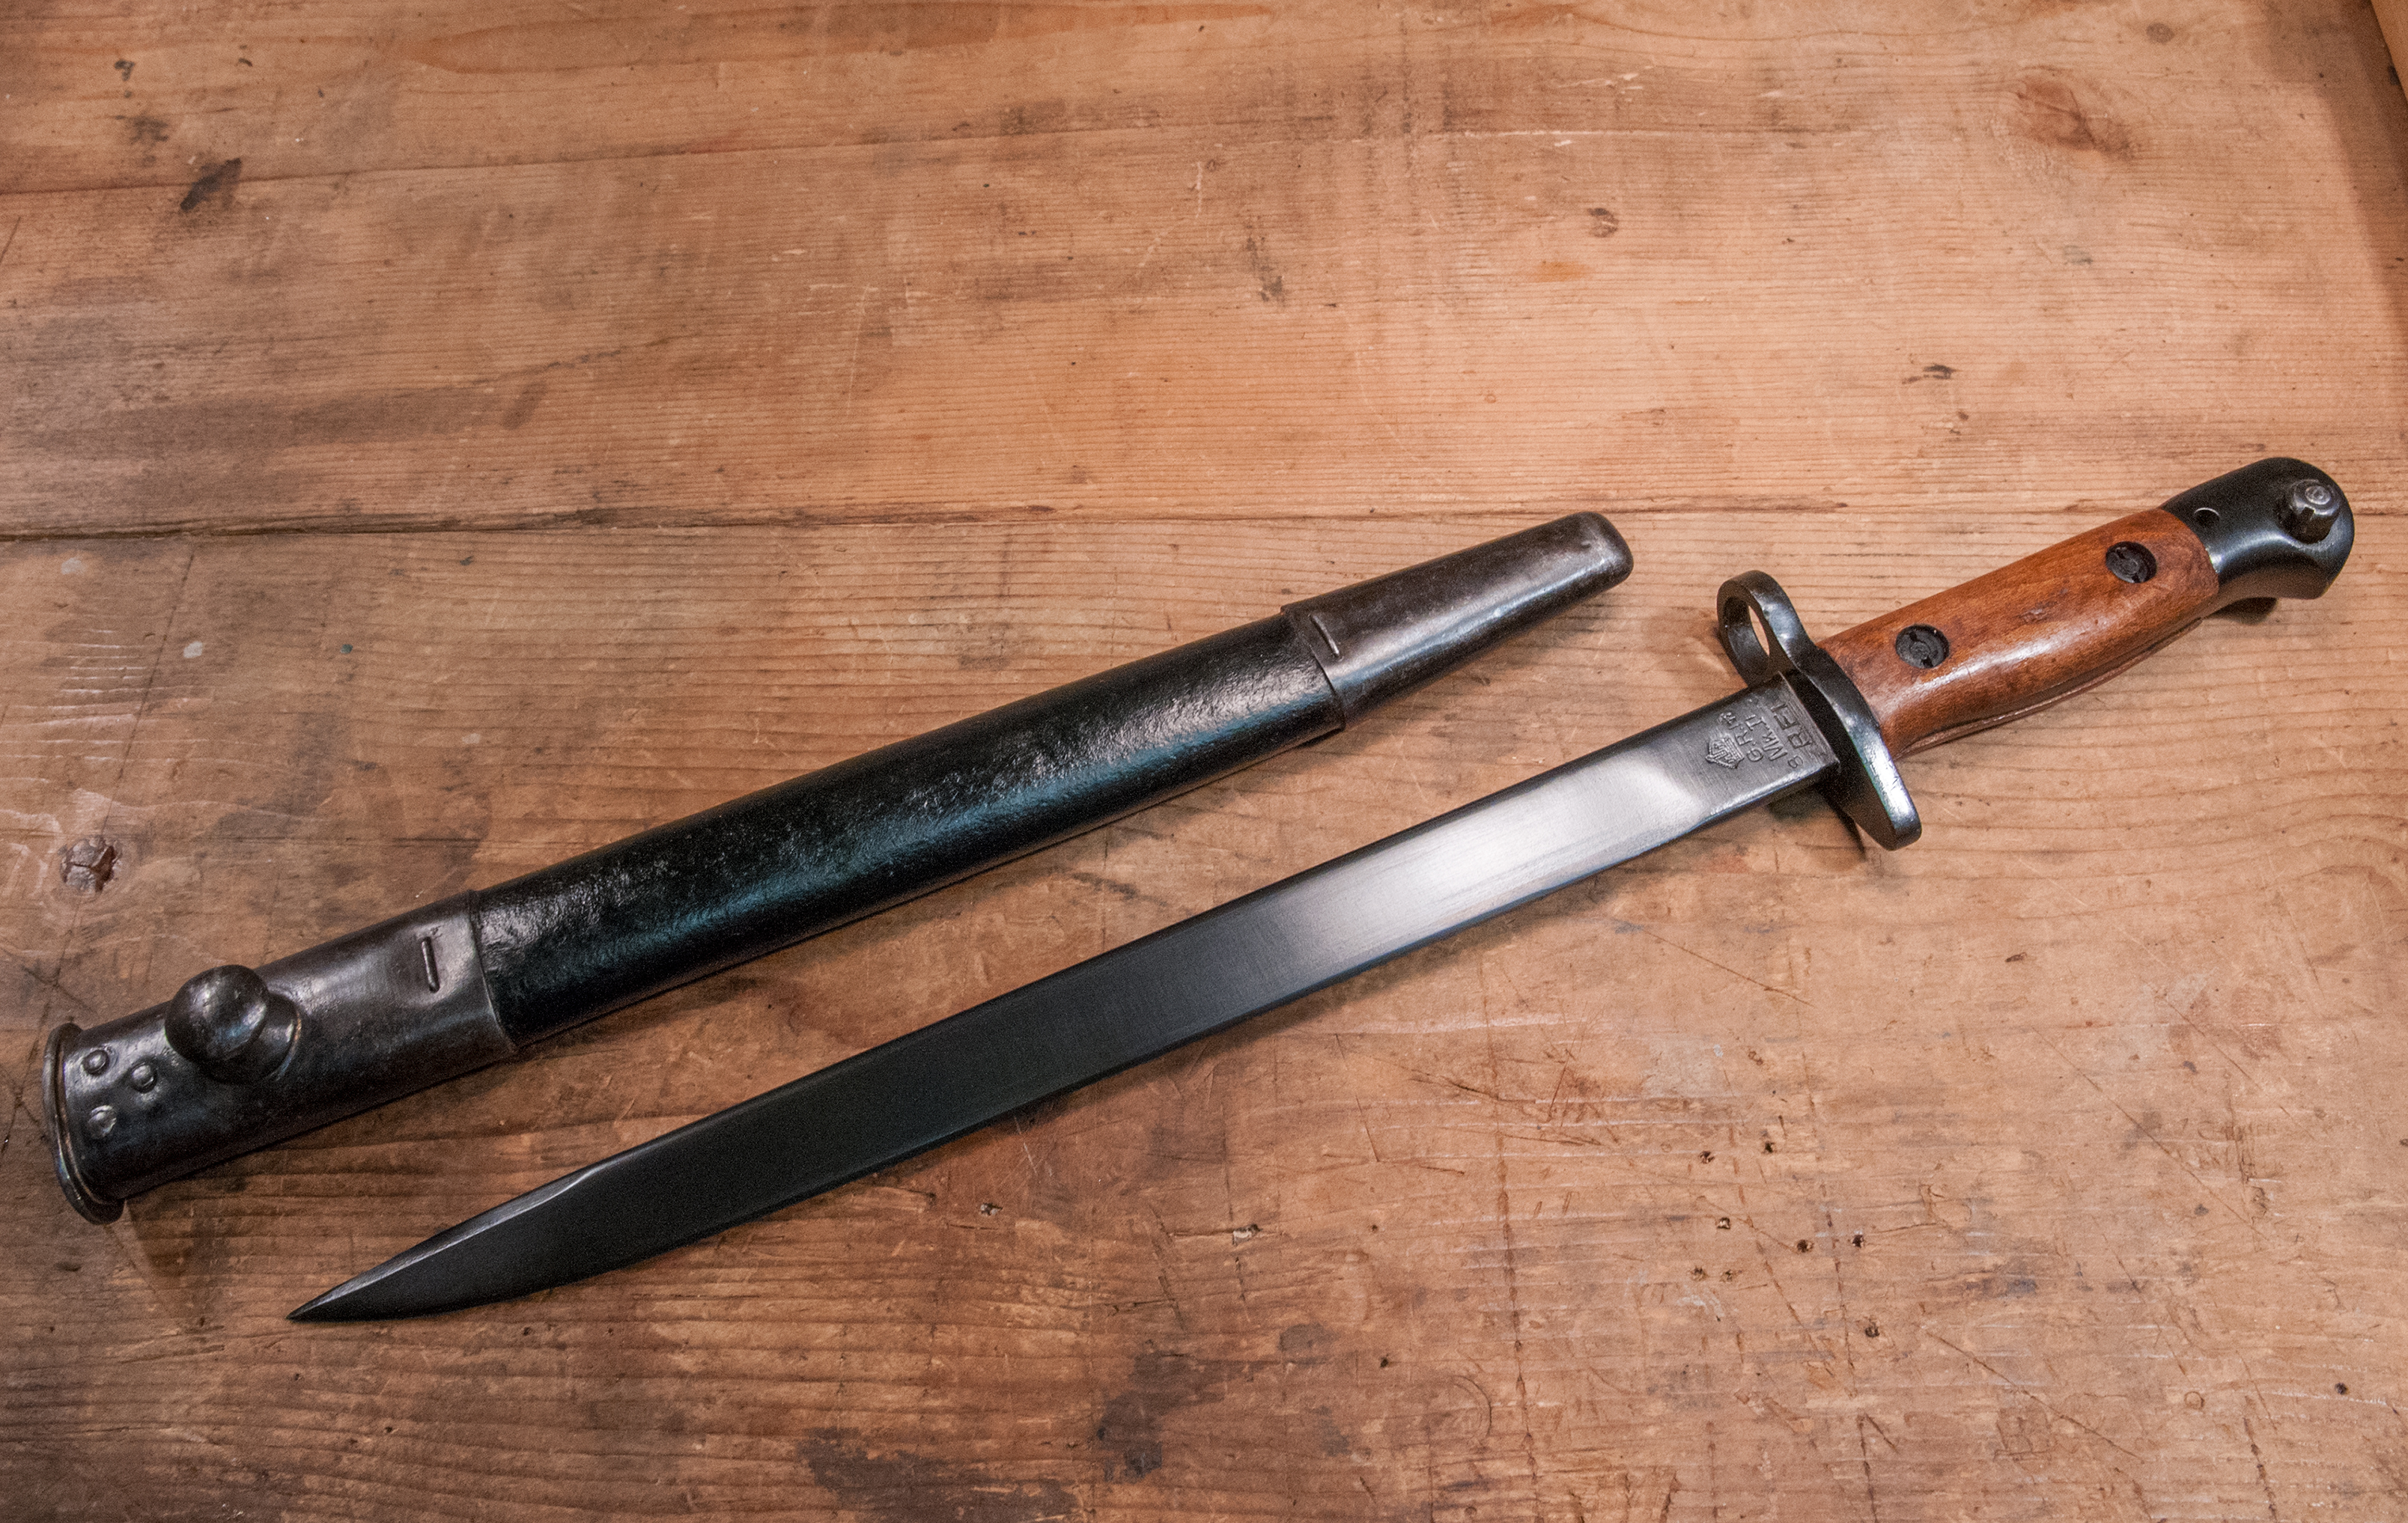
The next update will cover cleaning up the 1940s vintage bayonet I found for this gun!
***