My dad died when I was still a teenager. Unlike his father, who was a carpenter, my dad wasn’t much of a woodworker. The few tools he left behind were mostly garden variety homeowner tools purchased from the local hardware store. So when my brother gifted me my dad’s old level this summer, I didn’t give it much thought. It was in horrible condition from decades of neglect. I brought it home and with barely a glance, set it aside on my workbench to deal with later.
With cooler fall temperatures here on the east coast, I recently pulled it out for a closer look. Upon closer inspection, I found that it is a Stanley no. 3 level, which was somewhat of a surprise in and of itself. More interesting, the trademark stamp dates it to the 1890s, approximately 30-35 years before my dad was born. It could have been my grandfather’s, but even he would have had to have purchased it as a teenager, if acquired new. Of course there is no way to know where it came from or who originally owned it, but it ended up in my father’s hands, then my brother’s, and thanks to him, it now belongs to me.
As you can see from the quick shot I took before I got started on it, virtually all the original finish is gone and the wood faded from exposure to the elements. It appears to have spent a good deal of time in a shed or barn. The primary glass vial was intact and serviceable, but the plumb vial was broken long ago. Otherwise, all the parts were in place and thankfully, the vial adjustment screws were not frozen.

My dad’s 1890s vintage Stanley no. 3 Level, partially disassembled
I disassembled and removed all the hardware to better evaluate what needed to be done in terms of cleanup, and to assess the broken plumb vial. After cleaning the rust off all the screws and the vial adjustment mechanisms, I cleaned the crud off the brass plates and end caps. I never polish old brass hardware, but I decided in this case to clean off most of the oxidation in order to better see the center scribe line.
With the hardware cleaned up, I moved on to the wood. Despite its condition, there were numerous paint specks and splatters from years of use that I wanted to protect. The wood itself is evidently cherry. I cleaned it lightly with Kramer’s Blemish Clarifier to remove any loose dirt and crud. I then applied 6 or 8 applications of Kramer’s Best Antique Improver, which I’ve written about before. It’s great stuff, all natural (no petrochemicals), and restores life to finished and unfinished wood.
In the meantime, I went to work sourcing a proper replacement vial. I preferred to keep it as close to original as possible, so new acrylic vials were out of the question. I found a few glass vials for sale on eBay, but the prices were absurdly high. So, I started trolling for a suitable “donor” level of approximately the same vintage. It took 2 or 3 weeks, but I finally found one for under $10 that had the plumb vial intact. When it arrived, I was surprised to find the condition actually better than the photos reflected. I actually felt a little guilty stripping it of one of its parts.

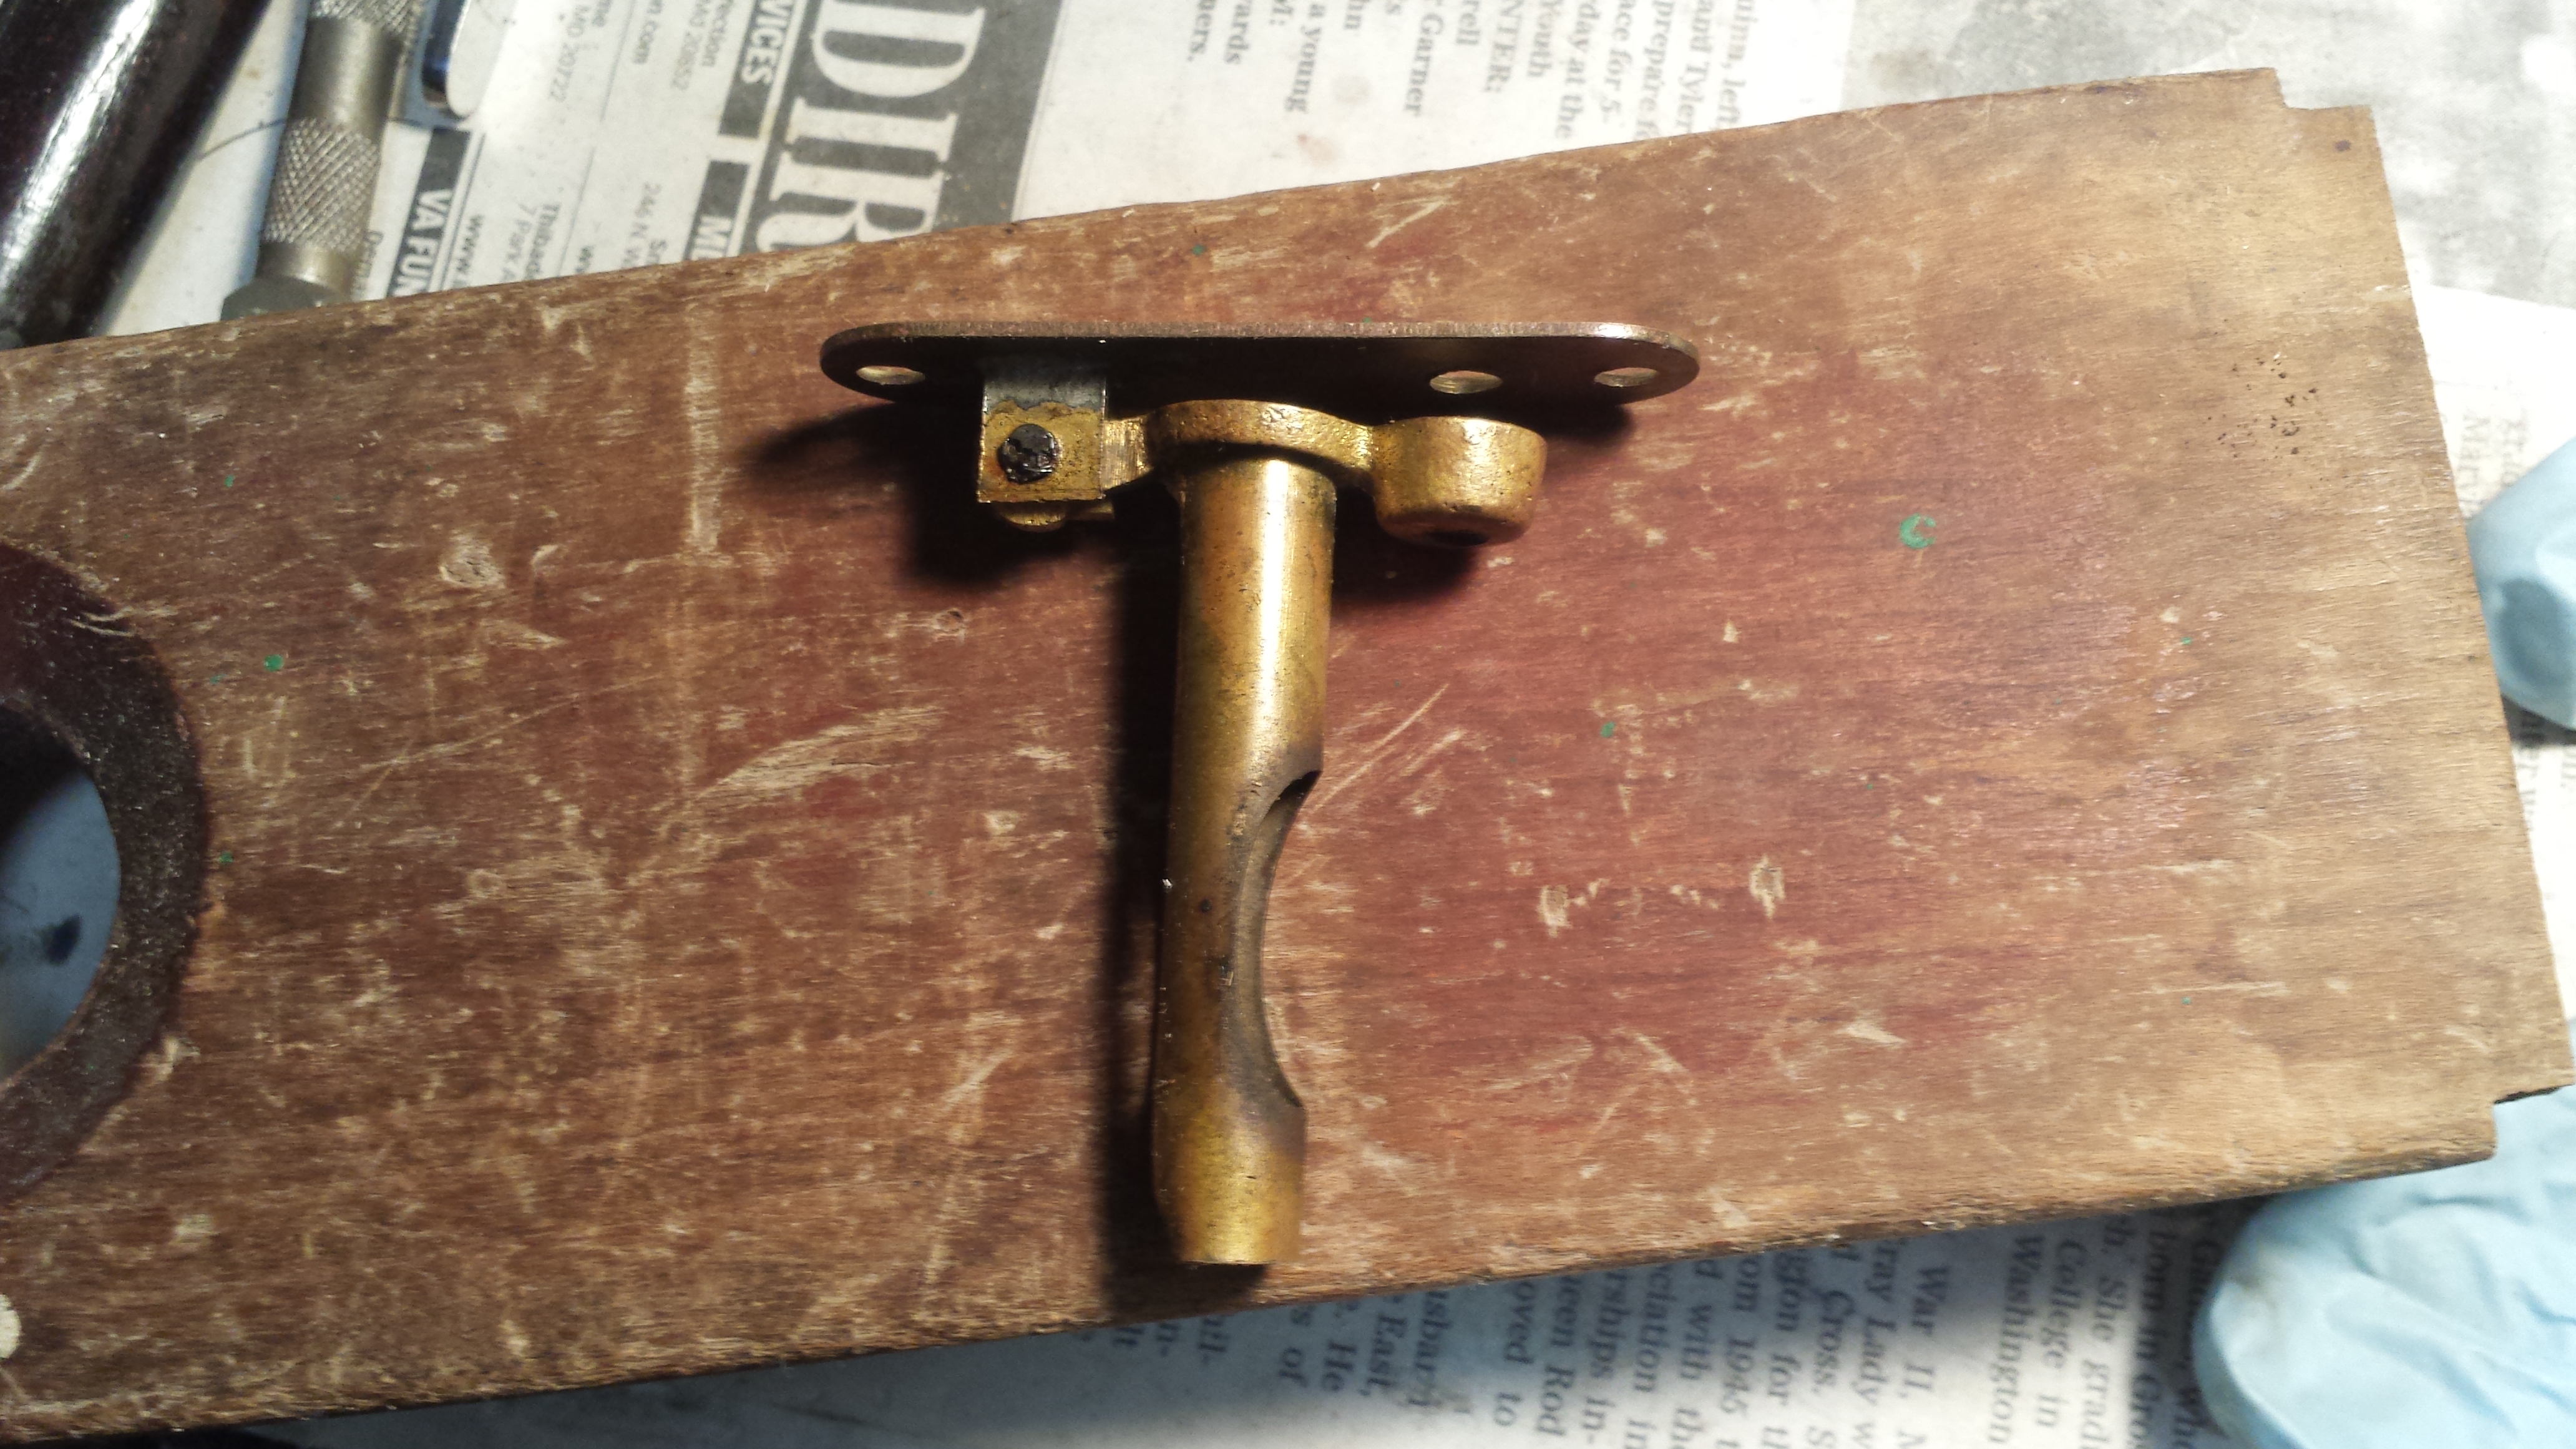
Plumb Assembly Before Vial Replacement
Now if you’ve never replaced a vial in an old Stanley level, you might be surprised to learn that they used Plaster of Paris (or something similar) to cement the glass vial in the tube shaped holder. This both held it in place and also protected the fragile ends. Getting the vial out of the old plane was much easier than I anticipated. Pulling the split holder tube open slightly, the vial and plaster slid right out in one piece. Once out, the old plaster easily released from the glass vial. The vial has a paper backing that wraps around the back side, but it isn’t attached. So carefully removing that paper and setting it aside, a quick cleaning of the glass had it looking very much like new in short order. Positioning the vial along with the paper backing into the assembly on my dad’s plane, I dabbed some plaster into place at each end and allowed it to dry.
I reattached all the hardware, and calibrated both vials using another level as a guide. Completed, my dad’s old level is once again accurate and ready for the workshop. You can just make out the replaced vial in the photo on the left. Now, as to the donor level I bought, it’s still sitting here in need of a plumb vial. There’s clearly something wrong with this scenario!


 Wishing everyone a very peaceful and reflective Thanksgiving! Whether alone, with family or friends, at home or traveling, Thanksgiving is a day to rejoice and be grateful for what we have. We are truly blessed as a nation, and as a free people. Please remember those who protect that freedom, especially those who serve in our military, both home and abroad. Remember and be thankful for their sacrifice and the sacrifice of their families who gather tomorrow with an empty place at the table. Not everyone gets to go home for Thanksgiving.