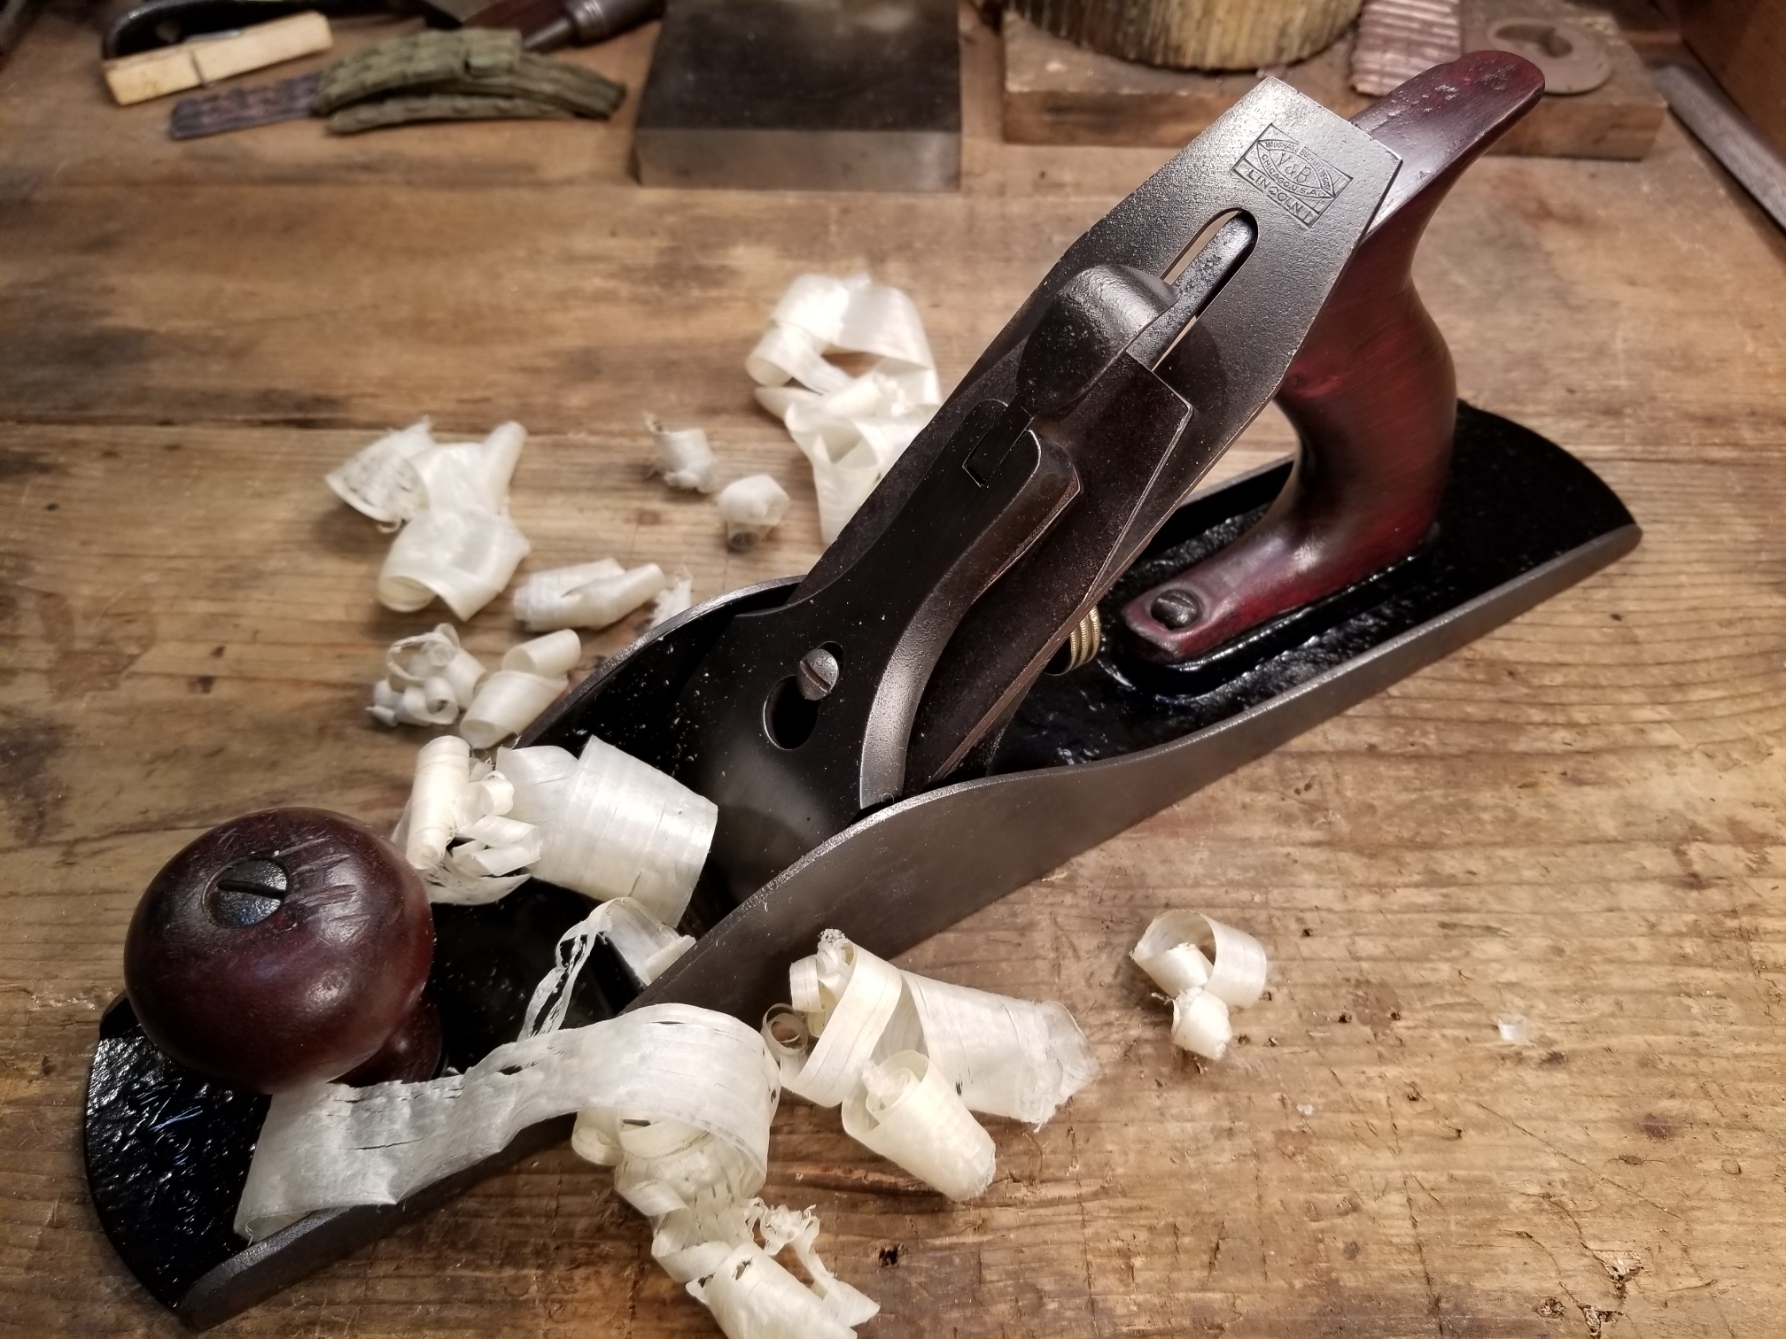
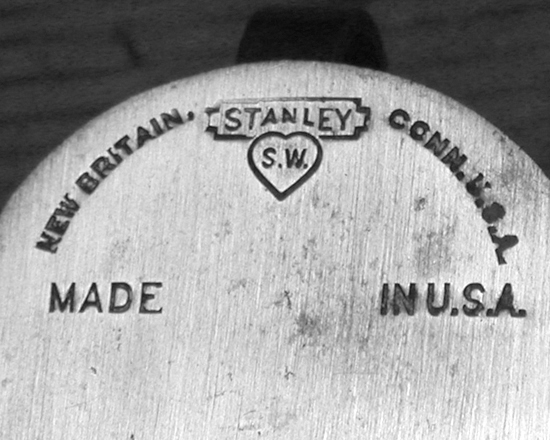
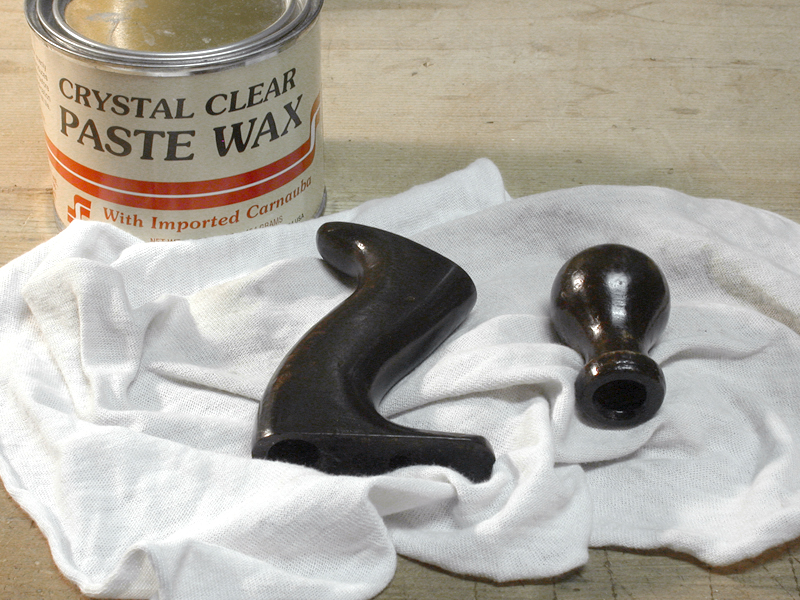
Stanley Bed Rock no. 605C, Type 6, c. 1912-1921
History
The motivation behind Stanley’s decision to develop the Bed Rock line of planes is debatable. However, given their genius at marketing and creating demand, I suspect it was driven by a couple of different factors. In 1895, Justice Traut patented what would become the basic Bed Rock design. That same year, E. A. Schade patented the frog adjustment feature that would initially be used on the Bed Rock planes, and eventually (1907) would become a mainstay feature of the Bailey line of planes.
 J. A. Traut Patent 536,746, Apr 2, 1895 |
 E. A. Schade Patent 545,732, Sept. 3, 1895 |
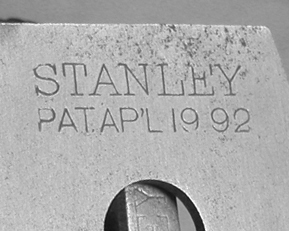
The introduction date of Bed Rock planes is a little uncertain. They first appeared in Stanley catalogs in 1900, but there is some evidence they may have begun manufacture as early as 1898. Apparently there was a dispute over the Schade patent, because those sold for the first year or two have the Sept. 3, 1895 patent date on the bed milled out. This was done by the factory, and after the body had been japanned, indicating there was some sort of legal dispute over the Schade patent that required a last minute intervention prior to the planes being sold to the public. By 1900, the milled out date was gone and just the single APR 2, 95 date from the Traut patent remained stamped into plane bodies until about 1911, when Stanley introduced a major design change.
Differences between Baileys and Bed Rocks
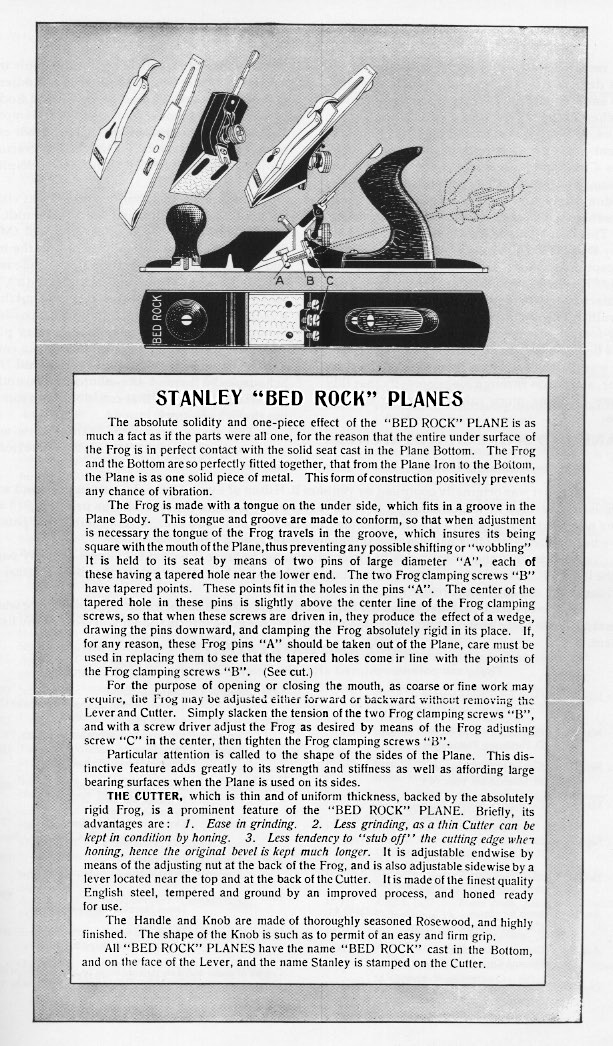
The Bed Rock line was marketed as Stanley’s premium line of bench planes. There were two primary differences between the Bailey line and the Bed Rocks, and both were in the frog design.
1. The mating surfaces of both plane body and frog was substantially larger than on the Bailey planes, and the frog on the Bed Rock fit into a groove on the body, eliminating any slop or shifting of the frog once in place. As Stanley described it in their marketing material:
The absolute solidity and one-piece effect of the “BED ROCK” PLANE is as much a fact as if the parts were all one, for the reason that the entire under surface of the Frog is in perfect contact with the solid seat cast in the Plane Bottom. The frog and the Bottom are so perfectly fitted together, that from the Plane Iron to the Bottom, the Plane is as one solid piece of metal. This form of construction positively prevents any chance of vibration.
2. Additionally, the Bed Rocks originally featured the frog adjustment mechanism that was patented by Schade on Sep. 3, 1895. This same feature was eventually added to the Bailey line in 1907. Again, as described in a Stanley catalog:
The width of the mouth may be regulated and made wider or narrower as coarse or fine work may require. First remove the lever and cutter and loosen the two frog screws that fast en the frog t o it s seat. With a screw driver turn the center adjusting screw to the right to close the mouth, and to the left to open it. When the frog is in the position desired, tighten the frog screws and replace the cutter and lever .
Of course, there were other less significant differences as well. Interestingly, Stanley used the same numbering system for the Bed Rocks as the Baileys for the first 2 years of manufacture. It wasn’t until 1900 that the ‘600’ series of numbers (602 through 608) were cast into the plane bodies. Stanley also had a Bed Rock branded lever cap that was used to help distinguish the two lines. The first design of this cap was marked ‘STANLEY’ on one line, then ‘R.&L.Co.’ on a middle line, with ‘BED ROCK’ on the bottom line. In 1908 the middle line was removed and caps were marked ‘STANLEY’ over ‘BED ROCK.’

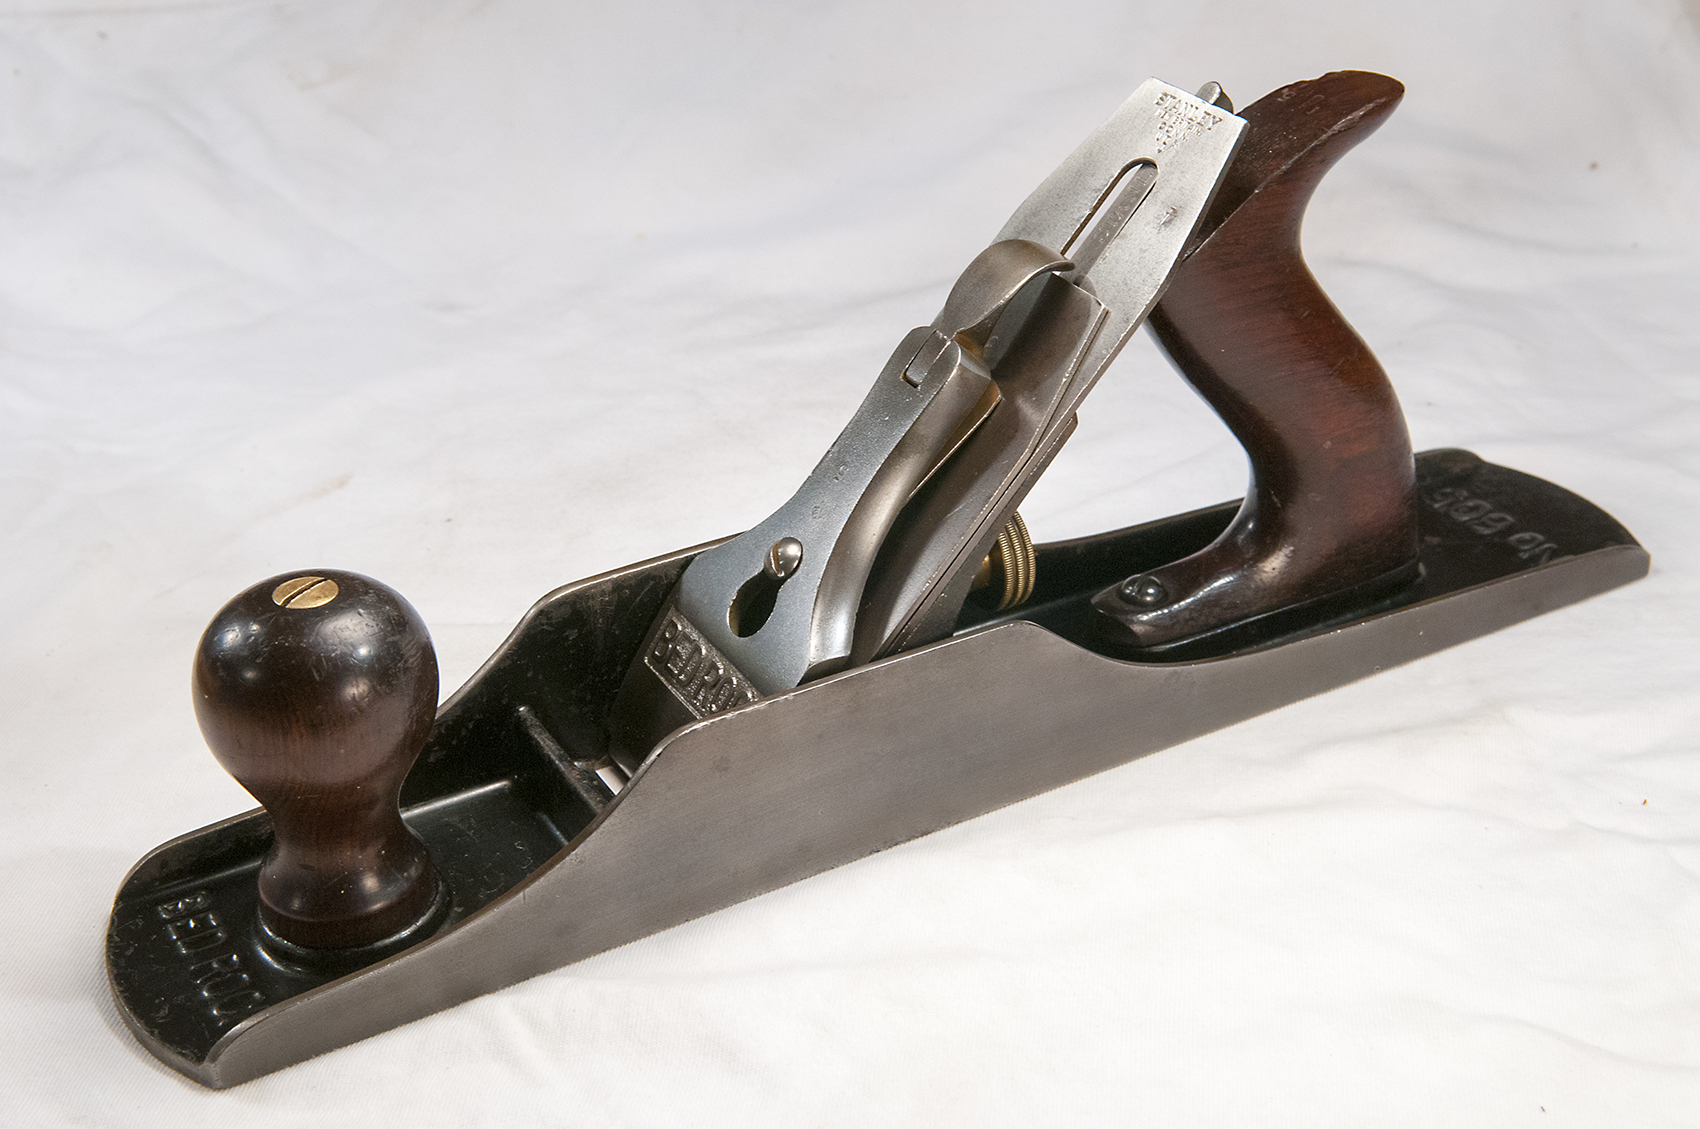
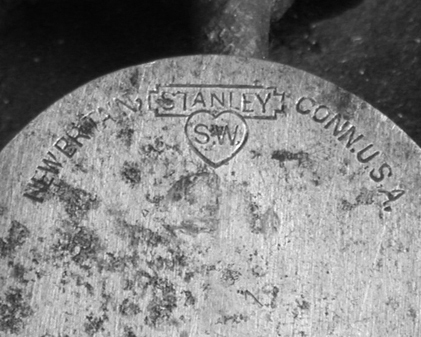
Stanley Bed Rock no. 607 Type 3 c. 1900-1908
Major Design Changes of 1911/1912
After the frog adjustment feature was added to the Bailey line in 1907, there was little to clearly differentiate the Bed Rock planes from the Bailey planes. For example, while the frog base design was arguably superior, it was a feature that was not readily apparent unless one were to disassemble the plane. Further, up until this point, the profile of the plane base was the same on both Bailey and Bed Rock lines; with both using the same classic ‘hump’ on each cheek. For Stanley to differentiate the two and justify the premium cost of the Bed Rock, it’s pretty easy to see the reasoning behind the changes they were about to make.
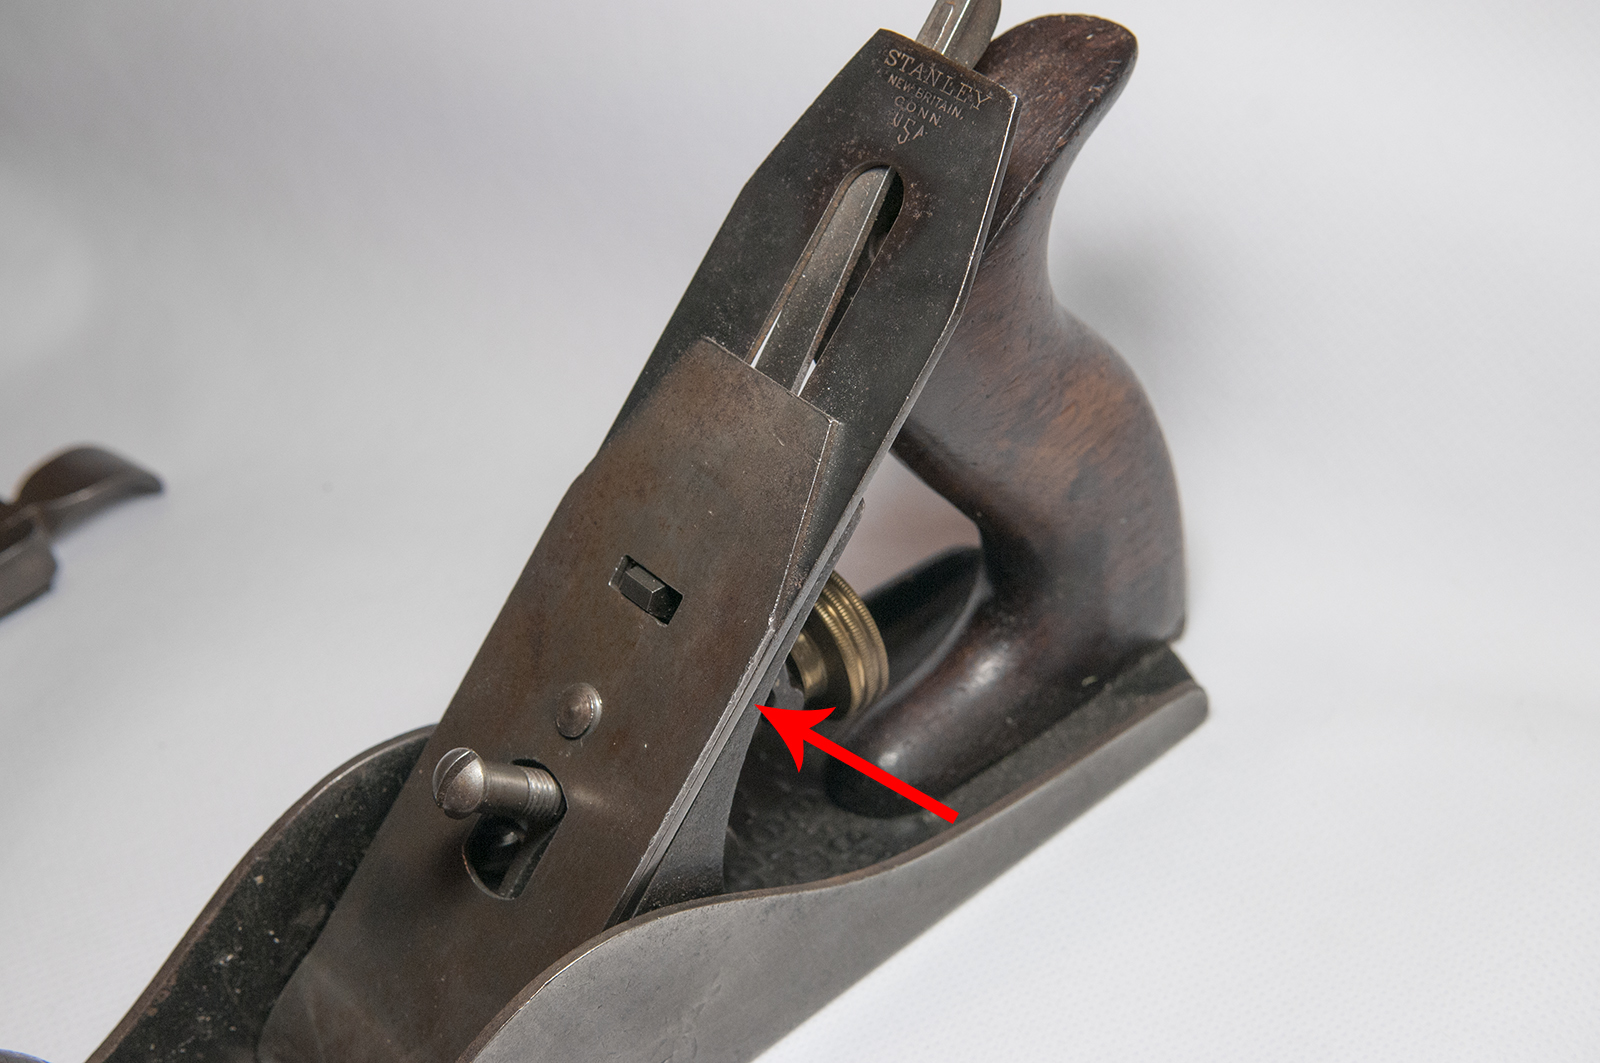
1. On March 14, 1911, Schade was granted another patent for the use of pins and set screws to both attach and adjust the position of the frog. This new design was superior to the previous (and the one provided on the Bailey planes), and set the Bed Rock line apart from all of Stanley’s competitors.
 E. A. Schade Patent 987,081, Mar 14, 1911 |
 The Two Frog Attachment and Adjustment Designs |
2. In addition to the new frog attachment and adjustment design, Stanley, in a move of marketing brilliance, also changed the profile of the body casting, flattening the tops of the cheeks to give the Bed Rock planes a unique look all their own. With such a clear visual distinction, it’s not hard to imagine that this decision was intended to induce those with the financial means to spend a little more and buy the premium Bed Rock planes.
3. The third major change was the addition of a raised receiver for the front knob, and the transition from the low knob to the high knob. It’s interesting that high knobs weren’t introduced to the Bailey line for another 8 years, and the raised receiver wasn’t added to the Bailey design until 1929, some 19 years later!
Miscellaneous
The Bed Rock line included pretty much the same assortment as the Bailey line, with the omission of a number 601, which was never produced. The line included everything else from the 602 to the 608, including half sizes and corrugated versions. The only other exception is that they never made a corrugated version of the 605 1/4.
Bed Rocks were slightly heavier planes with slightly greater mass. The 1934 Stanley catalog offers a comparison, with the no. 603 weighing 1/4 lb more than the Bailey no. 3, and the no. 608 weighing 1/2 lb more than the no. 8.
Prior to the 1911/1912 changes, Stanley manufactured Bed Rock style planes for both Winchester and Keen Kutter. These planes were very similar in design, varying mainly in the lateral adjustment levers, lever caps, and numbering system.
Bed Rock Type Study
The chart below is a summary Type Study of Stanley Bed Rock Planes based on Bob Kaune’s thorough 1996 study and additional research I have conducted over the past several years. Please note that all type studies are approximate as production variations throughout the manufacturing years were quite common. Also keep in mind that Type Studies are present day references, time-lines that map changes in the design and features of tools manufactured in the past. Understand that neither Stanley nor any other manufacturer followed type studies. They didn’t exist at the time. In fact, it is only in the last 30 years or so that type studies have been assembled through historical research and the physical inspection of hundreds or thousands of tools made over the years.
|
Bed Rock Distinguishing Features By Type |
Dates
|
|
Low Knob – Rounded Sides
|
Type 1 |
Beds marked with Bailey model numbers (Nos.2 to 8.)
Space below “PAT’D APR. 2. 95″ was milled out at the factory
S casting mark on bed (a single raised dot on some specimens)
Frogs & Lever Caps have “B” casting marks
Lateral lever has two patent dates “10-21-84 & 7-24-88”
STANLEY R & L CO…BED ROCK on lever caps, Q trademark stamp on most irons |
1898
|
| Type 2 |
7-24-88 is the only patent date on the lateral adjustment lever |
1898-1899
|
| Type 2a |
Model No.603 and 604 beds (only these two) were marked “No.60x” |
1899
|
| Type 3 |
All beds now marked with “600” numbers, i.e.; No.602 – 608
No milled space below “PAT’D. APR. 2. 95.” on bed, B casting marks
Frogs of some planes are nickel-plated on the machined surfaces |
1900-1908
|
| Type 4 |
B casting marks eliminated. No patent dates on the lateral adjustment lever
Lever caps now marked “STANLEY….BED ROCK”
Some irons have “S” trademark stamp, later planes have “T” trademark stamp |
1908-1910
|
|
High Knob – Flat Sides
|
Type 5 |
Beds now marked “BED ROCK” in addition to “600” model numbers
2 patent dates behind frog, “PAT’D. APR. 2. 95″ & APR. 19. 10″
Flat-top sides introduced for first time
Raised knob receiver (flat version), Tall knobs introduced, “T” tm on irons
Frogs are now attached to beds with adjustment pins and set screws |
1911
|
| Type 6 |
Lever caps now marked “BED ROCK”
Irons stamped with “V” trademark or “X” trademark stamps |
1912-1921
|
| Type 6a |
1-1/4″ diameter frog adjustment wheel
Iron stamped with “Y” Trademark (1922-1923) |
1922
|
| Type 7 |
One patent date behind the frog – “U.S. PAT. APR. 19. 10.”
Lever caps marked “STANLEY” only in the notched rectangular logo
Irons stamped with “AA” Trademark (1923-1935) |
1923-1926
|
| Type 8 |
Bed now stamped “MADE IN USA” in addition to the one patent date
Knob receiver boss now cupped for fitting knob |
1927-1930
|
| Type 9 |
Beds no longer have a patent date; stamped “MADE IN U.S.A.” only
Some lever caps nickel-plated with orange paint behind STANLEY logo |
1931-1932
|
| Type 10 |
Beds of No.603, 604 & 605-1/4 planes have raised handle receivers
Some frogs have orange paint on sides like Bailey planes
Lever caps now have kidney-shaped bolt holes
Irons stamped with BB tm starting in 1936 |
1933-1941
|
| Type 11 |
Castings are heavier and thicker during war production years
Finishes left rough; lever caps not plated or polished |
1942
|
| Type 12 |
Frog adjustment nut either hard rubber or small diameter steel
Knob and handle are hardwood (maple) with dark varnish stain
All brass parts eliminated during war-time production
END OF PRODUCTION FOR BED ROCK PLANES |
1943
|
The chart below lists specifications for Stanley’s line of Bed Rock planes.
| Plane No. |
Dates Made |
Iron Width |
Length |
Weight |
| No. |
602 |
1898-1942 |
1 5/8 |
7 |
2 lb 4 oz |
| No. |
602C |
1898-1923 |
1 5/8 |
7 |
2 lb 4 oz |
| No. |
603 |
1898-1943 |
1 3/4 |
8 |
3 lb 4 oz |
| No. |
603C |
1898-1935 |
1 3/4 |
8 |
3 lb 4 oz |
| No. |
604 |
1898-1943 |
2 |
9 |
3 lb 12 oz |
| No. |
604C |
1898-1935 |
2 |
9 |
3 lb 12 oz |
| No. |
604 1/2 |
1898-1935 |
2 3/8 |
10 |
4 lb 12 oz |
| No. |
604 1/2C |
1898-1935 |
2 3/8 |
10 |
4 lb 12 oz |
| No. |
605 |
1898-1942 |
2 |
14 |
4 lb 8 oz |
| No. |
605C |
1898-1935 |
2 |
14 |
4 lb 8 oz |
| No. |
605 1/4 |
1925-1943 |
1 3/4 |
11 1/2 |
4 lb |
| No. |
605 1/2 |
1898-1935 |
2 1/4 |
15 |
6 lb 8 oz |
| No. |
605 1/2C |
1898-1937 |
2 1/4 |
15 |
6 lb 8 oz |
| No. |
606 |
1898-1941 |
2 3/8 |
18 |
7 lb 6 oz |
| No. |
606C |
1898-1934 |
2 3/8 |
18 |
7 lb 6 oz |
| No. |
607 |
1898-1943 |
2 3/8 |
22 |
8 lb 12 oz |
| No. |
607C |
1898-1935 |
2 3/8 |
22 |
8 lb 12 oz |
| No. |
608 |
1898-1940 |
2 5/8 |
24 |
9 lb 12 oz |
| No. |
608C |
1898-1935 |
2 5/8 |
24 |
9 lb 12 oz |

_________________________________
References
Kaune, Bob, Bed Rock Type Study, 1996
Sellens, Alvin, The Stanley Plane, 1975
Smith, Roger, Patented Transitional & Metallic Planes In America, Vols. I & II, 1992
Walter, John, Stanley Tools – A Guide to Identity & Value, 1996
Various Stanley catalogs, flyers, pamphlets