Rev-O-Noc Renewal
May 28, 2020 4 Comments
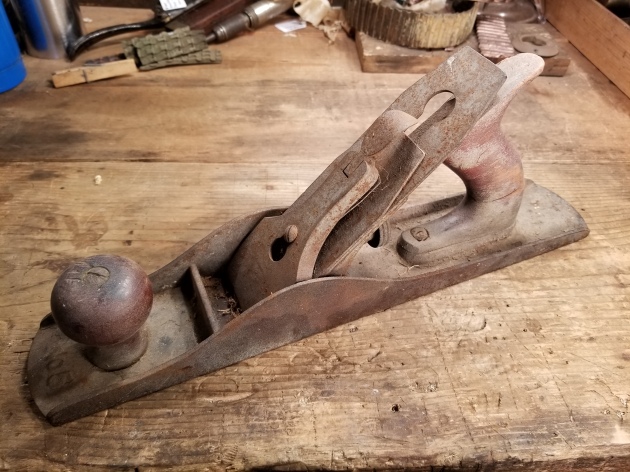
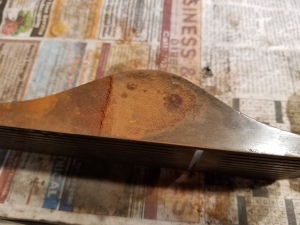
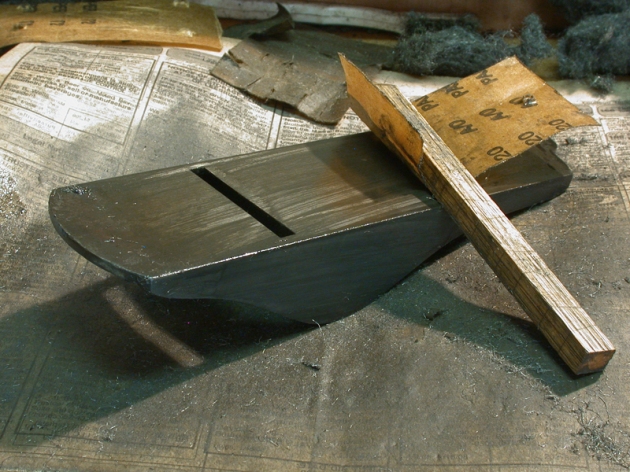
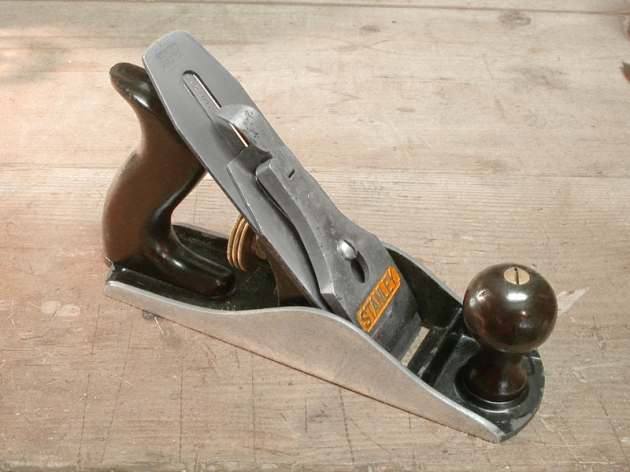
I can count on one hand the number of planes I’ve refinished (vs. restored) over the years, but this Rev-O-Noc 5C jack plane had some issues that made an anti-rust dip and repainting the best course of action.
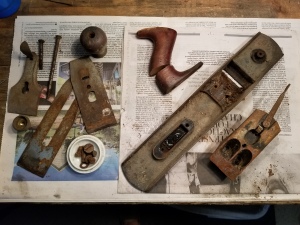
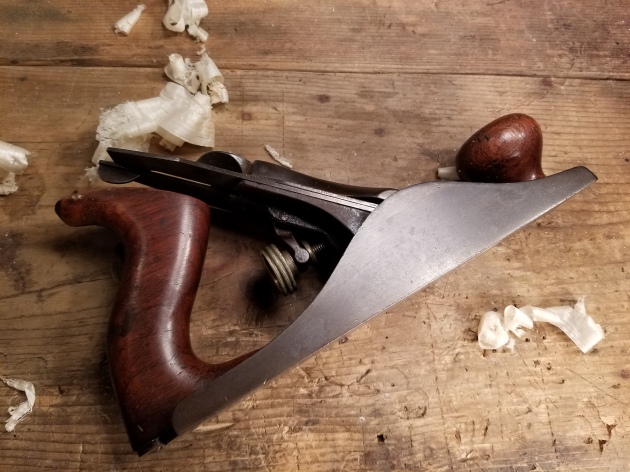
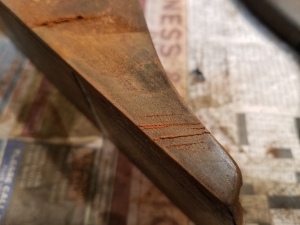
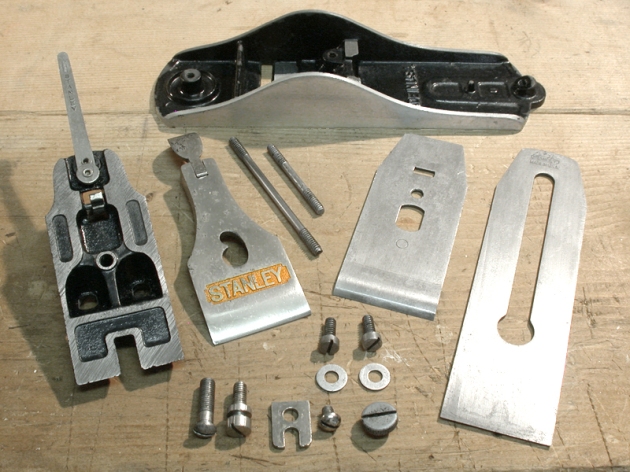
The entire body was a rustbucket with very little japanning remaining. The lever cap fortunately looked worse than it actually was, and while the cap iron was salvageable, the Rev-O-Noc iron had some pretty deep pitting on the business end. While I was able to sharpen through that, there was something off with the temper of the blade that I didn’t like, so I added a Vaughan & Bushnell iron I had on hand that’s better suited for use. The break in the tote was clean, so I epoxied it back together and then spent the better part of a week refinishing it to match the knob. The repair turned out really nice and is completely invisible.
HSB Rev-O-Noc was a store brand from Hibbard, Spencer, Bartlett & Co., a Chicago hardware dealership that formed in 1882, but whose origin dates back to at least 1855 in the form of Tuttle, Hibbard & Co. In 1932, the company introduced a new line of hand tools under the brand name “True Value” and by 1948, Hibbard’s annual sales reached nearly $30 million. Business slowed and profits shrunk, however, as new hardware cooperatives began to bypass traditional wholesalers. In 1962, the company’s owners sold both the hardware operations and the “True Value” brand to John Cotter for $2.5 million. Yes, that’s the True Value brand we know today.
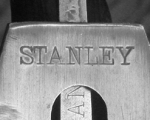
Also interesting, the name Revonoc is the reverse spelling of Conover. Conover was the name of an officer of the company, and apparently had a separate hardware company prior to joining Hibbard, Spencer, Bartlett & Co. They used this backwards spelling of his name for their brand of planes sold by HS&B from about 1920-1940. They were made at times by both Stanley and Sargent, but this one is clearly Stanley made based on the casting, frog, and hardware.
As far as I can tell, this plane likely falls somewhere closer to 1920 given the short knob and small adjustment nut. Of course, it’s also possible it’s an earlier plane and the Revonoc blade was a later replacement. I just don’t know.
Despite a gnarly looking rust damaged sole, the mouth area was in decent shape and the plane functioned true to Stanley’s level of excellence. Once everything was cleaned up, oiled, reassembled, and tuned, this old plane shaved wood like a champ, producing some wispy thin shavings with no effort at all.
(Disclosure: This article contains paid links that help support the site)
