Setting Up a Stanley Gage Plane
June 3, 2014 2 Comments
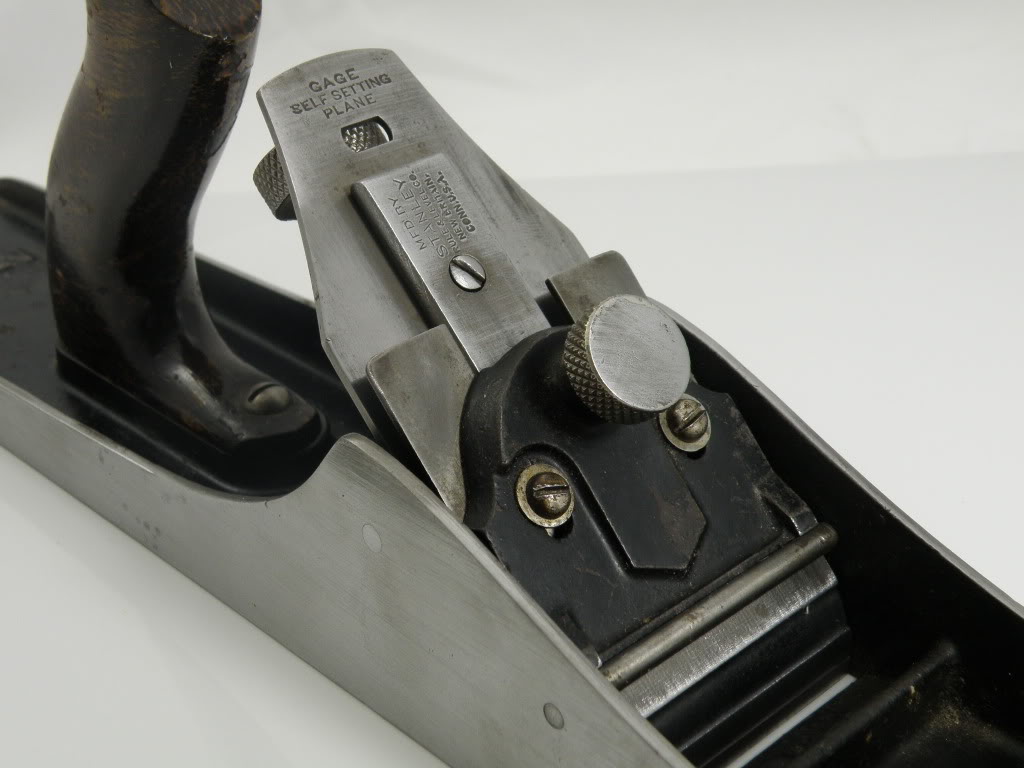
Stanley Gage Plane – Frog and Iron Assembly
Stanley Gage planes are a little finicky to set up initially, but once you get them set accurately, they do tend to stay that way. The main benefit of the design is such that once properly set, you can remove the lever cap, iron and cap iron, and then replace them again, returning to the exact depth adjustment at which you had it set initially. Further, since the iron/cap iron is positioned via an indexing block, there is no slop (movement) from side to side, and therefore no need for a lateral adjustment mechanism.

Indexing Block on Gage Iron
Some people will tell you that in order for the design to work, the cutting edge of the iron must be perfectly perpendicular to its edges. Ideally, that is true. However, I don’t think it’s actually all that critical. What does need to be perpendicular to the cutting edge is the sides of the indexing block, which can be loosened and adjusted via the screw on the top side of the iron (show here on the left).
The indexing guide itself, which is attached to the lever cap, is not laterally adjustable, so in order for the iron to extend properly through the mouth of the plane, the iron’s edge needs to be perfectly aligned. As I said, you ideally want everything to be at perfect right angles, but that’s not always what you end up with. By adjusting the indexing block so that it’s properly aligned in conjunction with the cutting edge on the iron, even a skewed edge can be aligned properly.
I admittedly don’t have a lot of extensive personal hands-on experience with the Gage planes. I’ve owned a couple, and right or wrong, here’s how I set them up for use:
- Remove the lever cap and set it aside.
- Loosen (slightly) the indexing block that’s attached to the iron, just enough so it moves independently against the iron.
- Put the iron in place (seating the indexing block to engage the depth adjustment).
- Align the iron with the mouth opening, and carefully tighten the screw on top of the indexing block.
- Put the lever cap in place and tighten it. You should be good to go.
***

The easiest way to set the indexing block perpendicular to the cutting edge of the iron is to use an engineers square. Loosen the set screw on the indexing block. Place the wide leg of the square against the cutting edge, being careful not to strike the metal square against the cutting edge, and place the narrow leg of the square against the side of the indexing block so that the indexing block is perpendicular to the cutting edge. Then tighten the set screw. That’s it. Replace the iron and the lever cap into the body and use the depth adjustment knob. The cutting edge will always be parallel with the mouth until you next sharpen the iron. Then repeat the process with the engineers square.
LikeLike
This only works if the cutting edge is precisely perpendicular to the sides of the iron. Fine if you sharpen with a jig, but not always the case if you sharpen by hand.
LikeLike