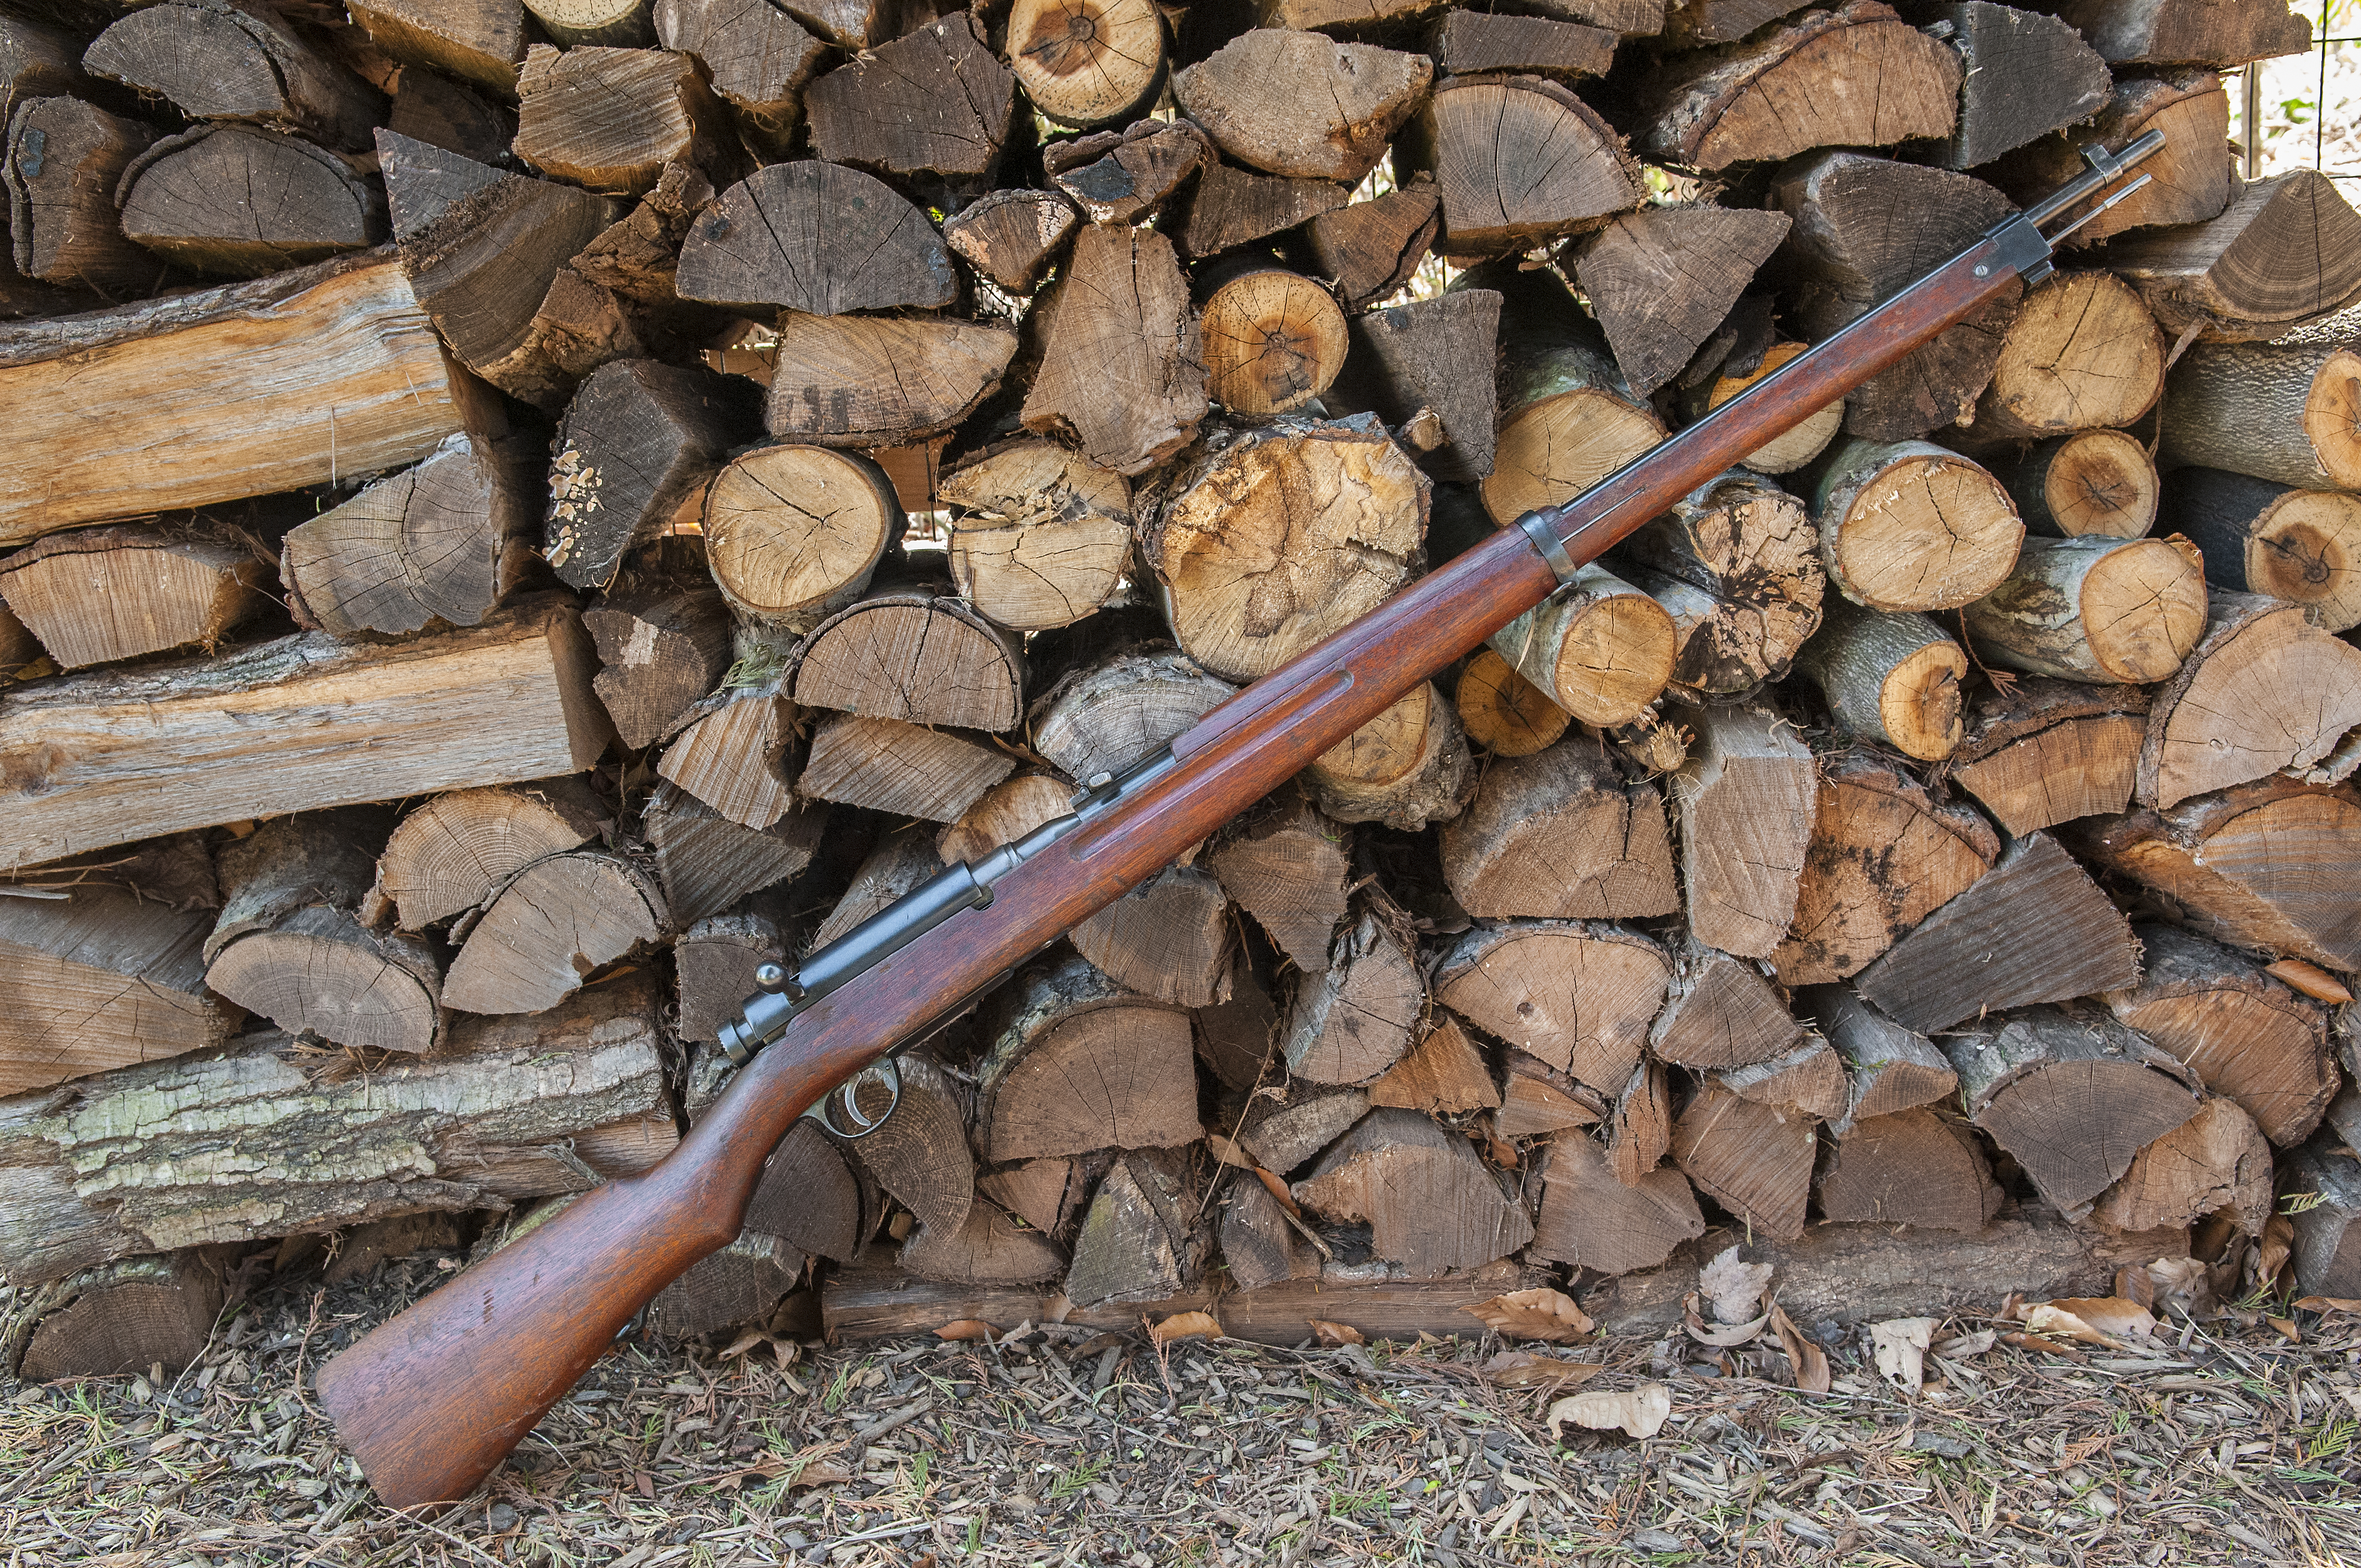
Lee-Enfield SMLE No. 1 MKIII
For those of you who have followed along, I finally finished up the Lee-Enfield this past weekend, and I’m pretty pleased with the results. To recap, this rifle was given to me by my father-in-law back in early January. It’s a Lee-Enfield SMLE (Short Magazine Lee-Enfield) model No. 1 MKIII (.303 British caliber) produced at the Birmingham Small Arms Co. in England in 1940. Lee-Enfields were manufactured from 1888 to the early 1970s, and total production was nearly 14 million rifles. This one appeals to me because it was made in England during the Battle of Britain, and shows evidence of actual deployment in combat.
The WWII No. 1 MKIII rifles are plentiful even today, and not particularly valuable. I probably exceeded the value of this one in the parts alone that I purchased, but I didn’t restore it to sell. It’s a keeper and a shooter that will be enjoyed and passed down. As it happens, the first high-powered rifle I ever shot as a kid was an old WWI vintage Enfield that belonged to my uncle. I remember that .303 kicked like a 12 gauge. I may even still have that first casing somewhere in a box of my childhood stuff.

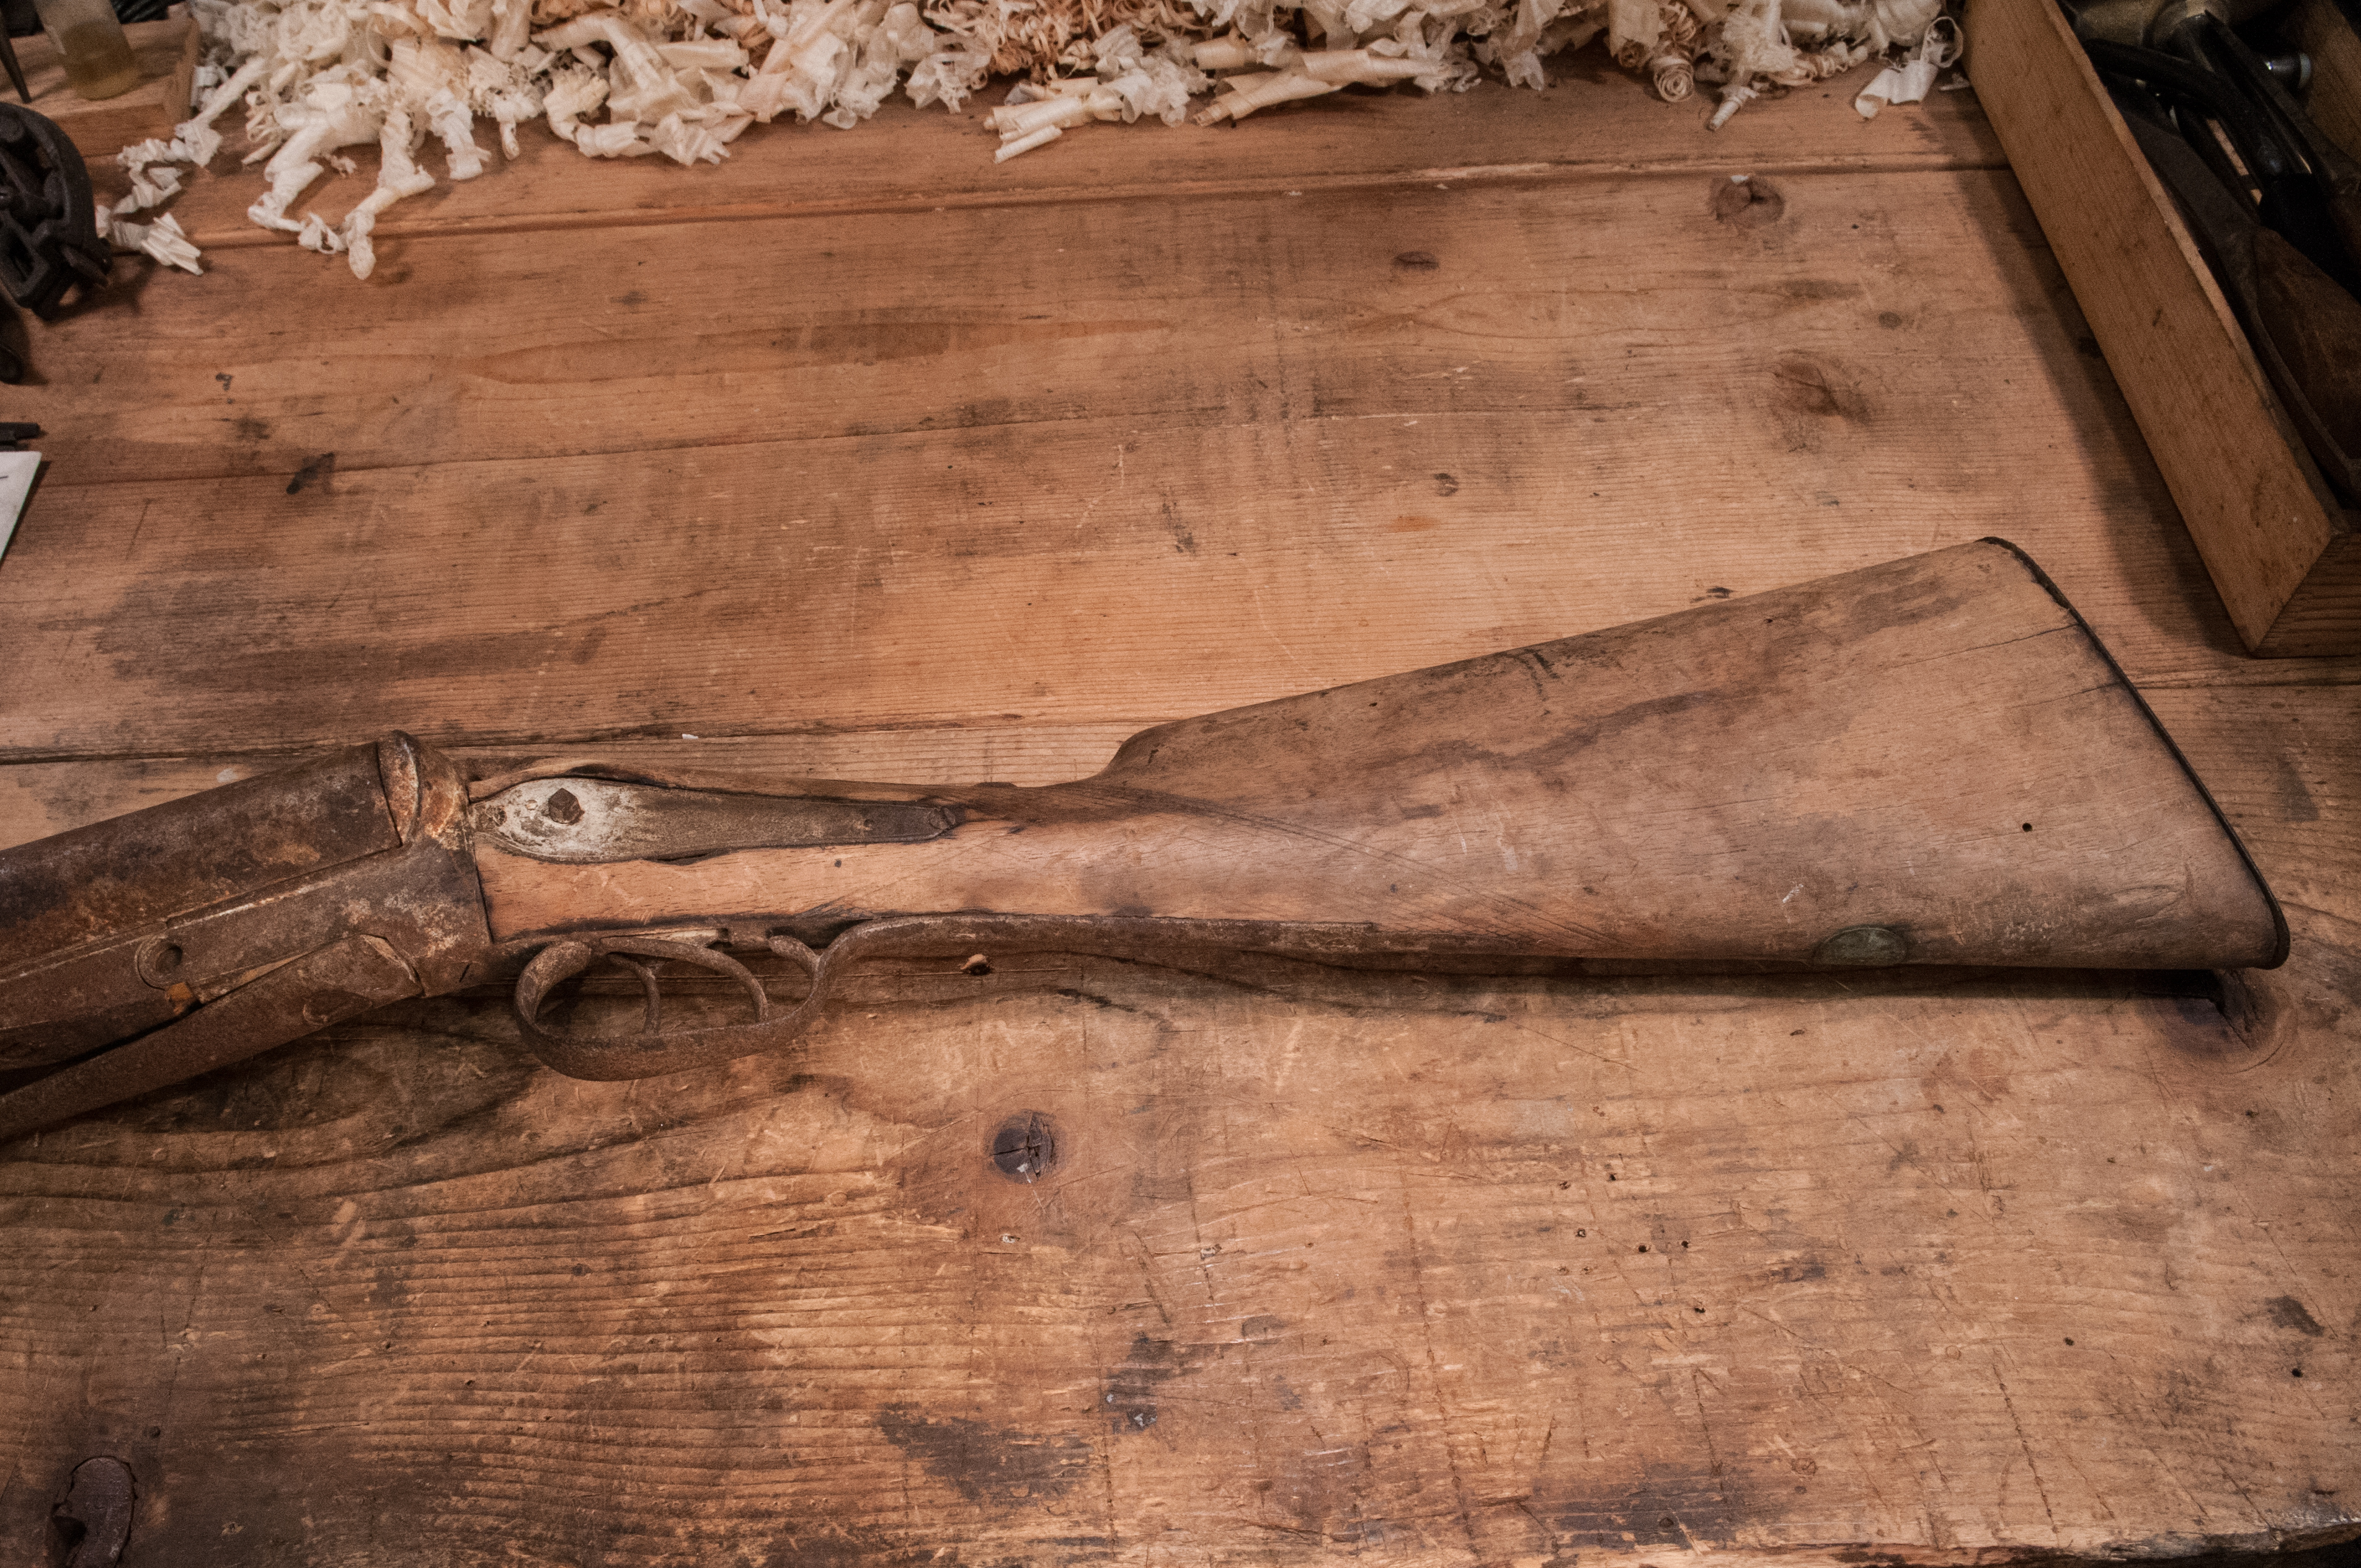
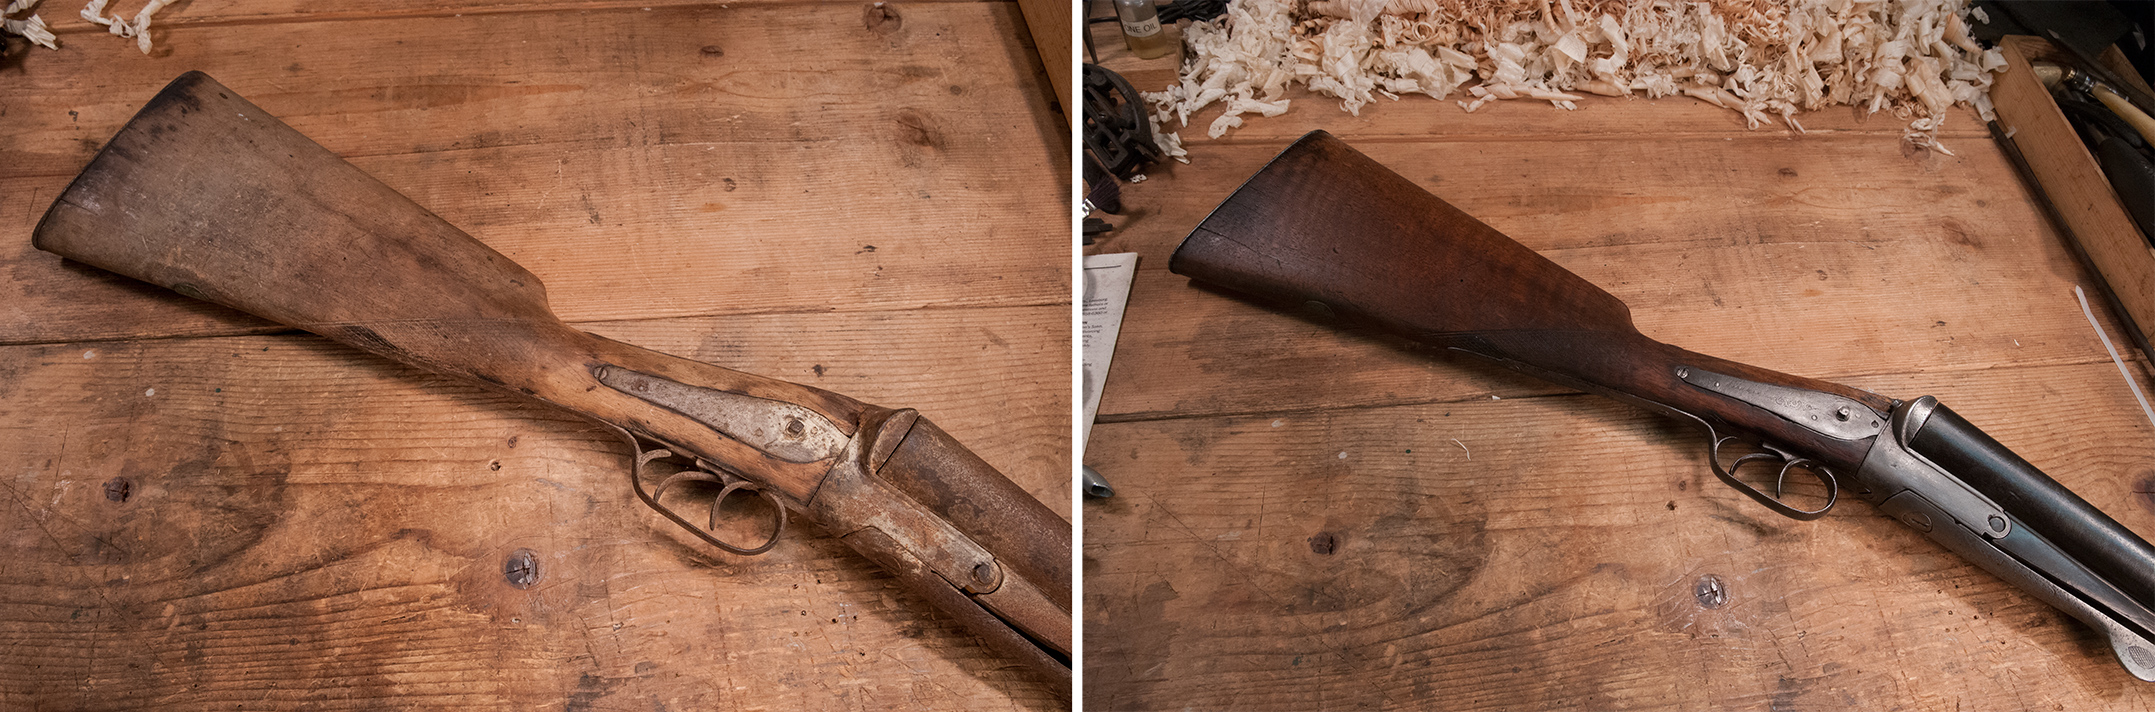
The Enfield before restoration with new forestock and hand guard shown above
As I wrote in earlier posts, the rifle had been ‘sporterized’ at some point, or at least someone started that process. Unfortunately, this was a popular practice in the post war years. The guns were plentiful and cheap, and guys who bought them apparently preferred the look of a traditional hunting rifle. Since the Enfield featured a barrel fully shrouded in wood, sporterizing them usually began with removing the nosecap and hardware, the upper hand guard, and cutting off the front part of the forestock. Sometimes the rear sights were removed or altered to accept a scope, but fortunately the bubba who hacked away at this rifle didn’t get that far.

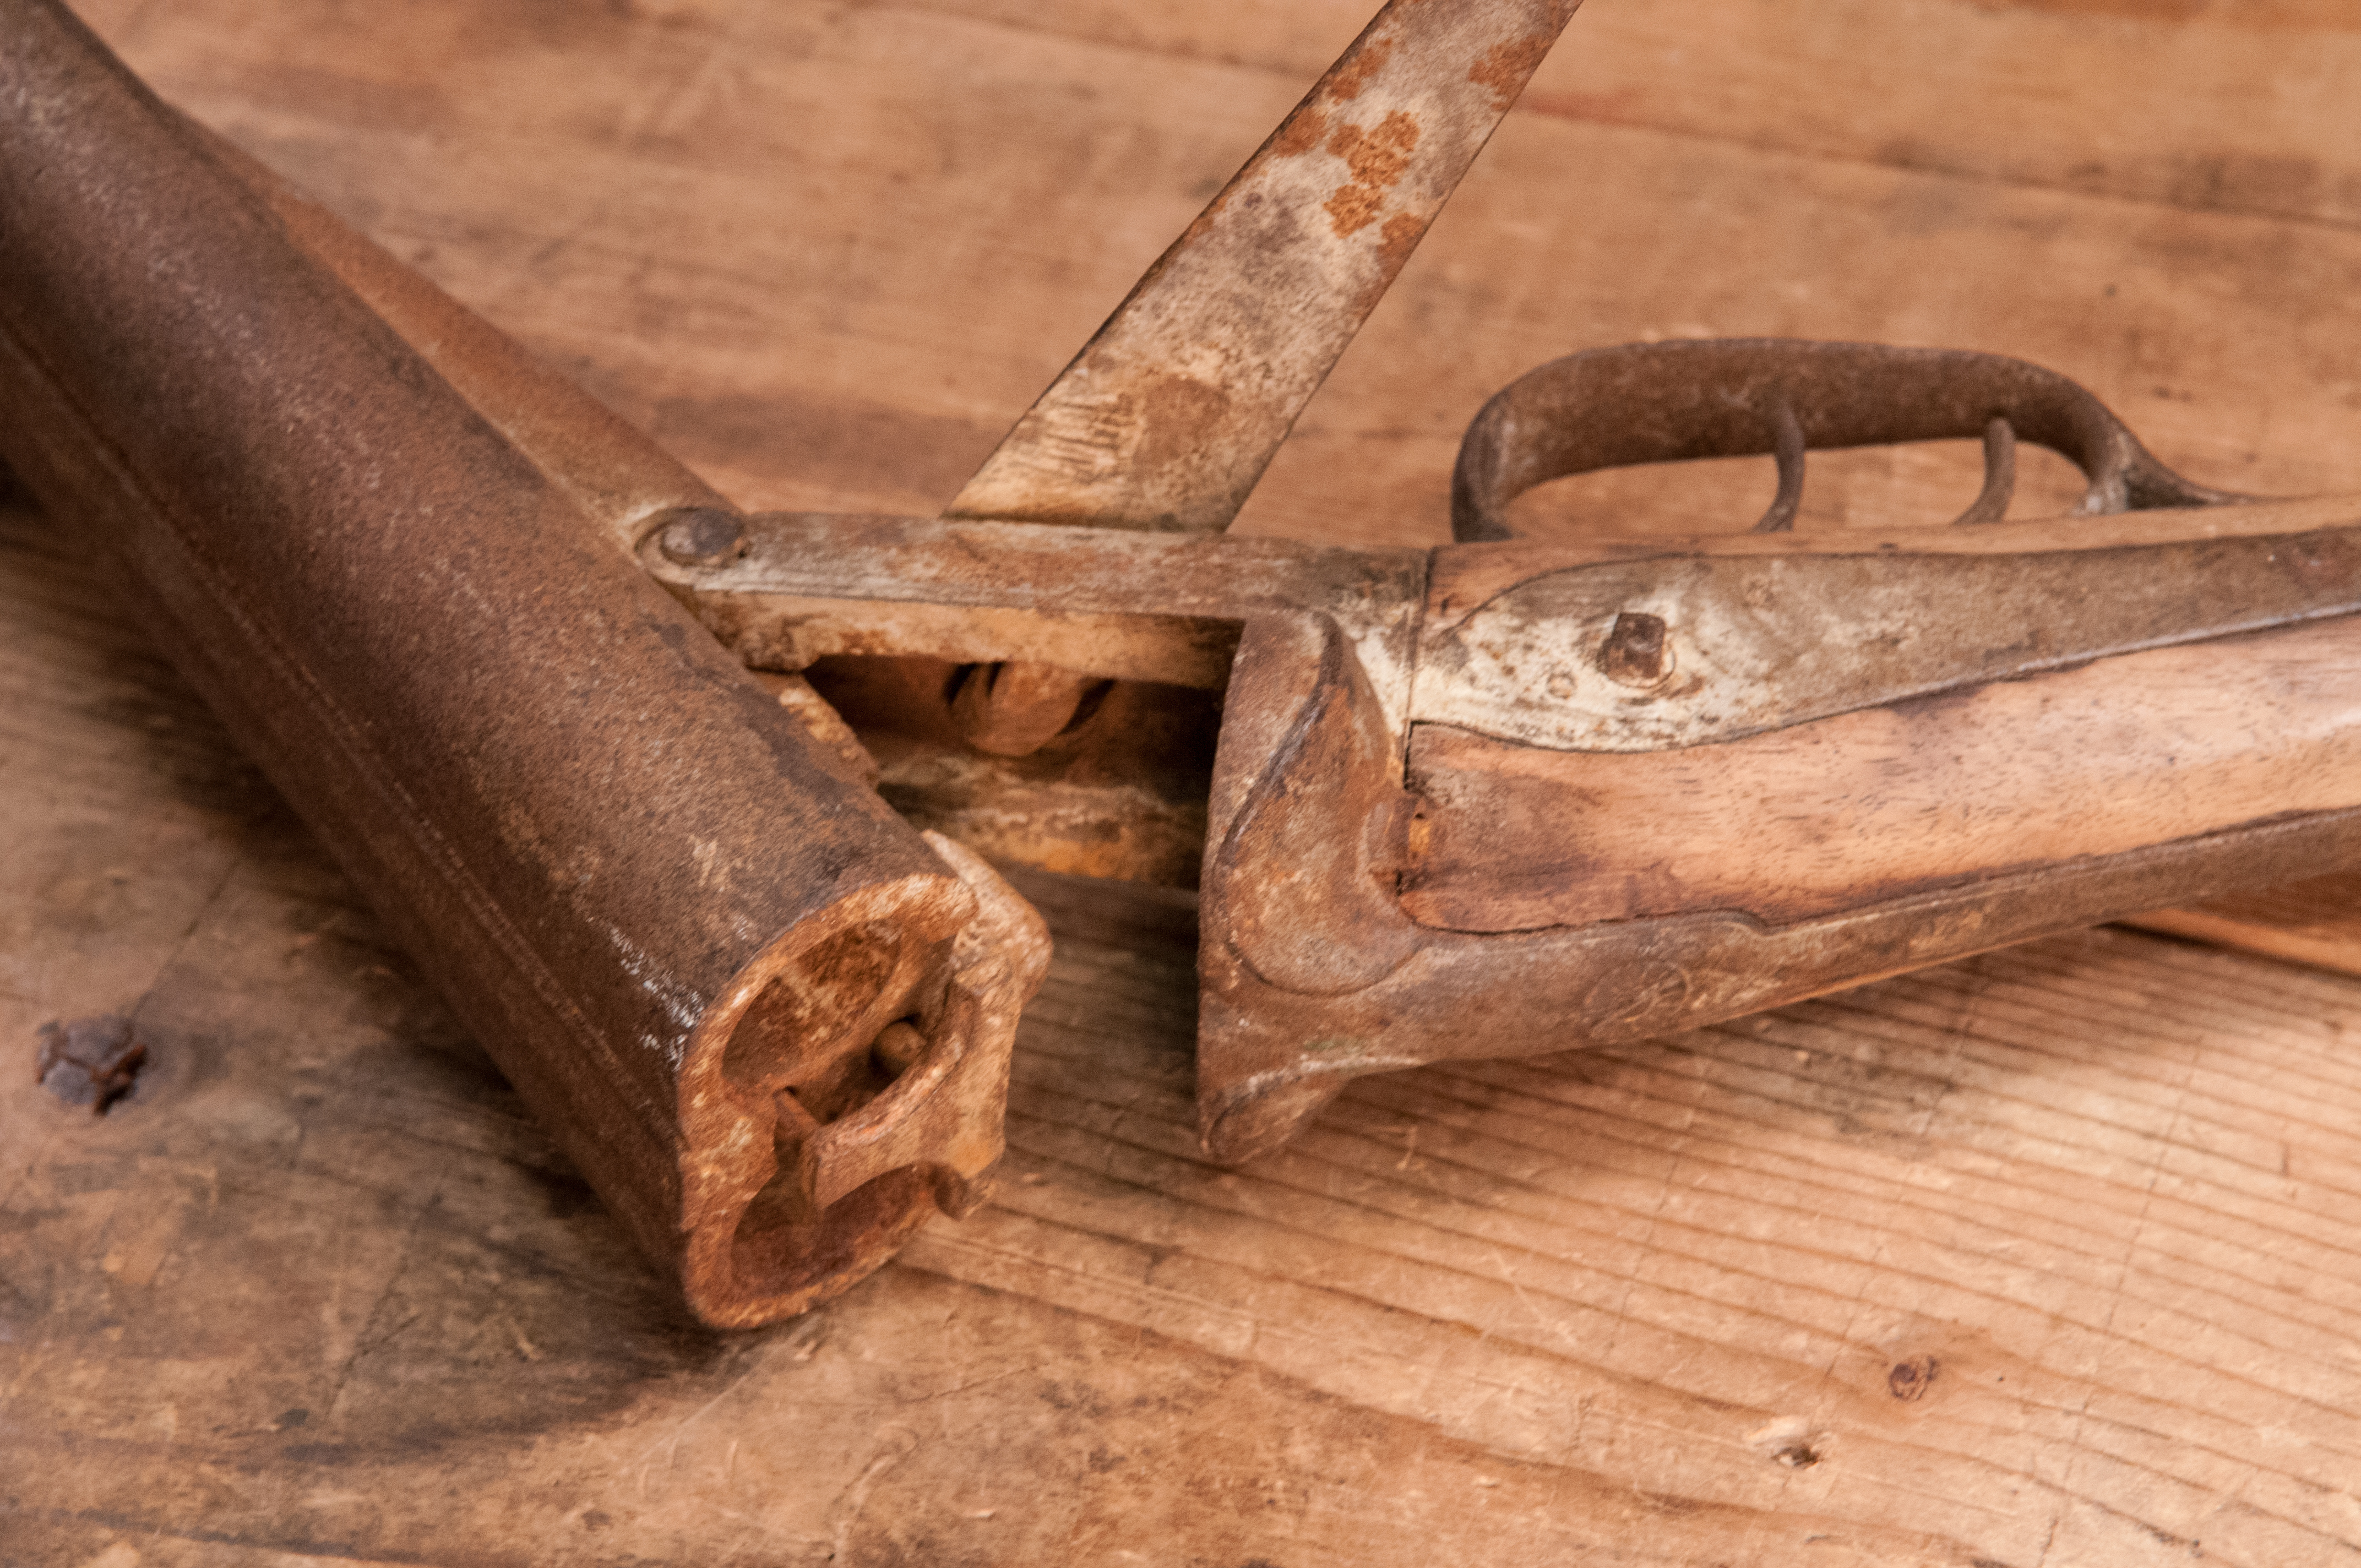
The forestock had been cut, the hand guard missing
The forearm on this rifle had been cut just behind the swivel band. The entire nosecap assembly at the front was missing, along with the swivel band, forward swivels and a variety of related hardware, and the upper hand guard. The rear hand guard was still there, but its ears had been cut off and so it needed to be replaced. It appeared all of the remaining wood on the rifle was scrubbed with a heavy wire brush, leaving the surface pretty rough and scarred with brush marks. All of the original finish was long gone.
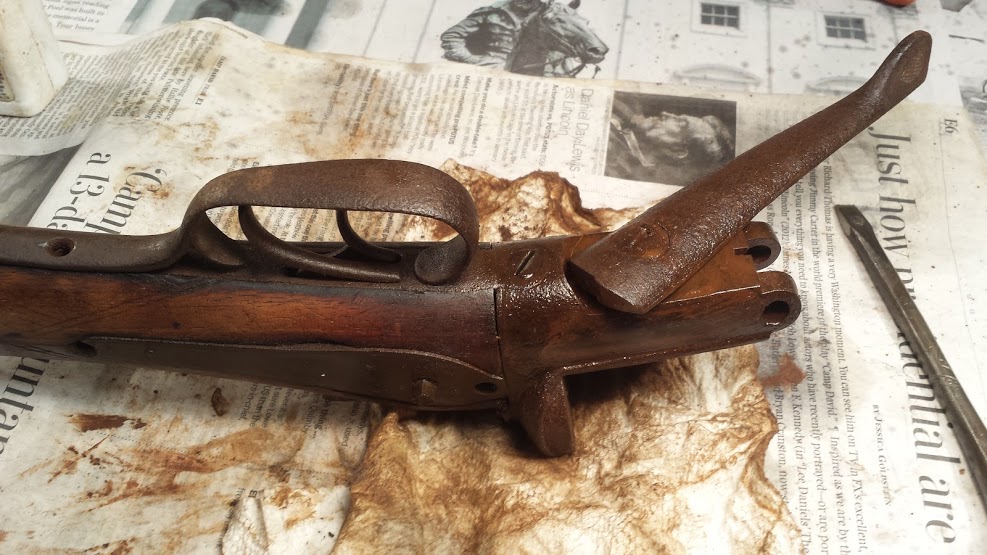
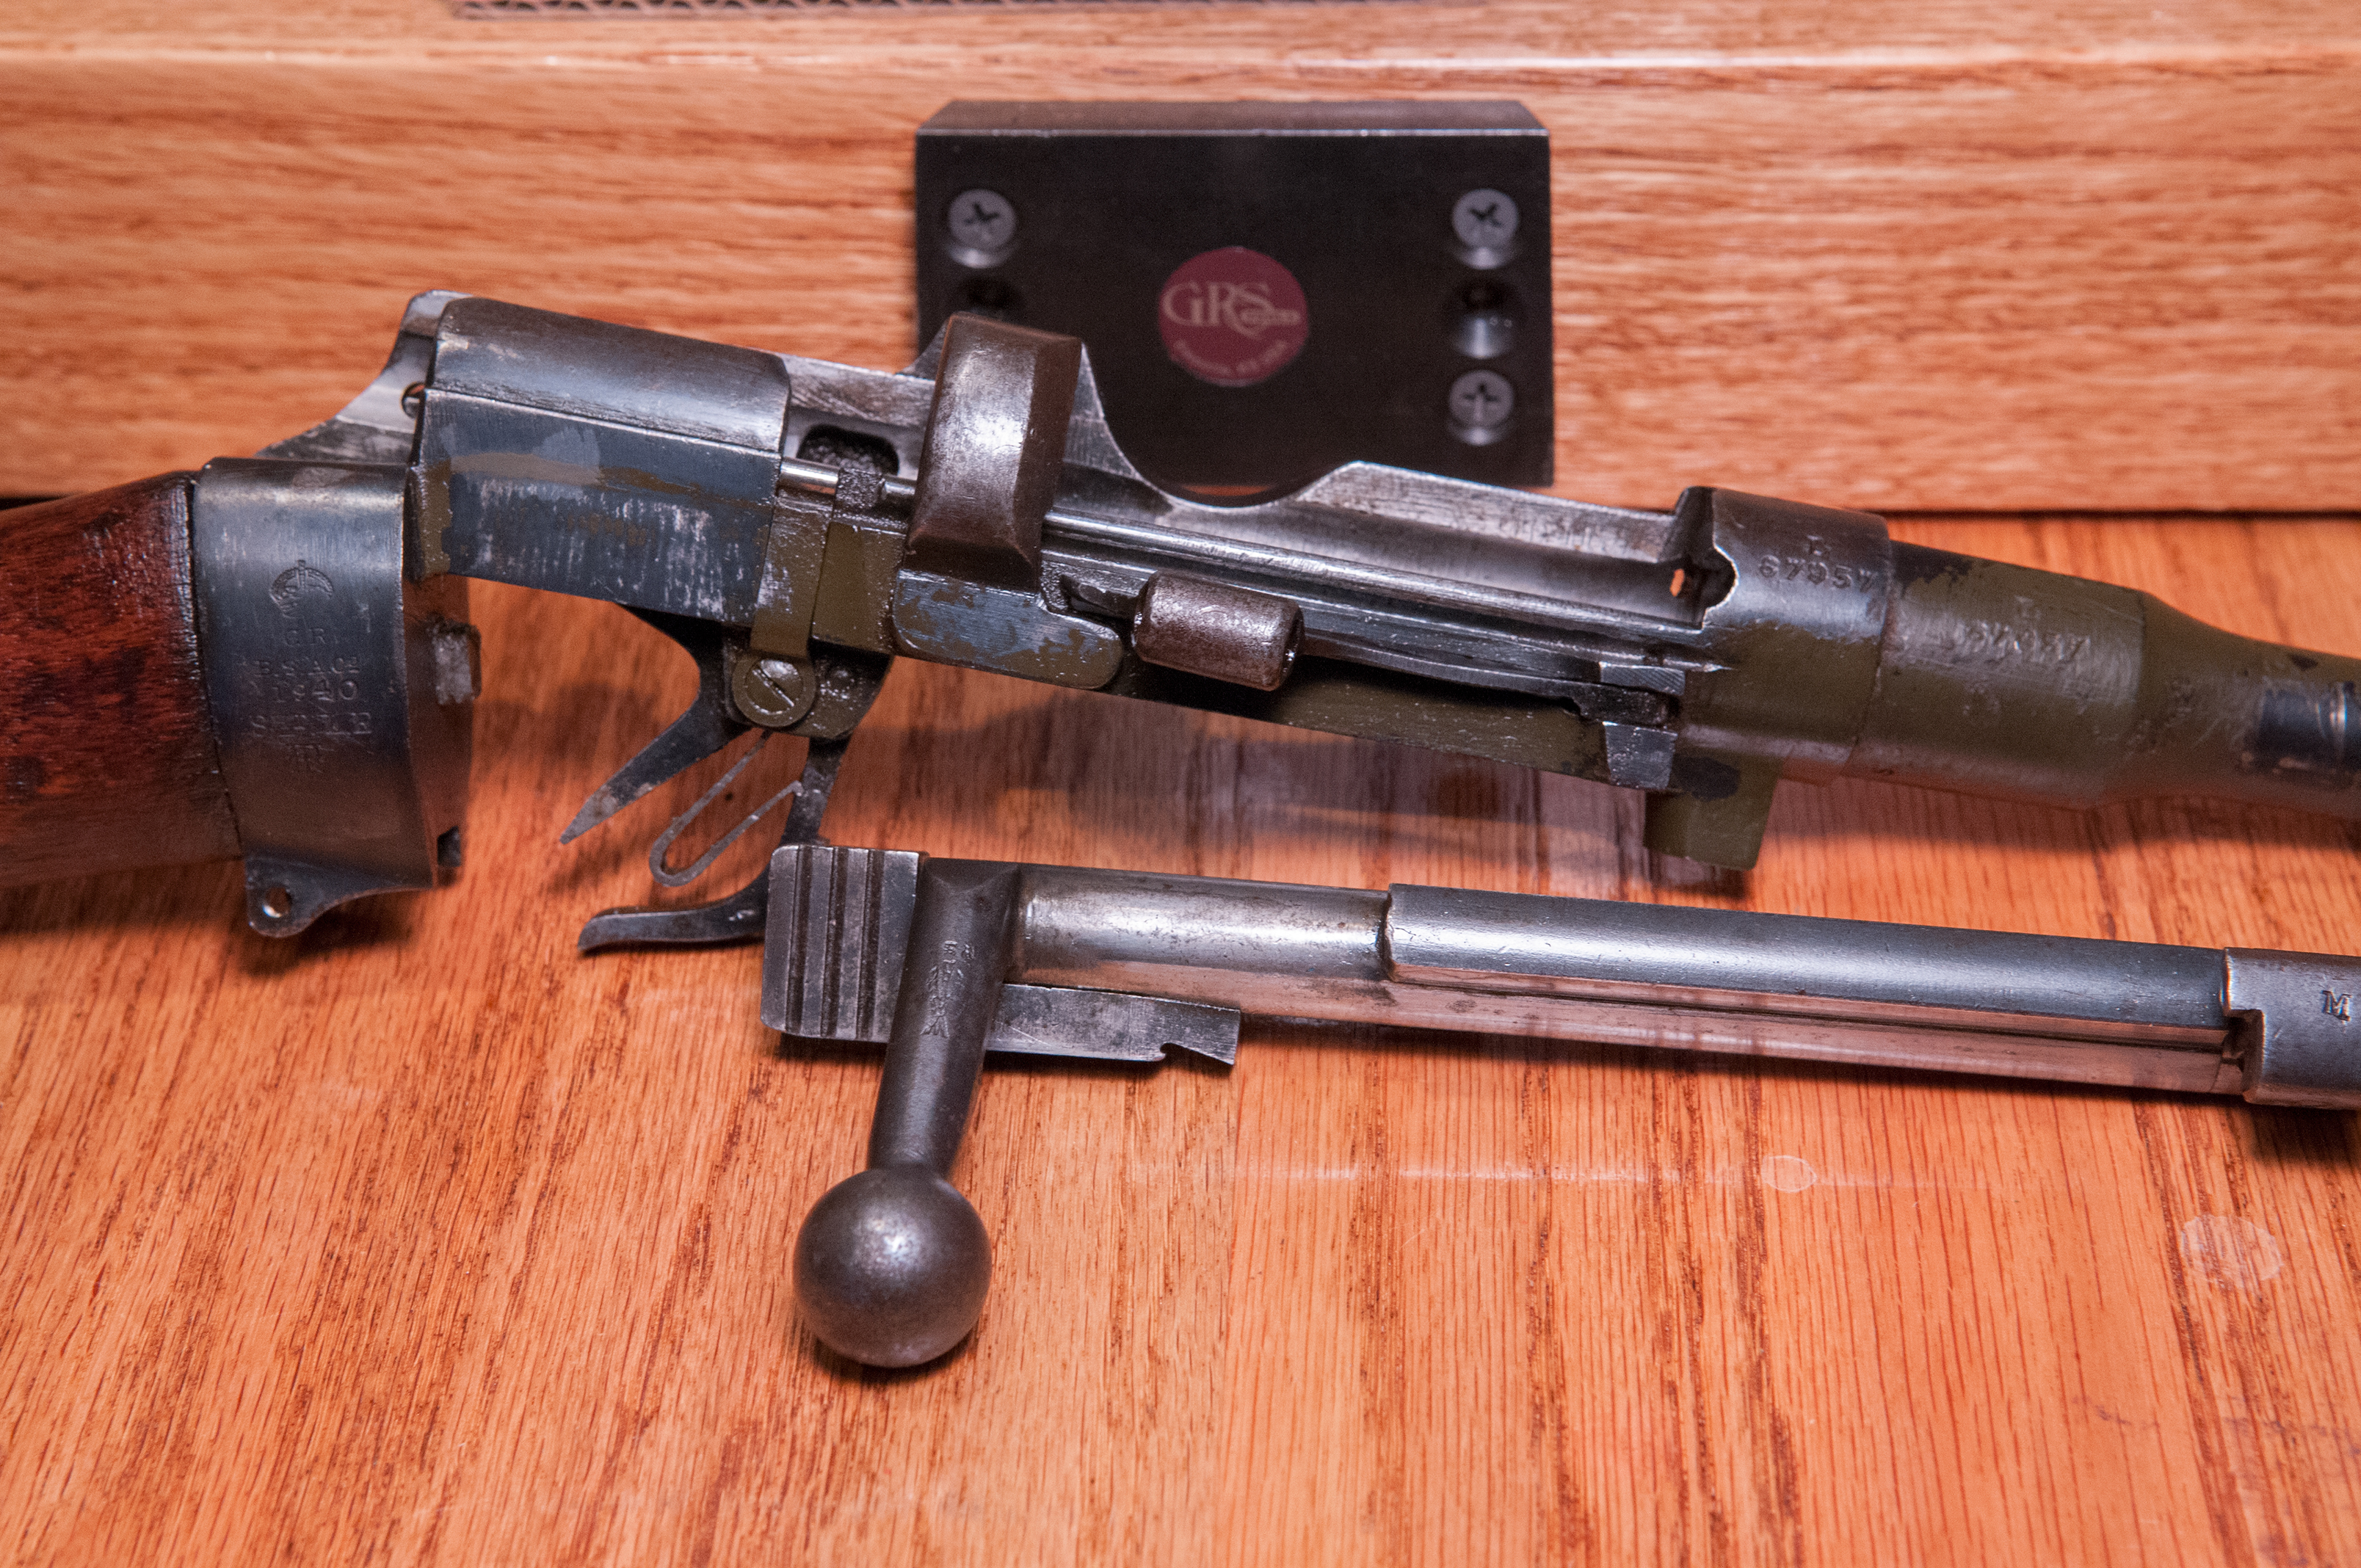
After the initial disassembly and inspection, I was happy to find the action and barrel in surprisingly good condition. Areas of rust were minimal and superficial. All the serial numbers thankfully matched, so I knew everything was likely original. The action and barrel had significant areas of olive drab paint, which I discovered was routinely applied to rifles used in tropical climates during WWII to help prevent rust. I was careful to leave that intact.

Receiver with bolt removed – original forestock still on the rifle (note the olive drab paint)
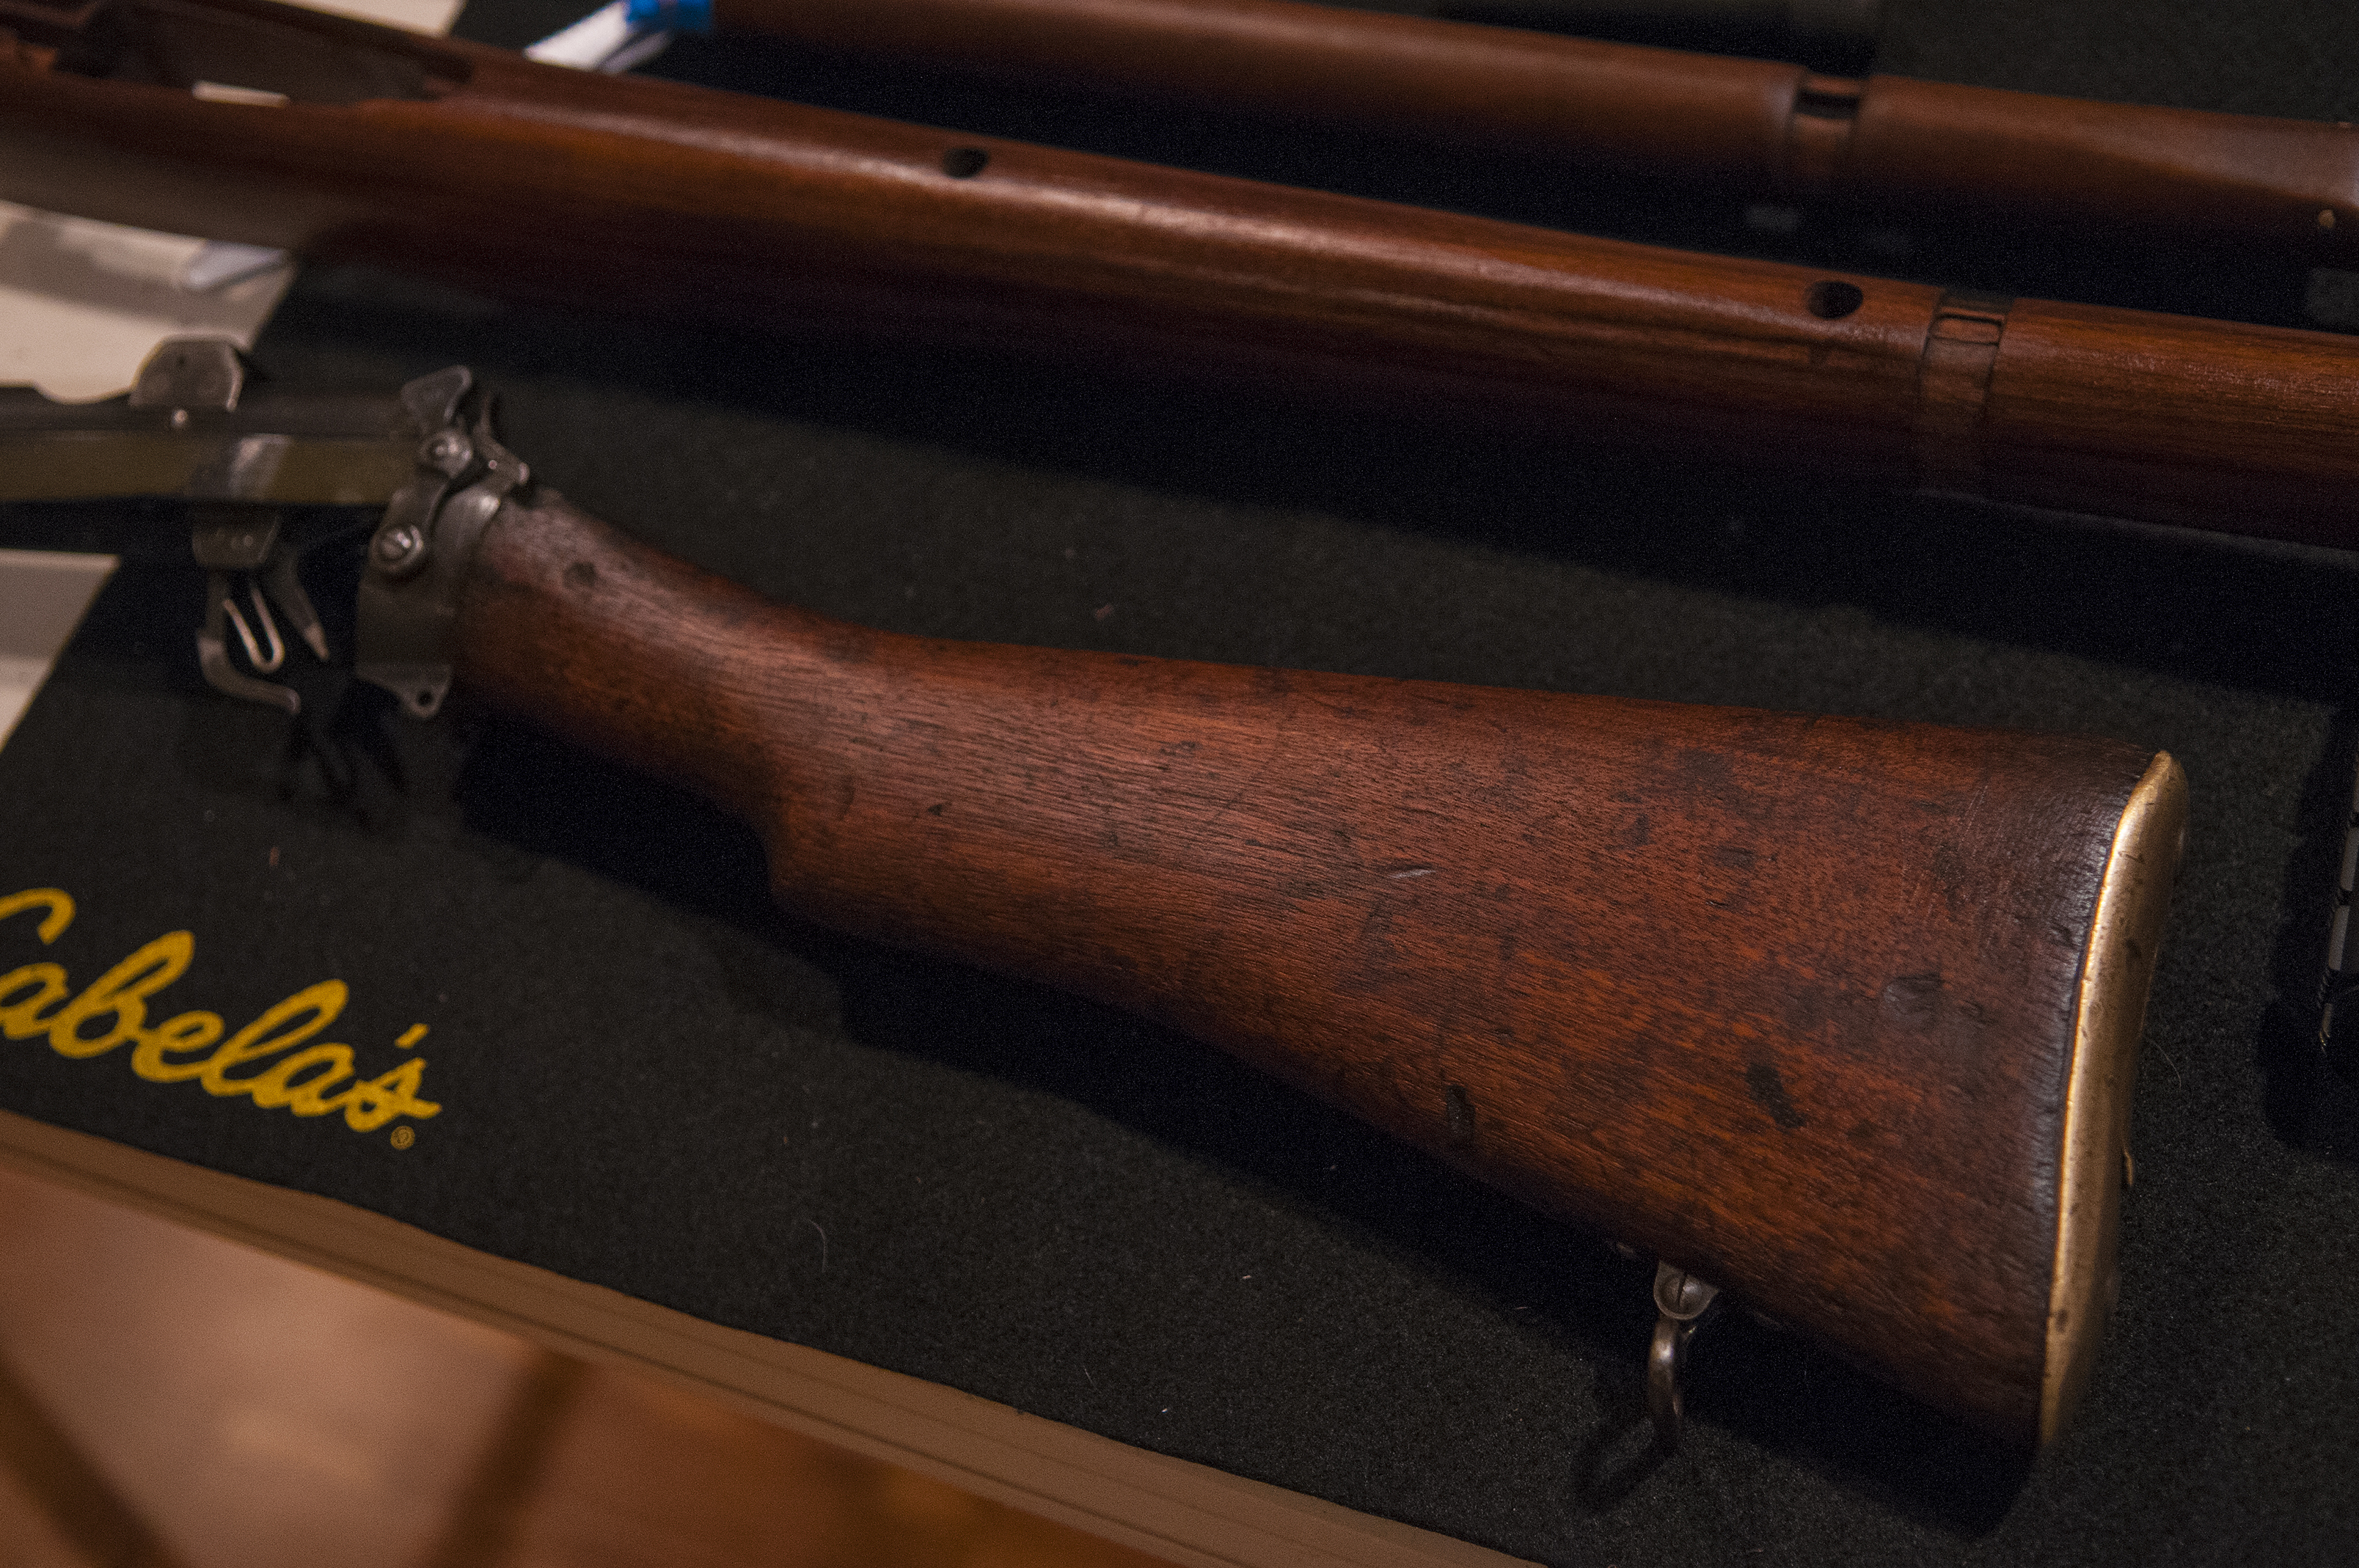
I was able to identify and source all the missing parts without too much trouble. Since there was such a long bedding space on the Enfield’s full length forestock, I decided to go with an unissued but old forestock and hand guard assembly. With so much hand fitting required, I didn’t want to take a chance on a stock that had already been on another rifle. I may have been misguided in this assumption, but that’s what I did. I left the original buttstock on the rifle since there was no need to replace it other than the aesthetic contrast between it and the new wood. I preferred to keep the rifle as close to original as possible.

Fitting the new forestock to the receiver – completed
The new wood required quite a bit of fine tuning and adjustment to get it to fit the receiver and barrel correctly. There are several fairly critical areas on Enfield rifles where the wood needs to fit very flush against the metal, so the work was slow and cautious. With so many parts all needing to come together and a half-dozen attachment points that all had to be aligned, I spent more than a few hours wondering why I ever started this project. But in the end, it all finally came together and I feel really good about the fit. It seems to fit like a glove where it’s supposed to, with the appropriate generosity in the other areas where called for.

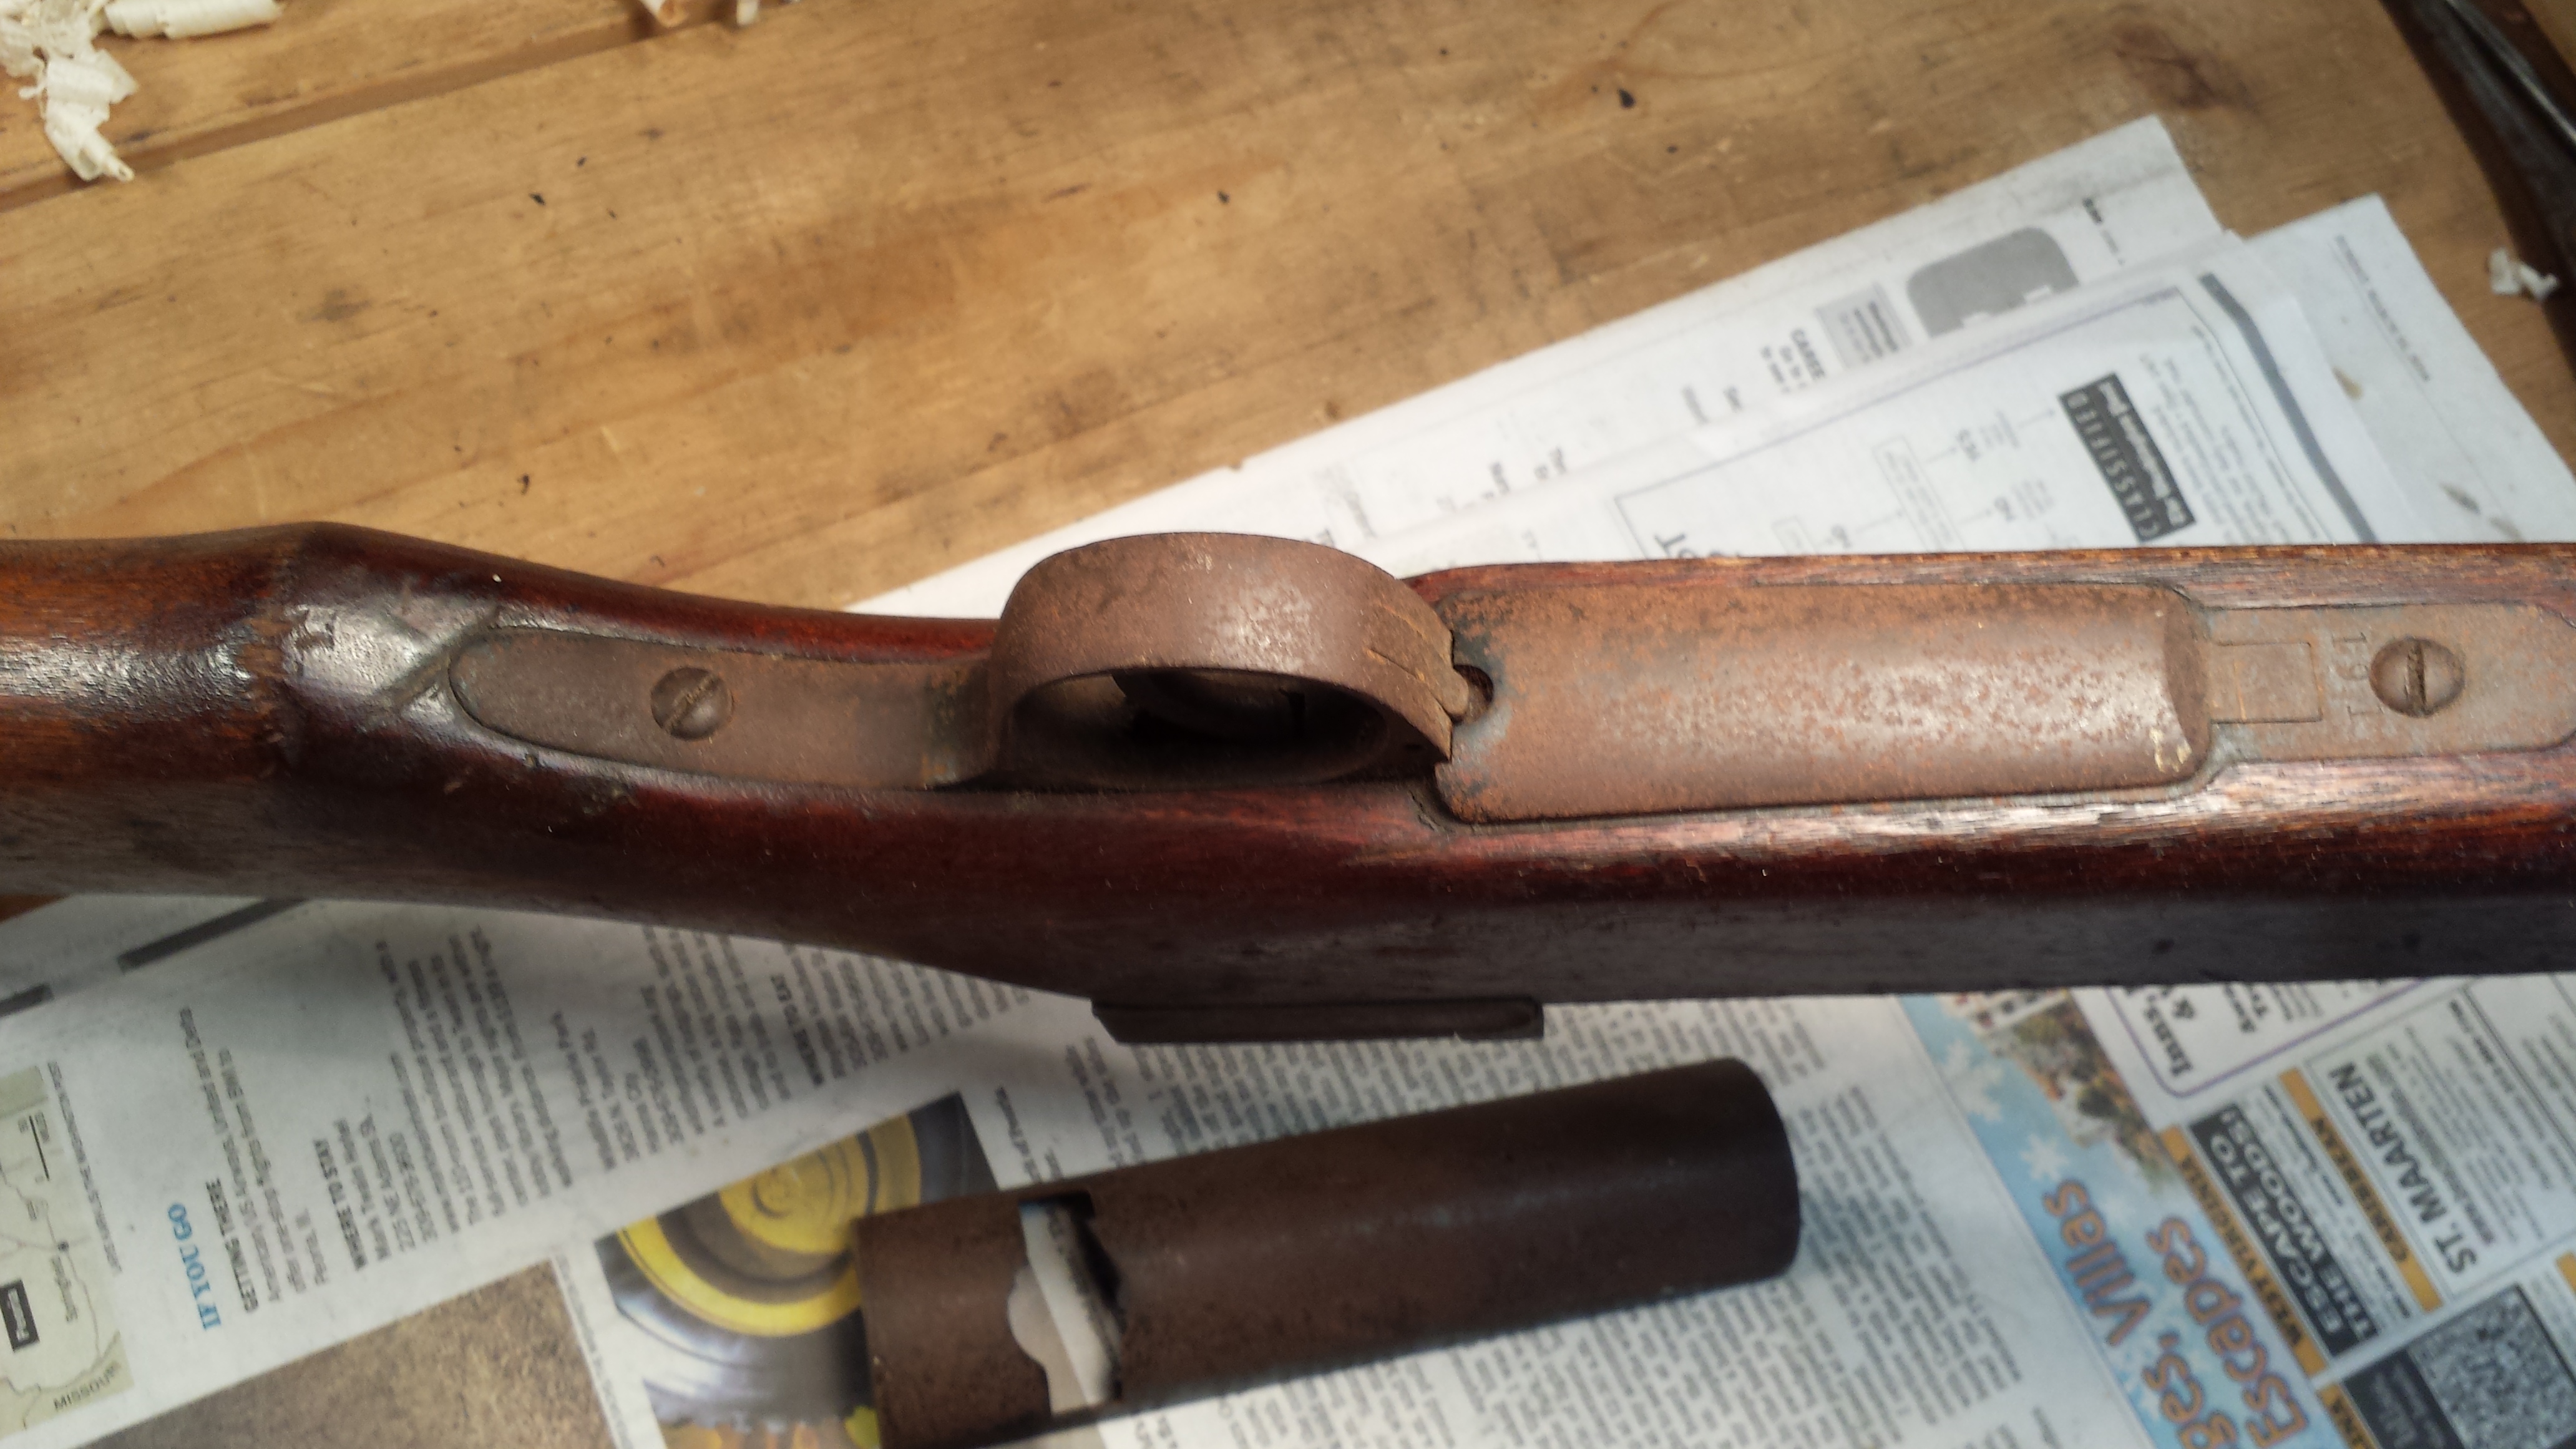
The hand guard sat too high for the nosecap to slide on
Of everything on the rifle, the nosecap I sourced ended up being the most difficult part to get properly installed. Initially the upper hand guard sat too high for the nosecap to slip over it properly. That required carefully reducing the height of the guard along its full length, but not so much that the top of the barrel would bottom out preventing it from seating against the forearm. Once that problem was resolved, I then found that the screw holes through the forearm were just lightly out of alignment, preventing the front nosecap screw from engaging the threads on the opposite side of the nosecap. Eventually, with a lot of patience and careful filing, everything fell into place and the wood was ready for the finish.
While not the most practical by today’s standards, I wanted to keep this rifle as true to original form as possible, and so went with the tried and true linseed oil finish. This is what was used when the rifle was made. Since boiled linseed oil is chemically different, I used raw linseed oil. Or at least I assume it’s raw. I had a can of artist’s grade linseed oil that I bought when I was in college 30 some years ago and never opened. I cut it with 50% turpentine to help ensure it would dry sometime this decade. Following the old adage, once a day for a week, once a week for a month, I’ve applied about 8 ‘coats’ and the results look great. The wood has a nice rich low luster and even the contrast between the new wood and the old stock doesn’t jump out too much.

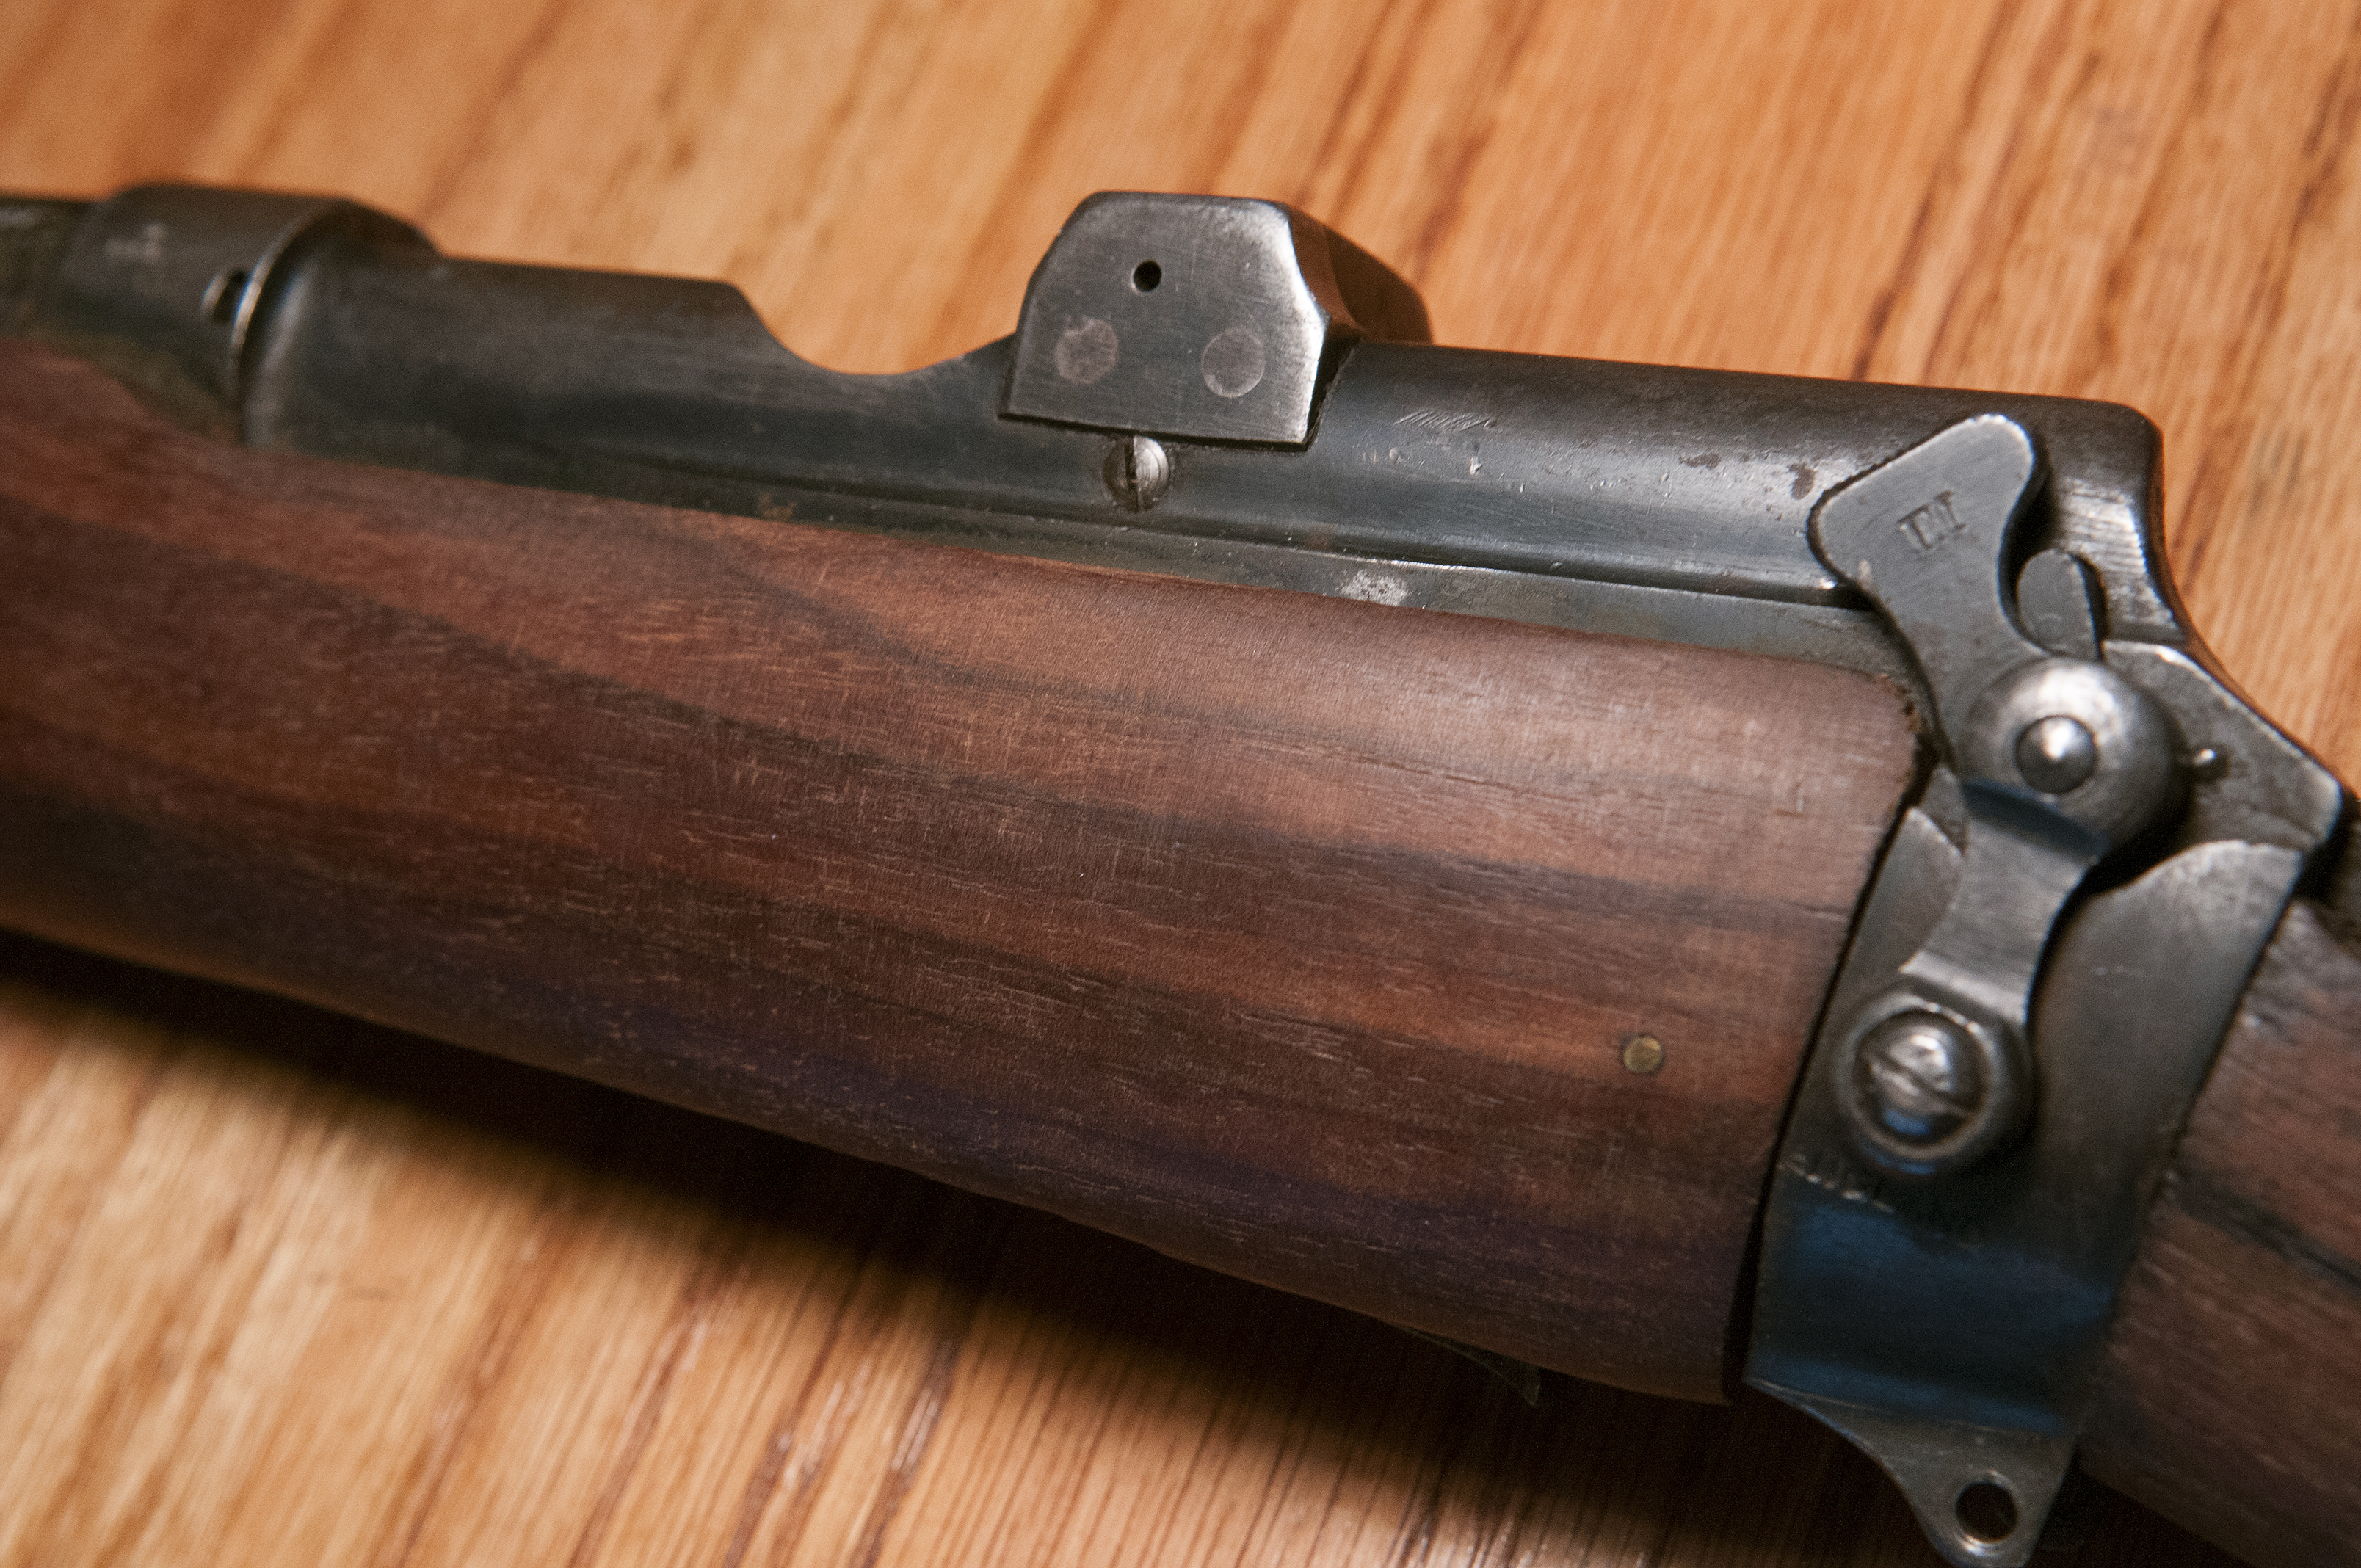
Rear Sight with new upper guard in place
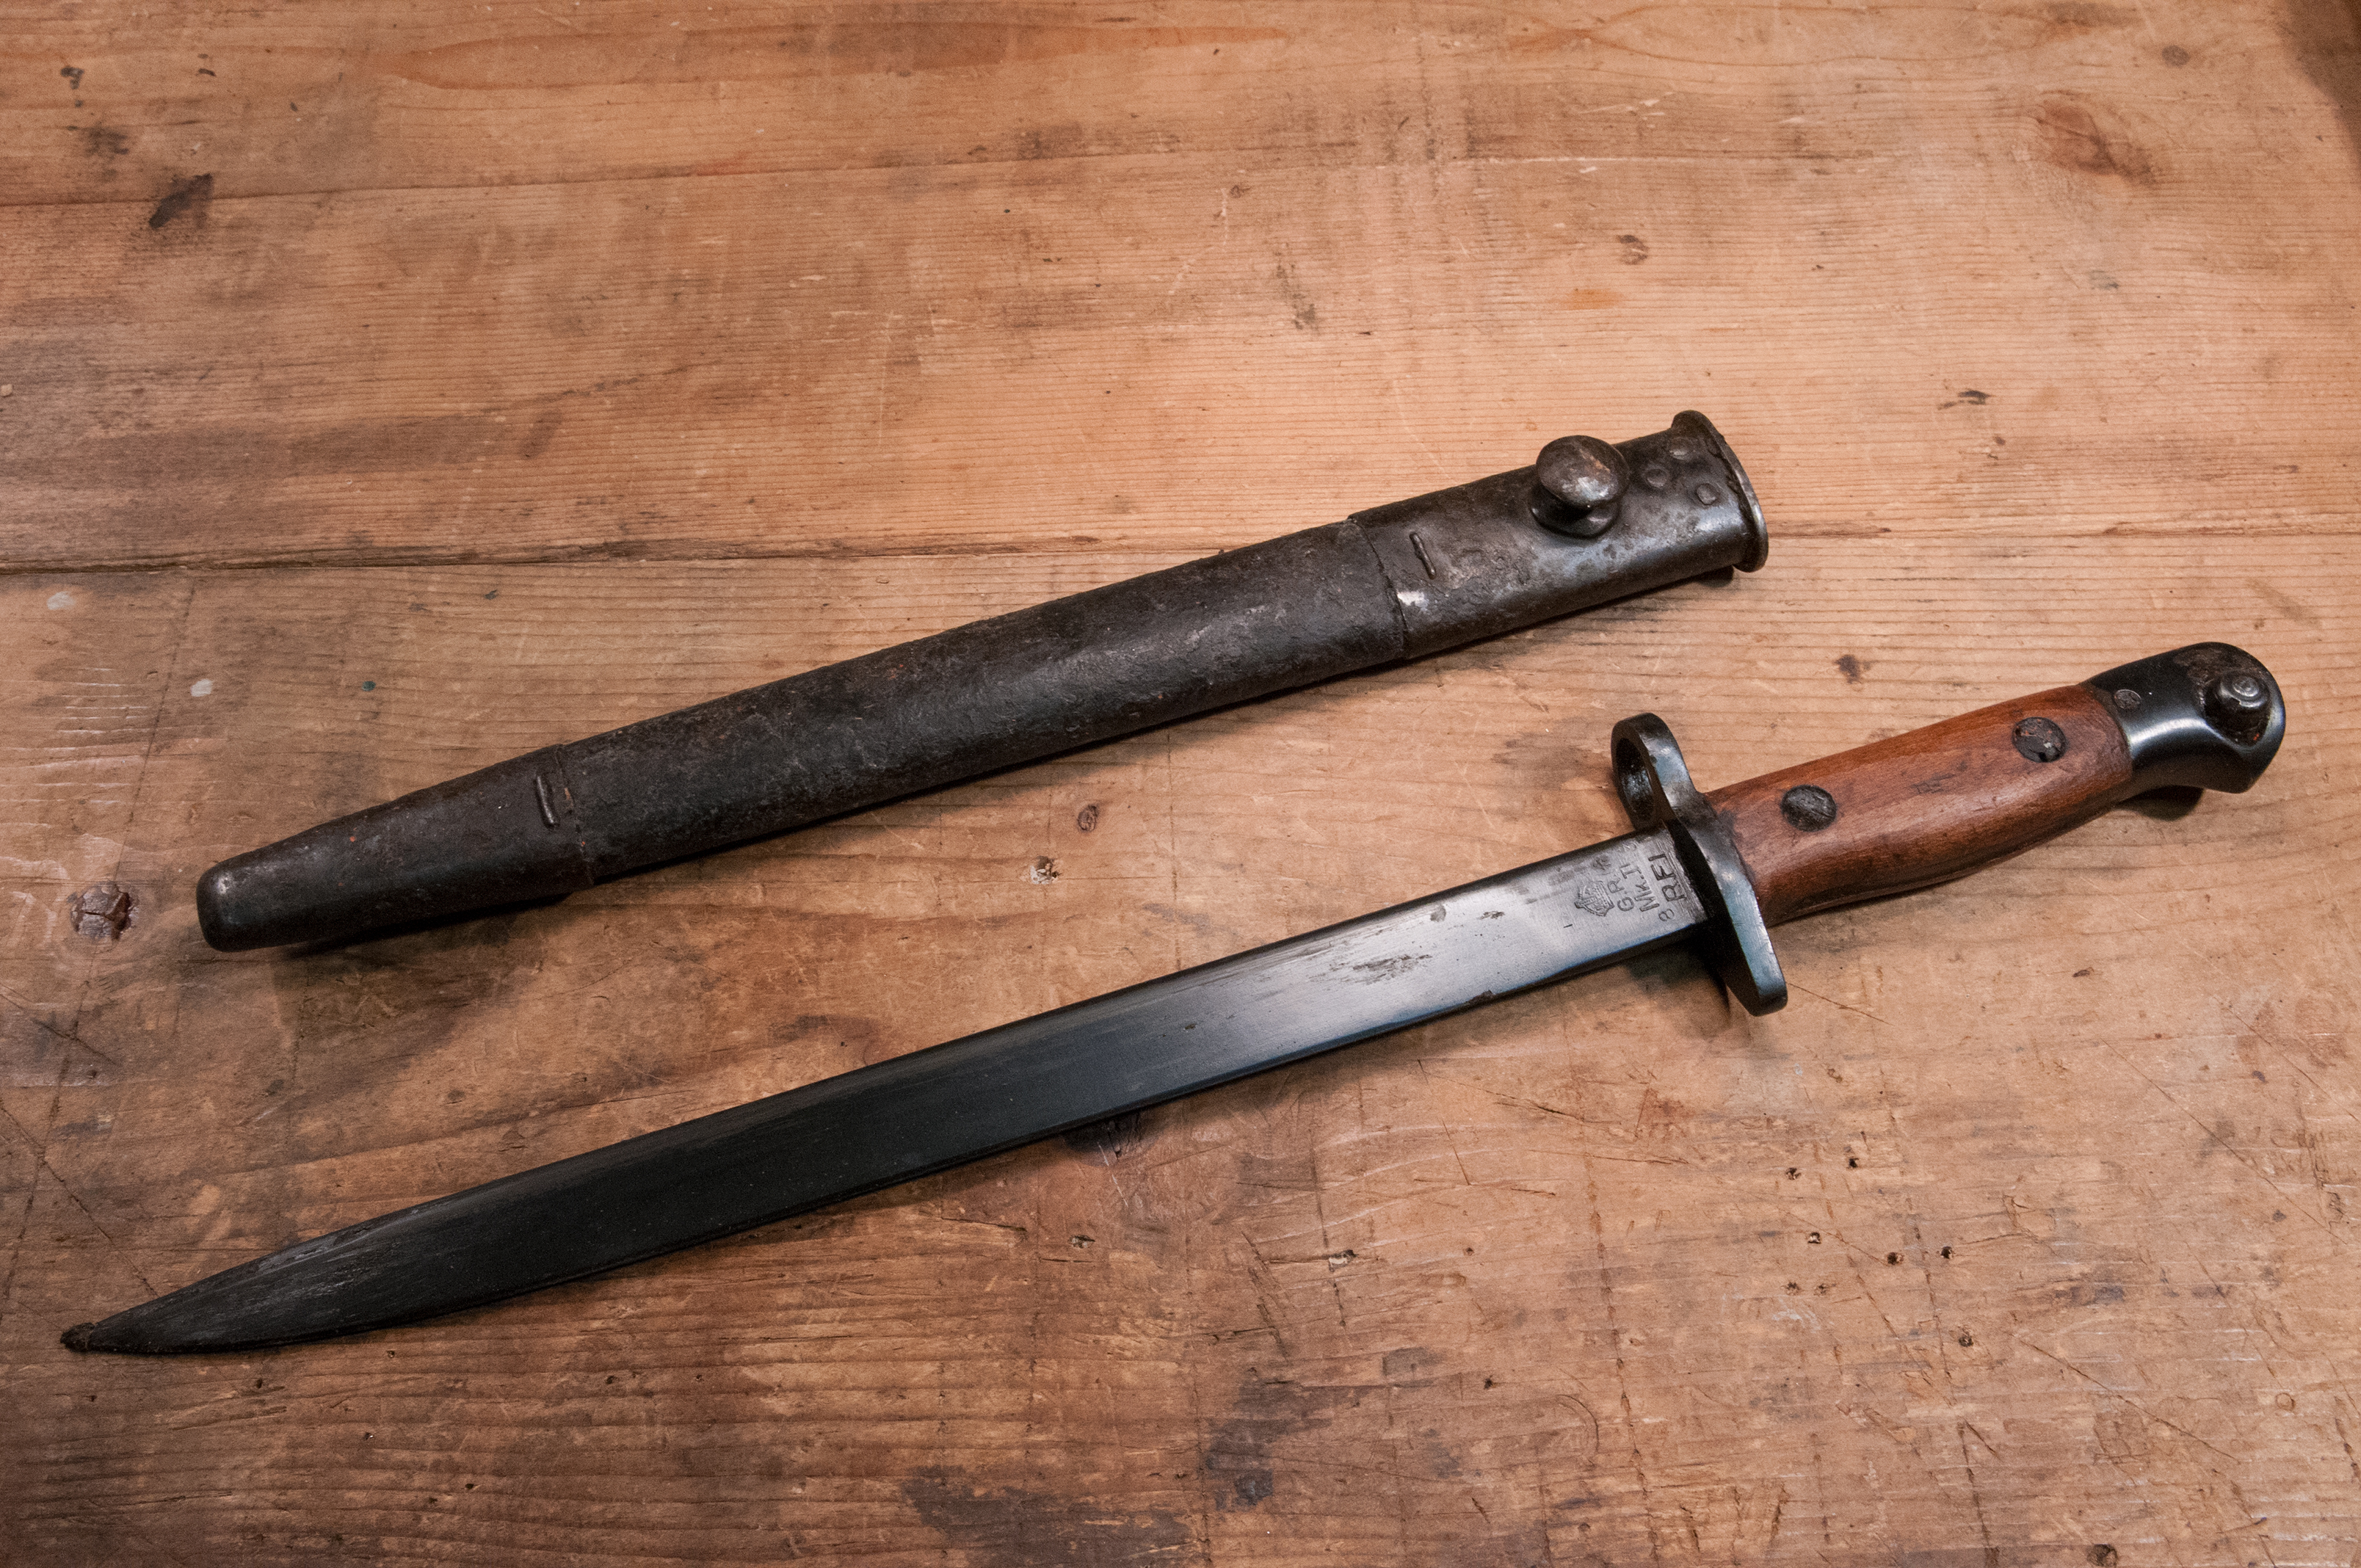
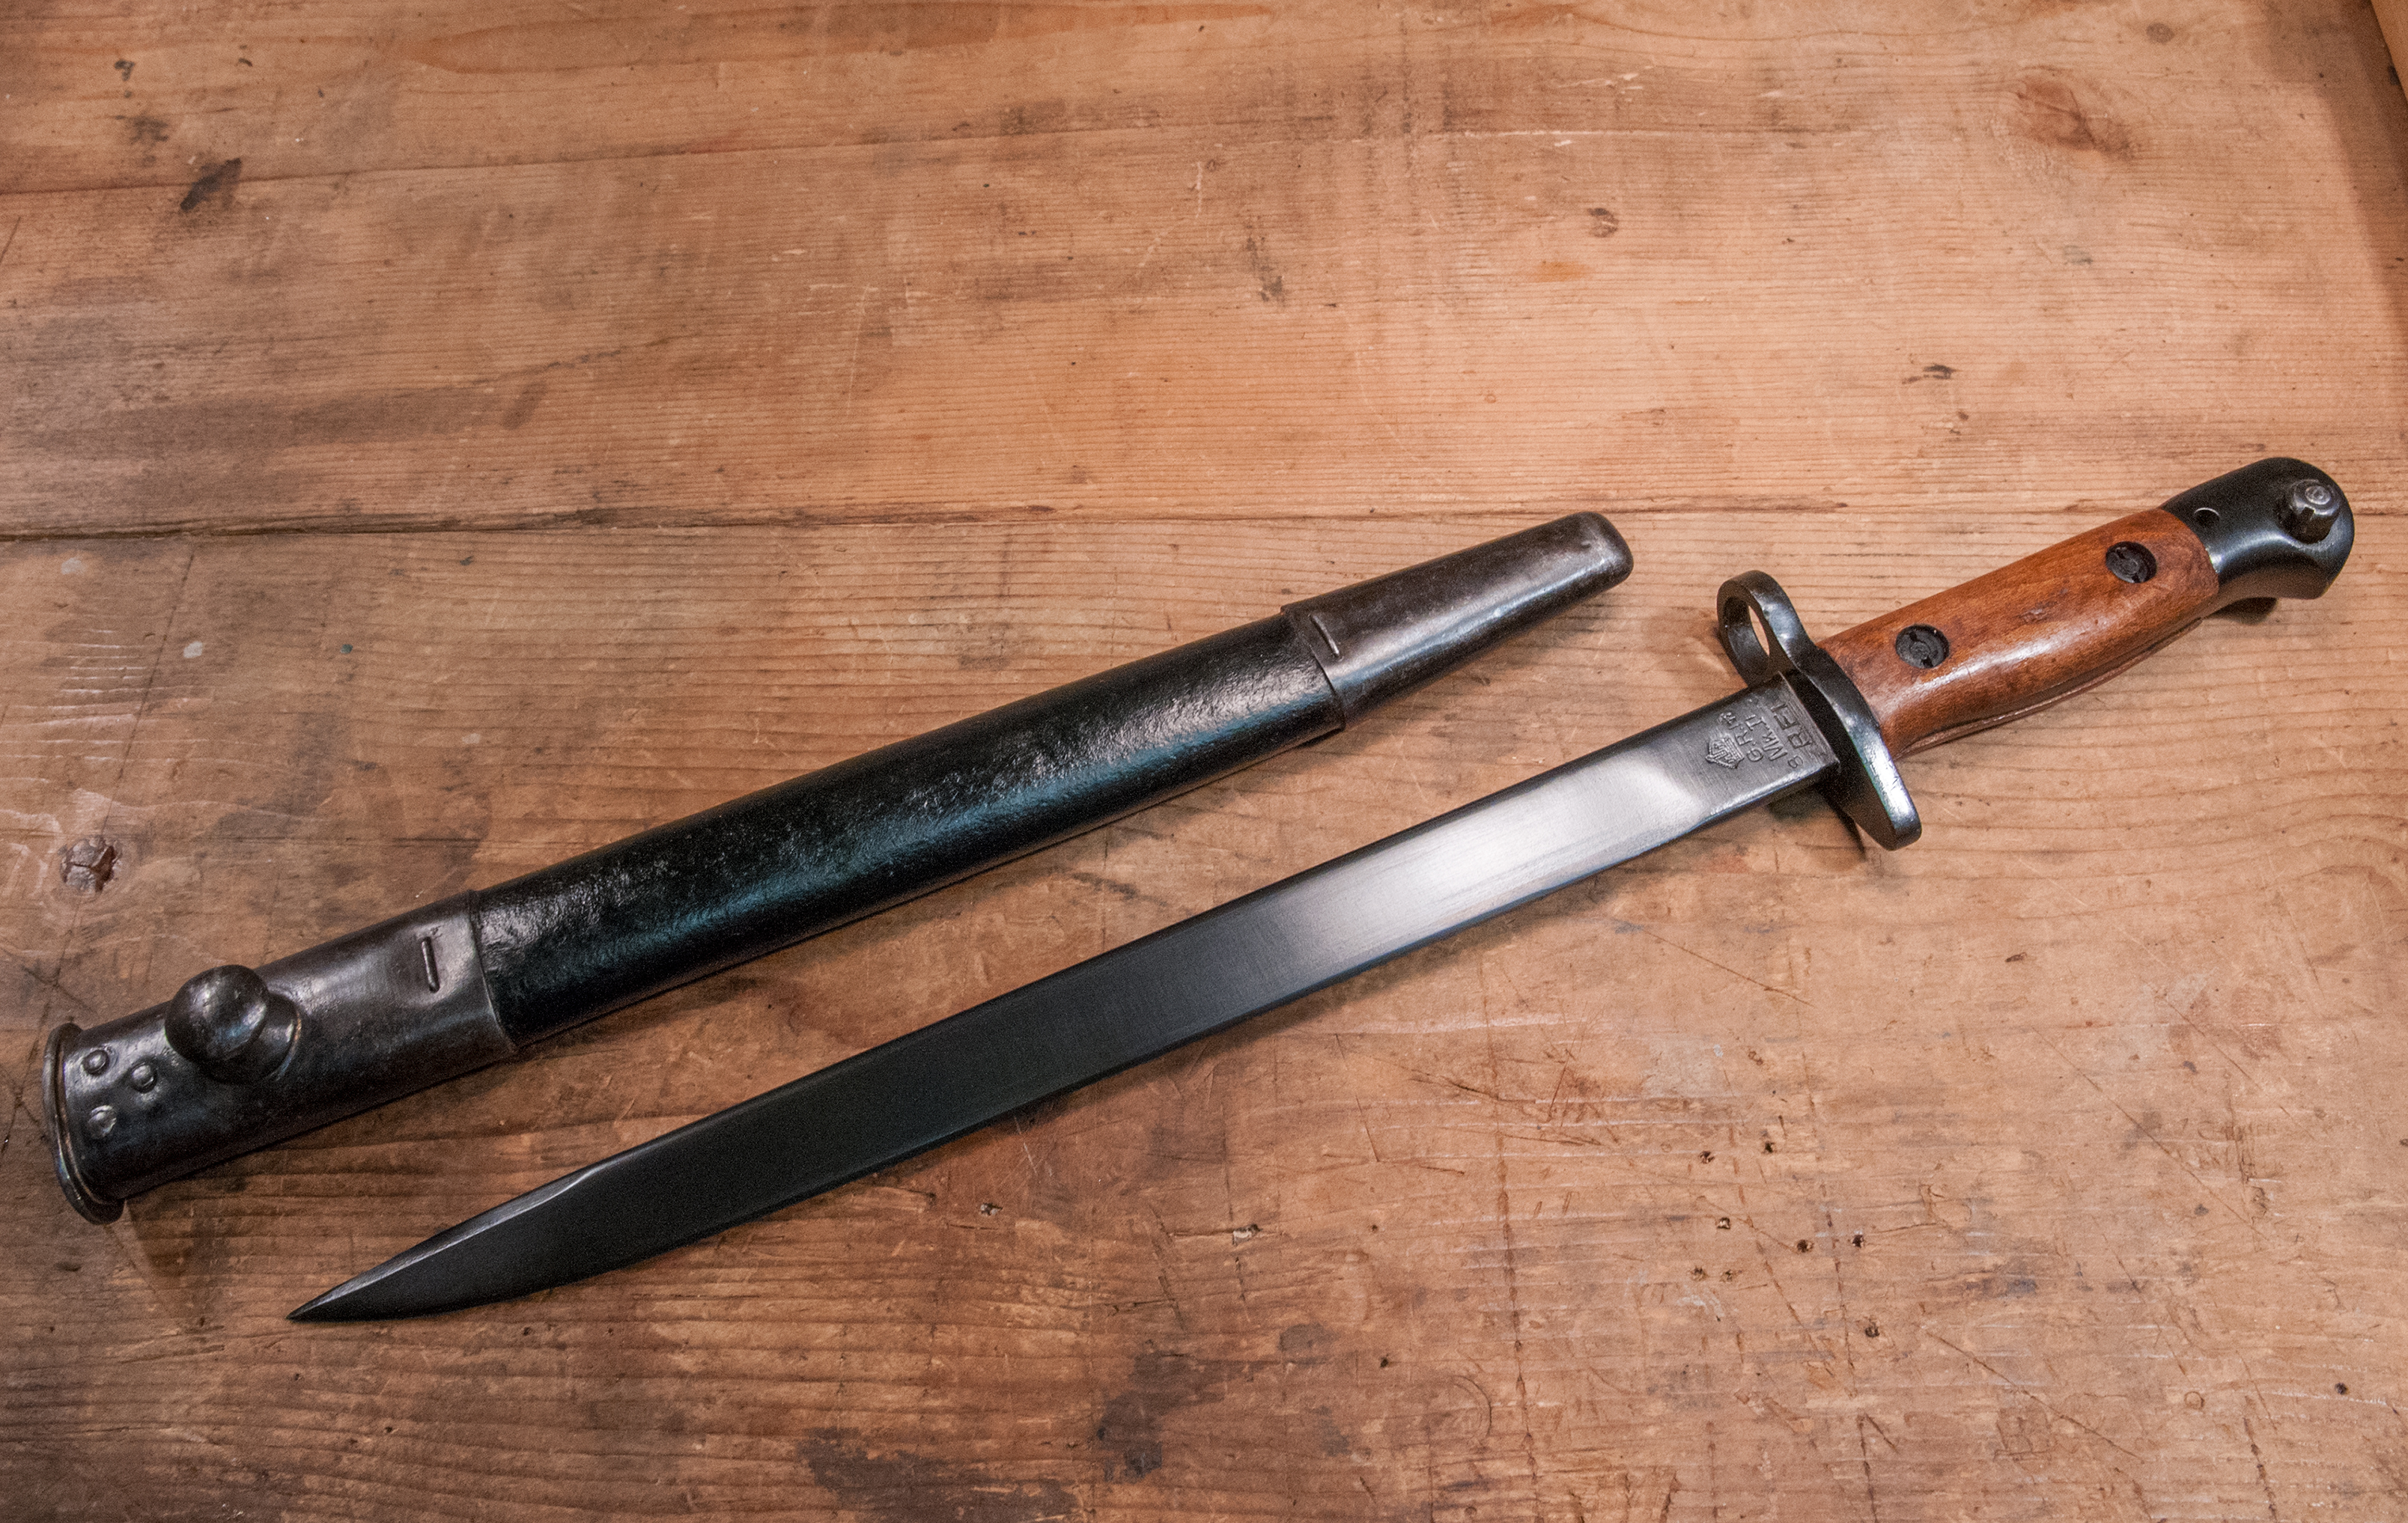
I completed the restoration with an original WWII vintage Enfield sling, also dated 1940, that I found on eBay. That and the war vintage bayonet I previously wrote about are the icing on the cake. Not that I need a bayonet, but it’s in unissued condition and the price was too good to pass up. I’m looking forward to putting a couple dozen rounds down range sometime in the next few weeks.

Lee-Enfield SMLE No. 1 MKIII
***